No two solar animal guard installations are exactly alike, because no two solar PV arrays are exactly alike. With so many different roof types, PV racking systems and geographic locations out there, professional installers need to think on their feet while also knowing the “animal guard fundamentals.” Having the right tools and materials for the job is important, but the biggest factor in animal guard effectiveness is installer technique and attention to detail.
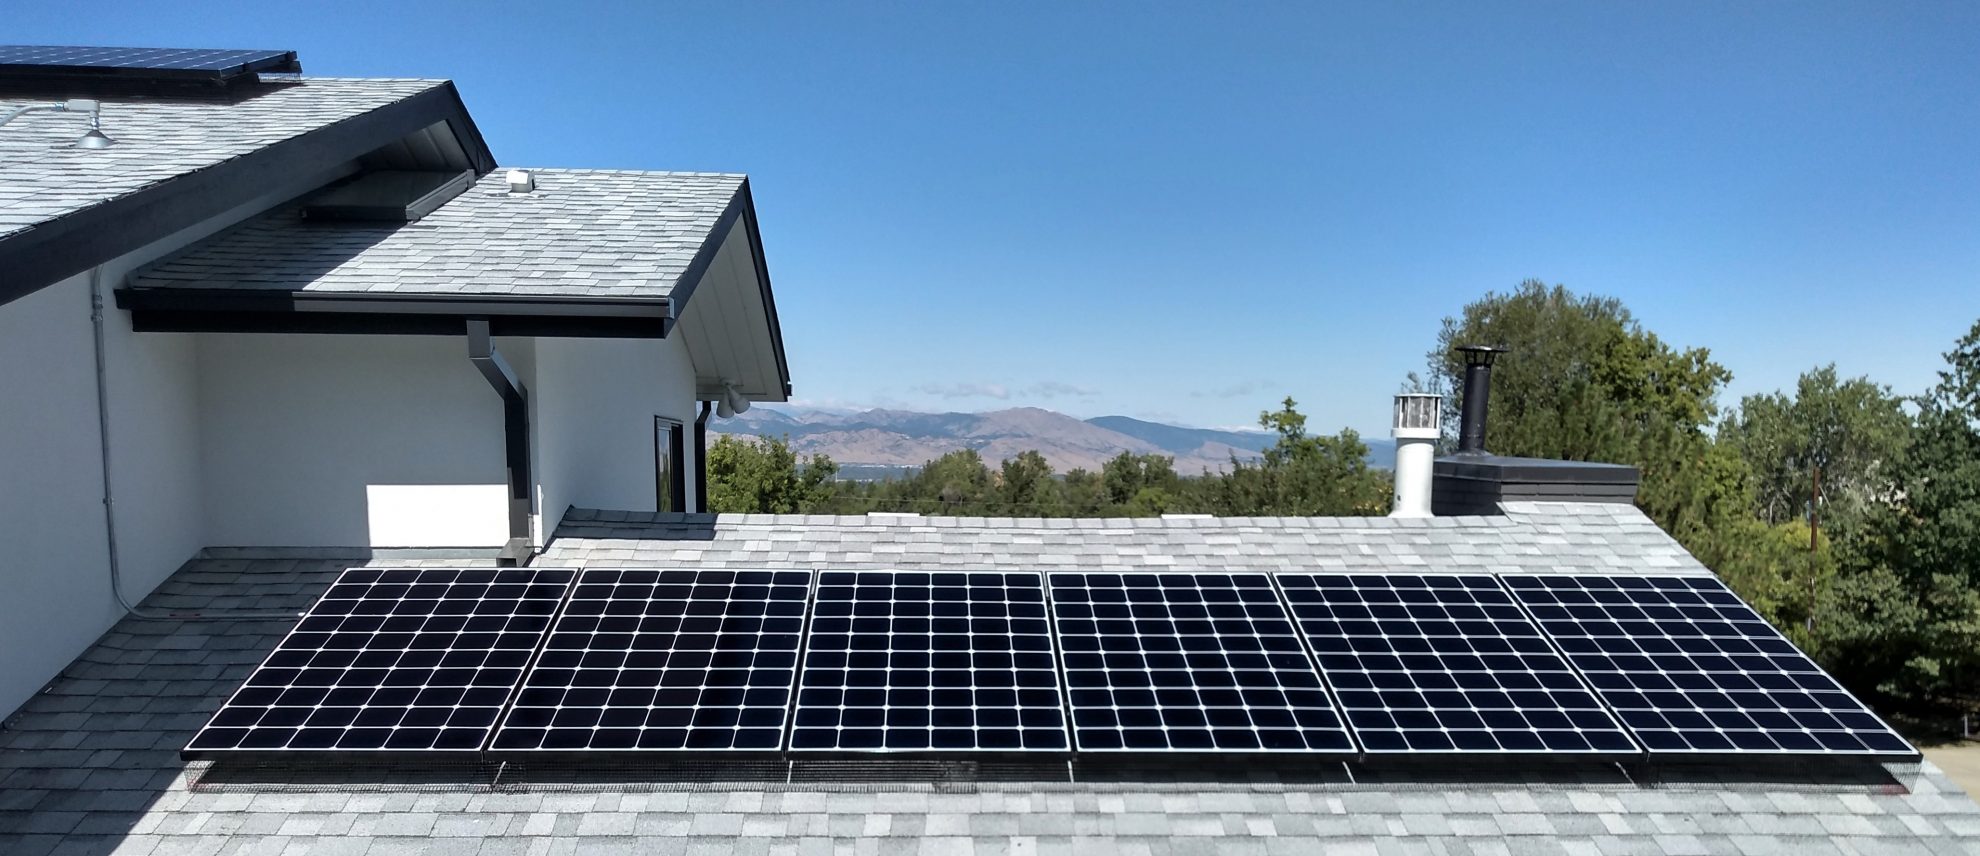
The Rail Mount Method is a time-tested technique that relies on affordable, readily-available materials to create a good-looking and robust critter guard. It is suitable for just about any PV system which uses a rail-based (as opposed to “railless”) racking system.
Video: Step-by-Step Instructions
The video below provides detailed instructions for the Rail Mount Method – starting with picking out your materials and tools, then measuring the array and finally the installation process. The video covers many best practices that apply to all animal guard systems – Rail Mount or not. We hope this helps demystify animal guard for installers and homeowners alike!
A few updates since we filmed this video:
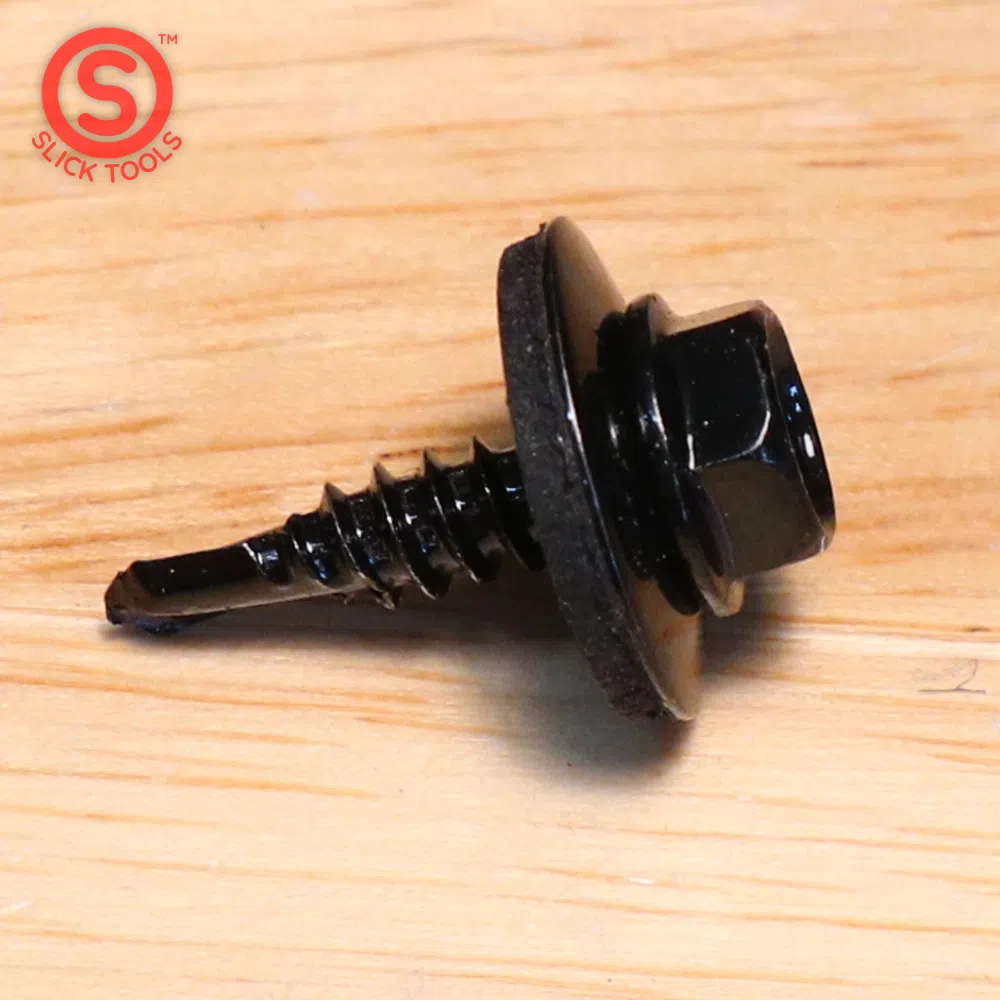
– We’re now selling custom self-tapping screws which have a durable black coating and pre-assembled washer, so you can forget about the spray paint.
– Slick Tools now provides high quality wire mesh which you can purchase through our website. Our mesh has smooth, PVC-coated edges unlike the ‘pokey’ stuff in the video which has a tendency to scratch solar panels.
Benefits of the Rail Mount Method:
It’s secure.
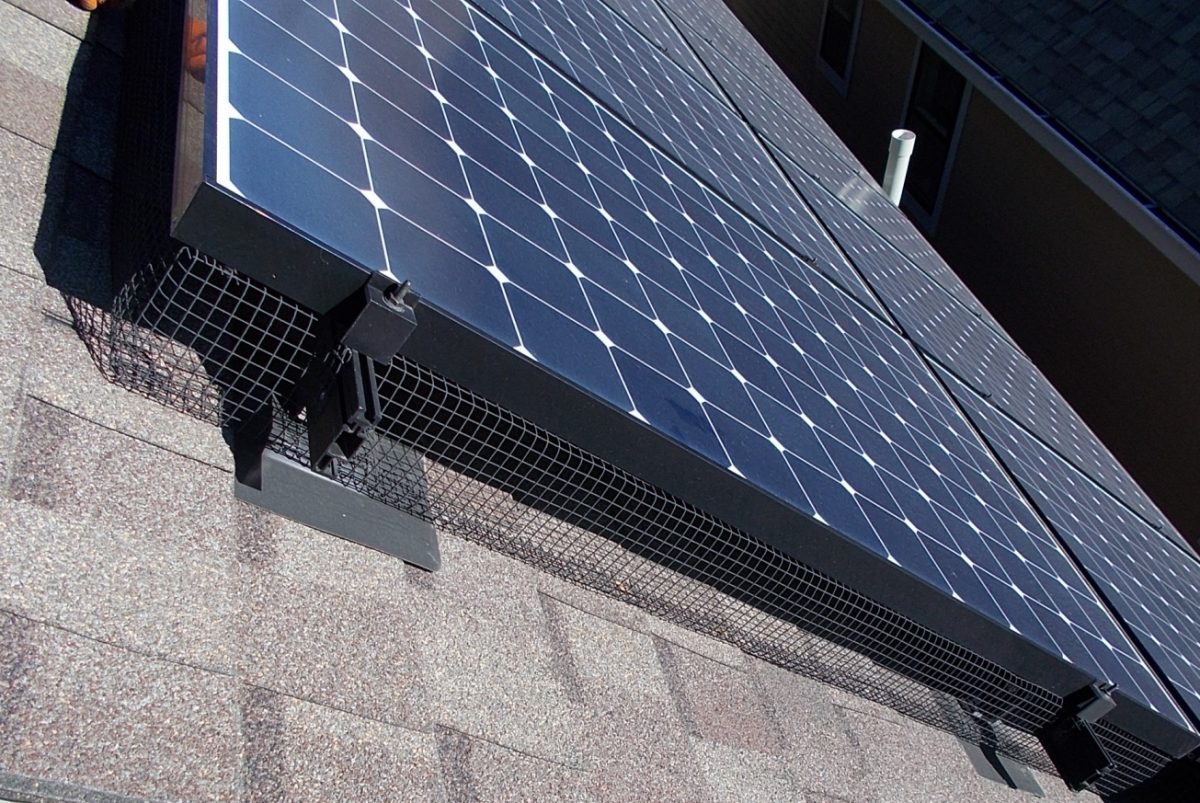
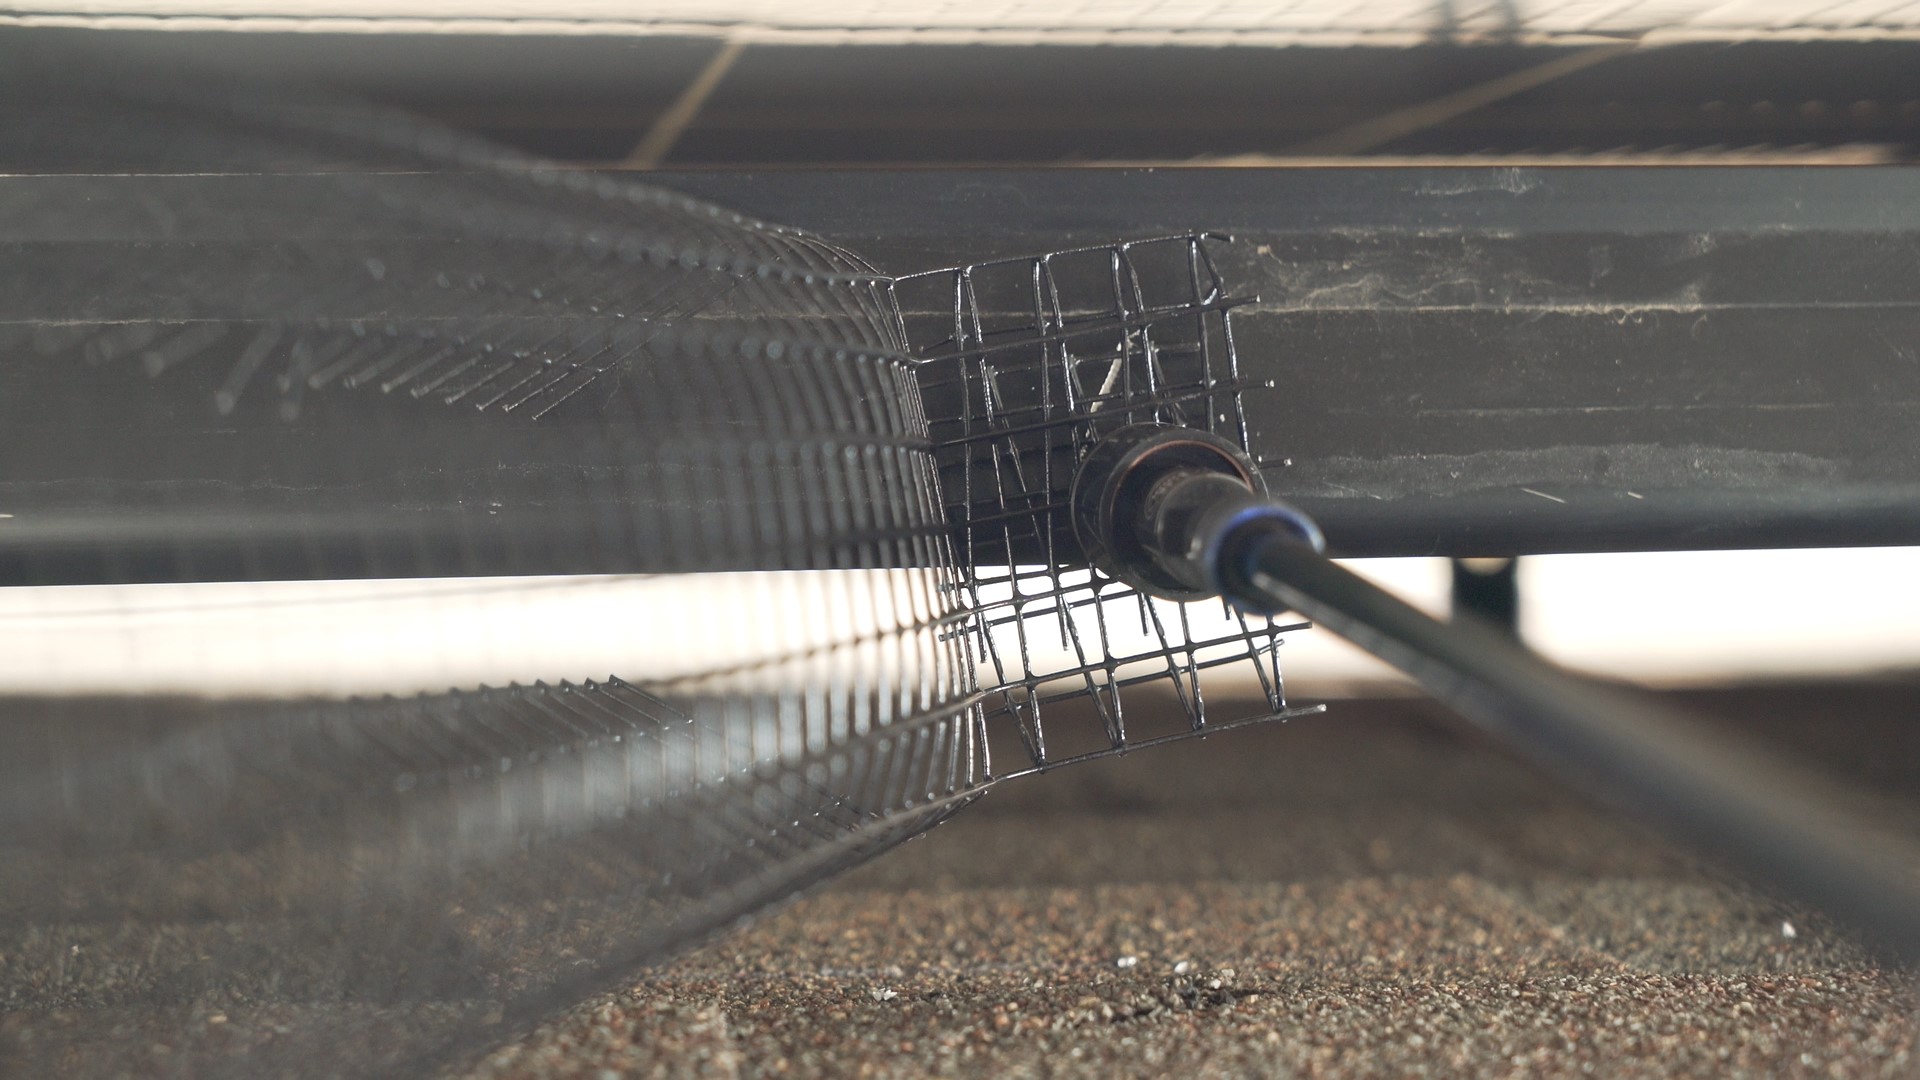
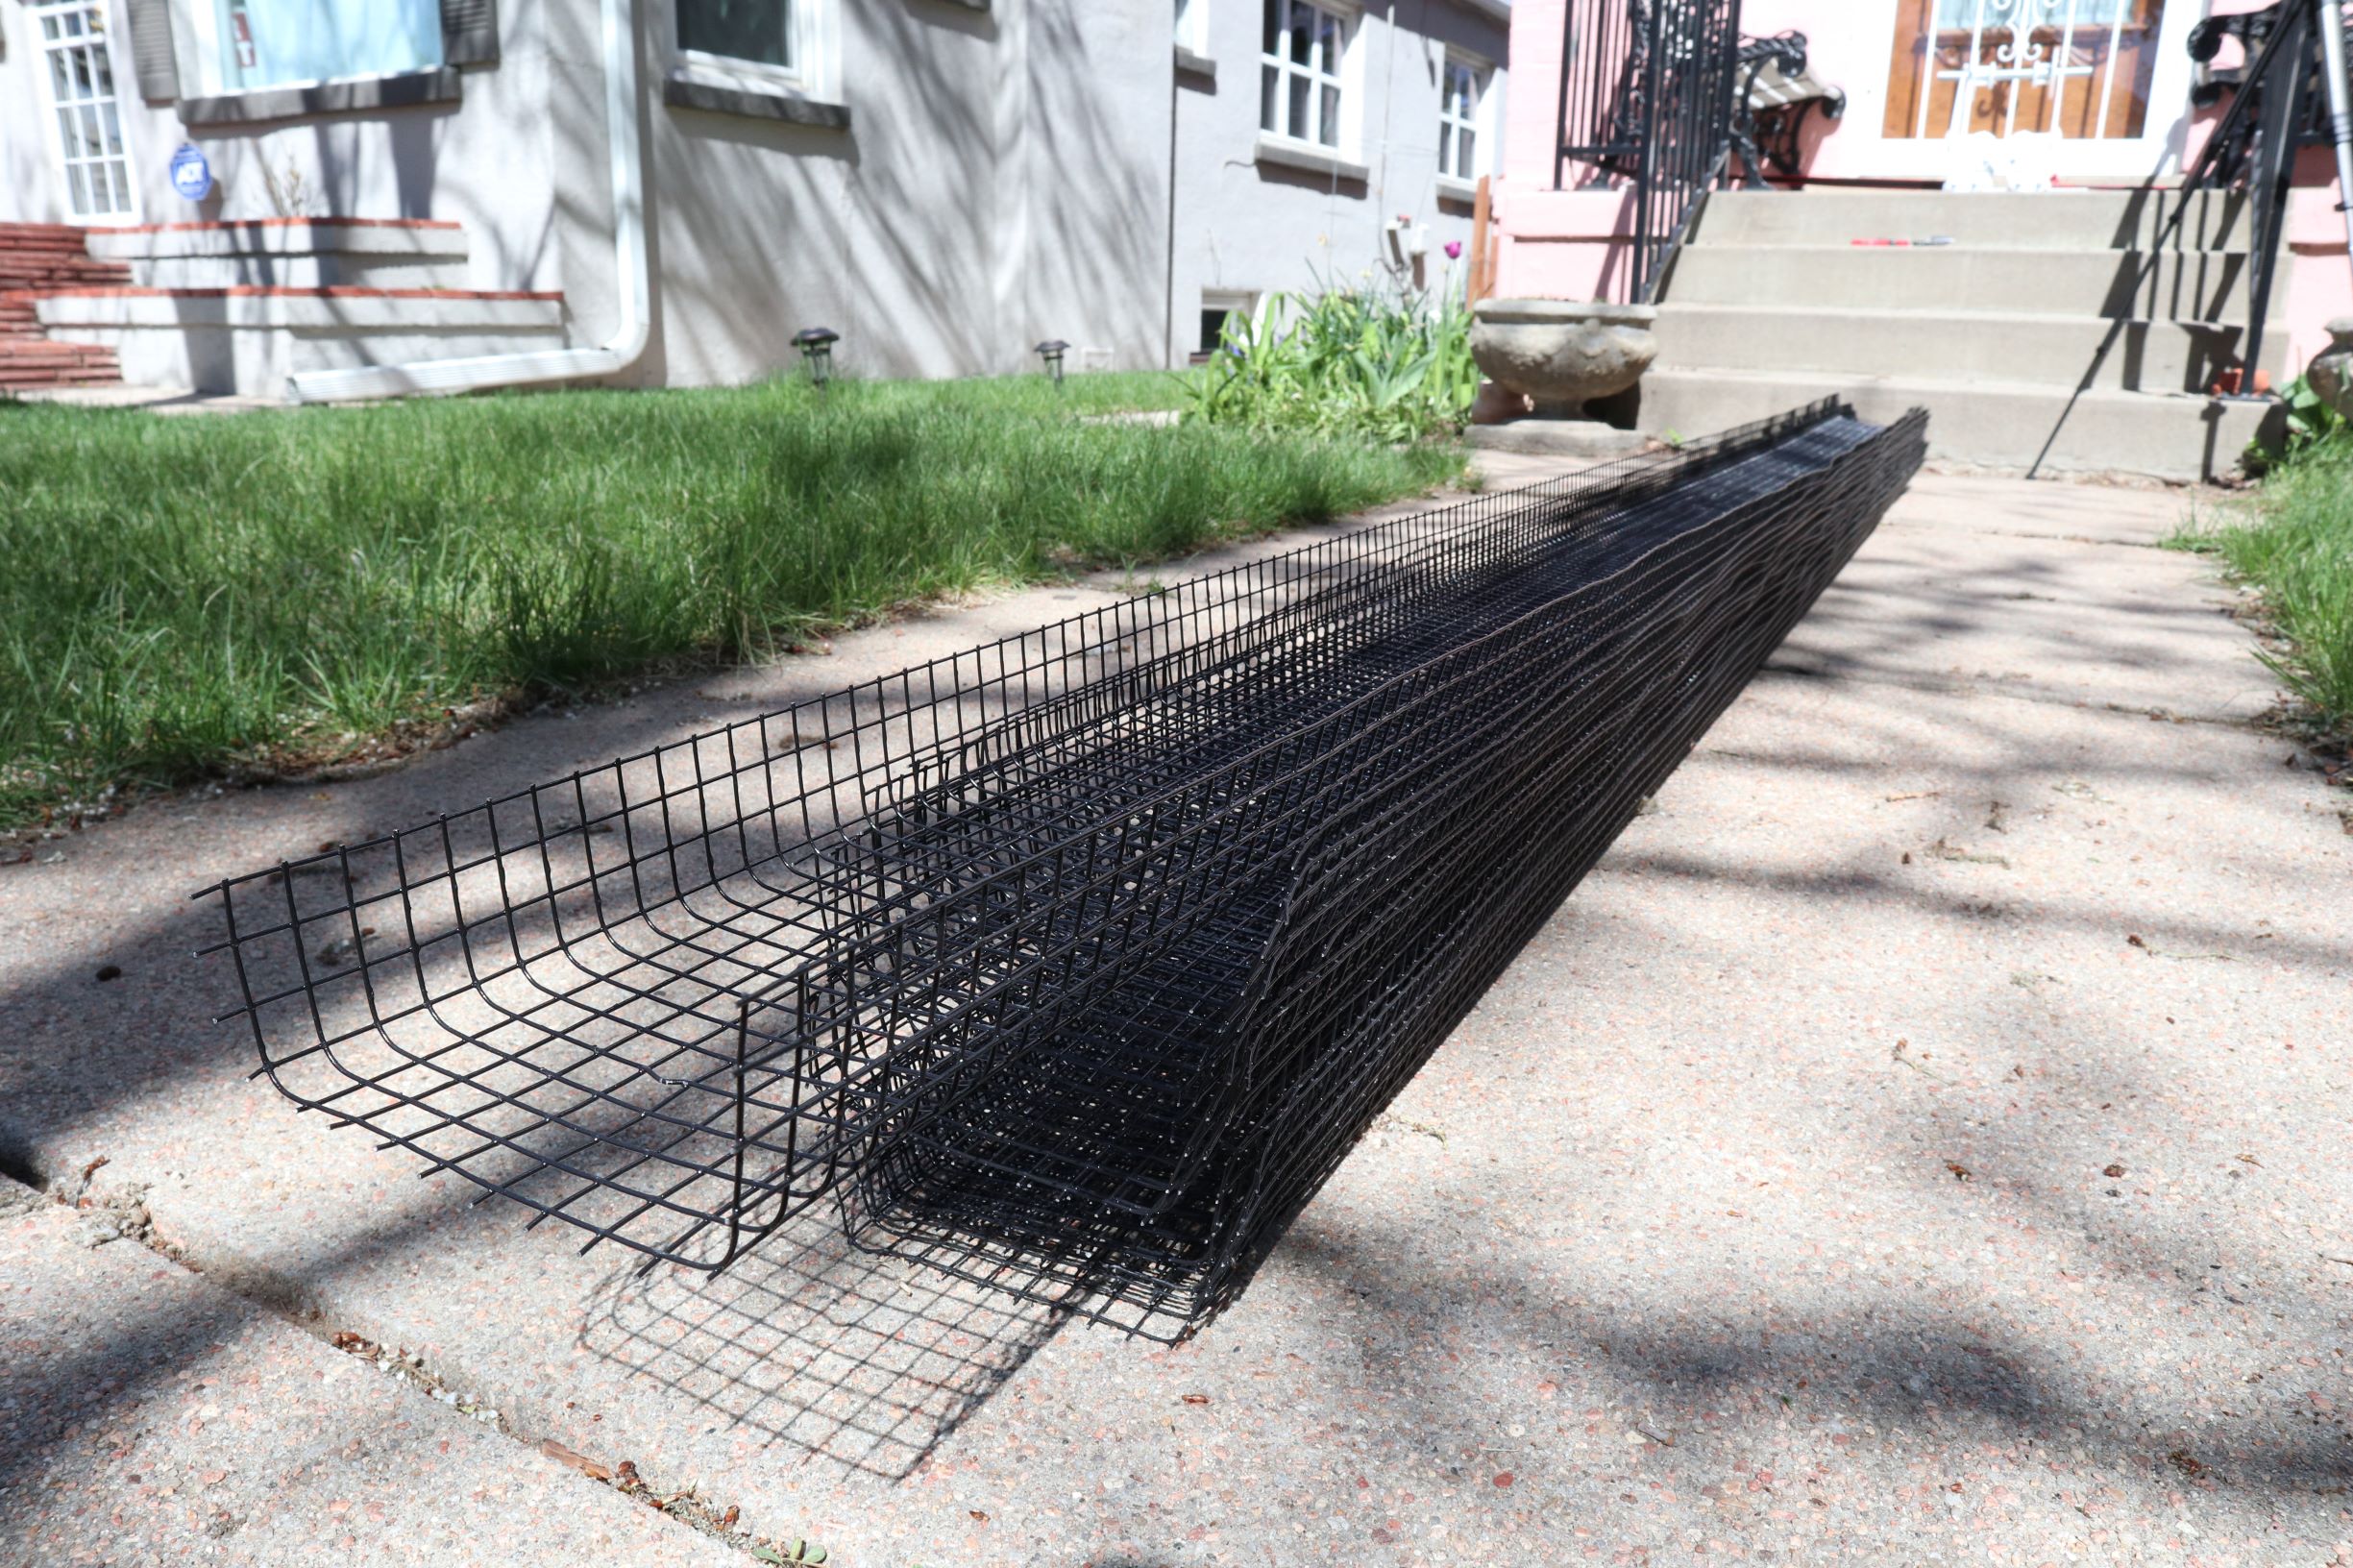
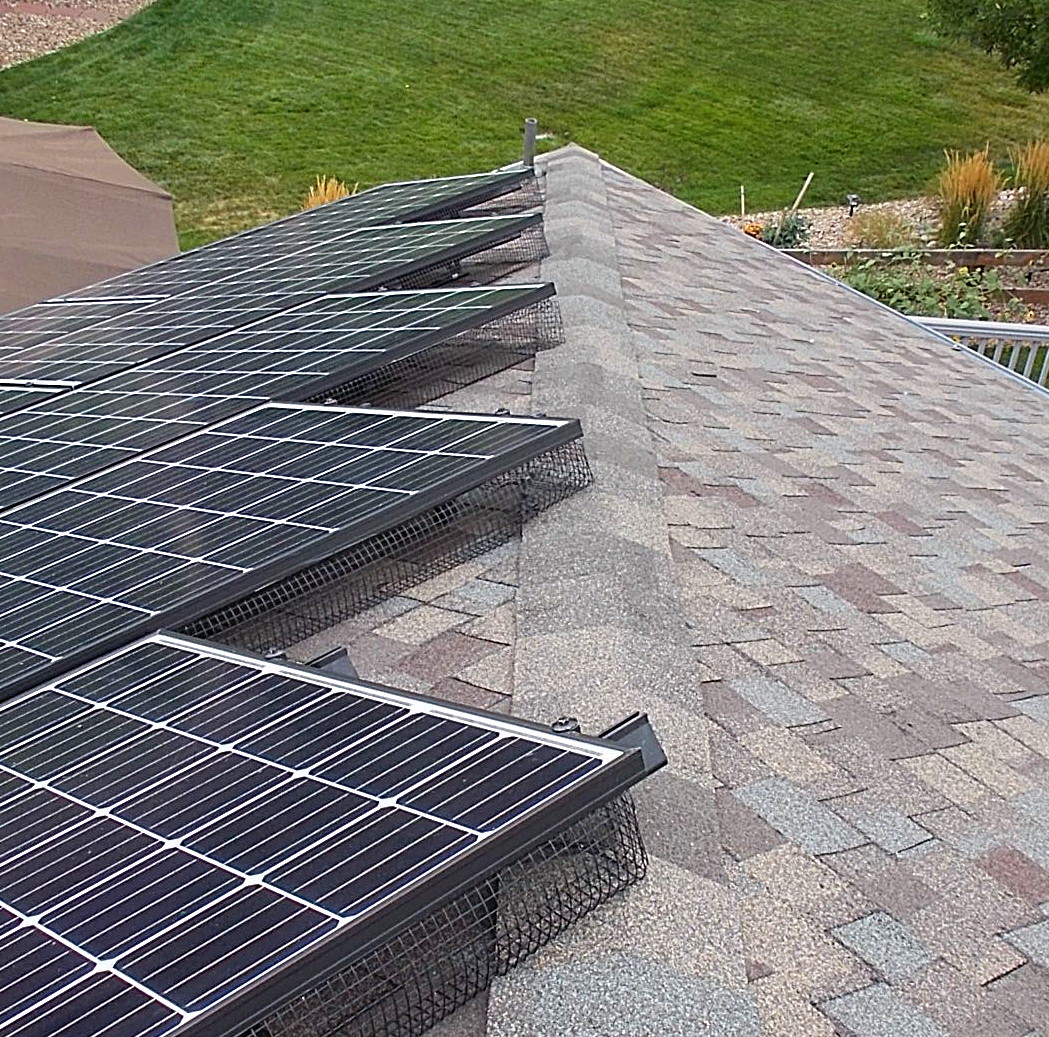
Wire mesh is fastened securely and directly to structural members of the PV array, rather than relying on clips or adhesives.
It’s rigid.
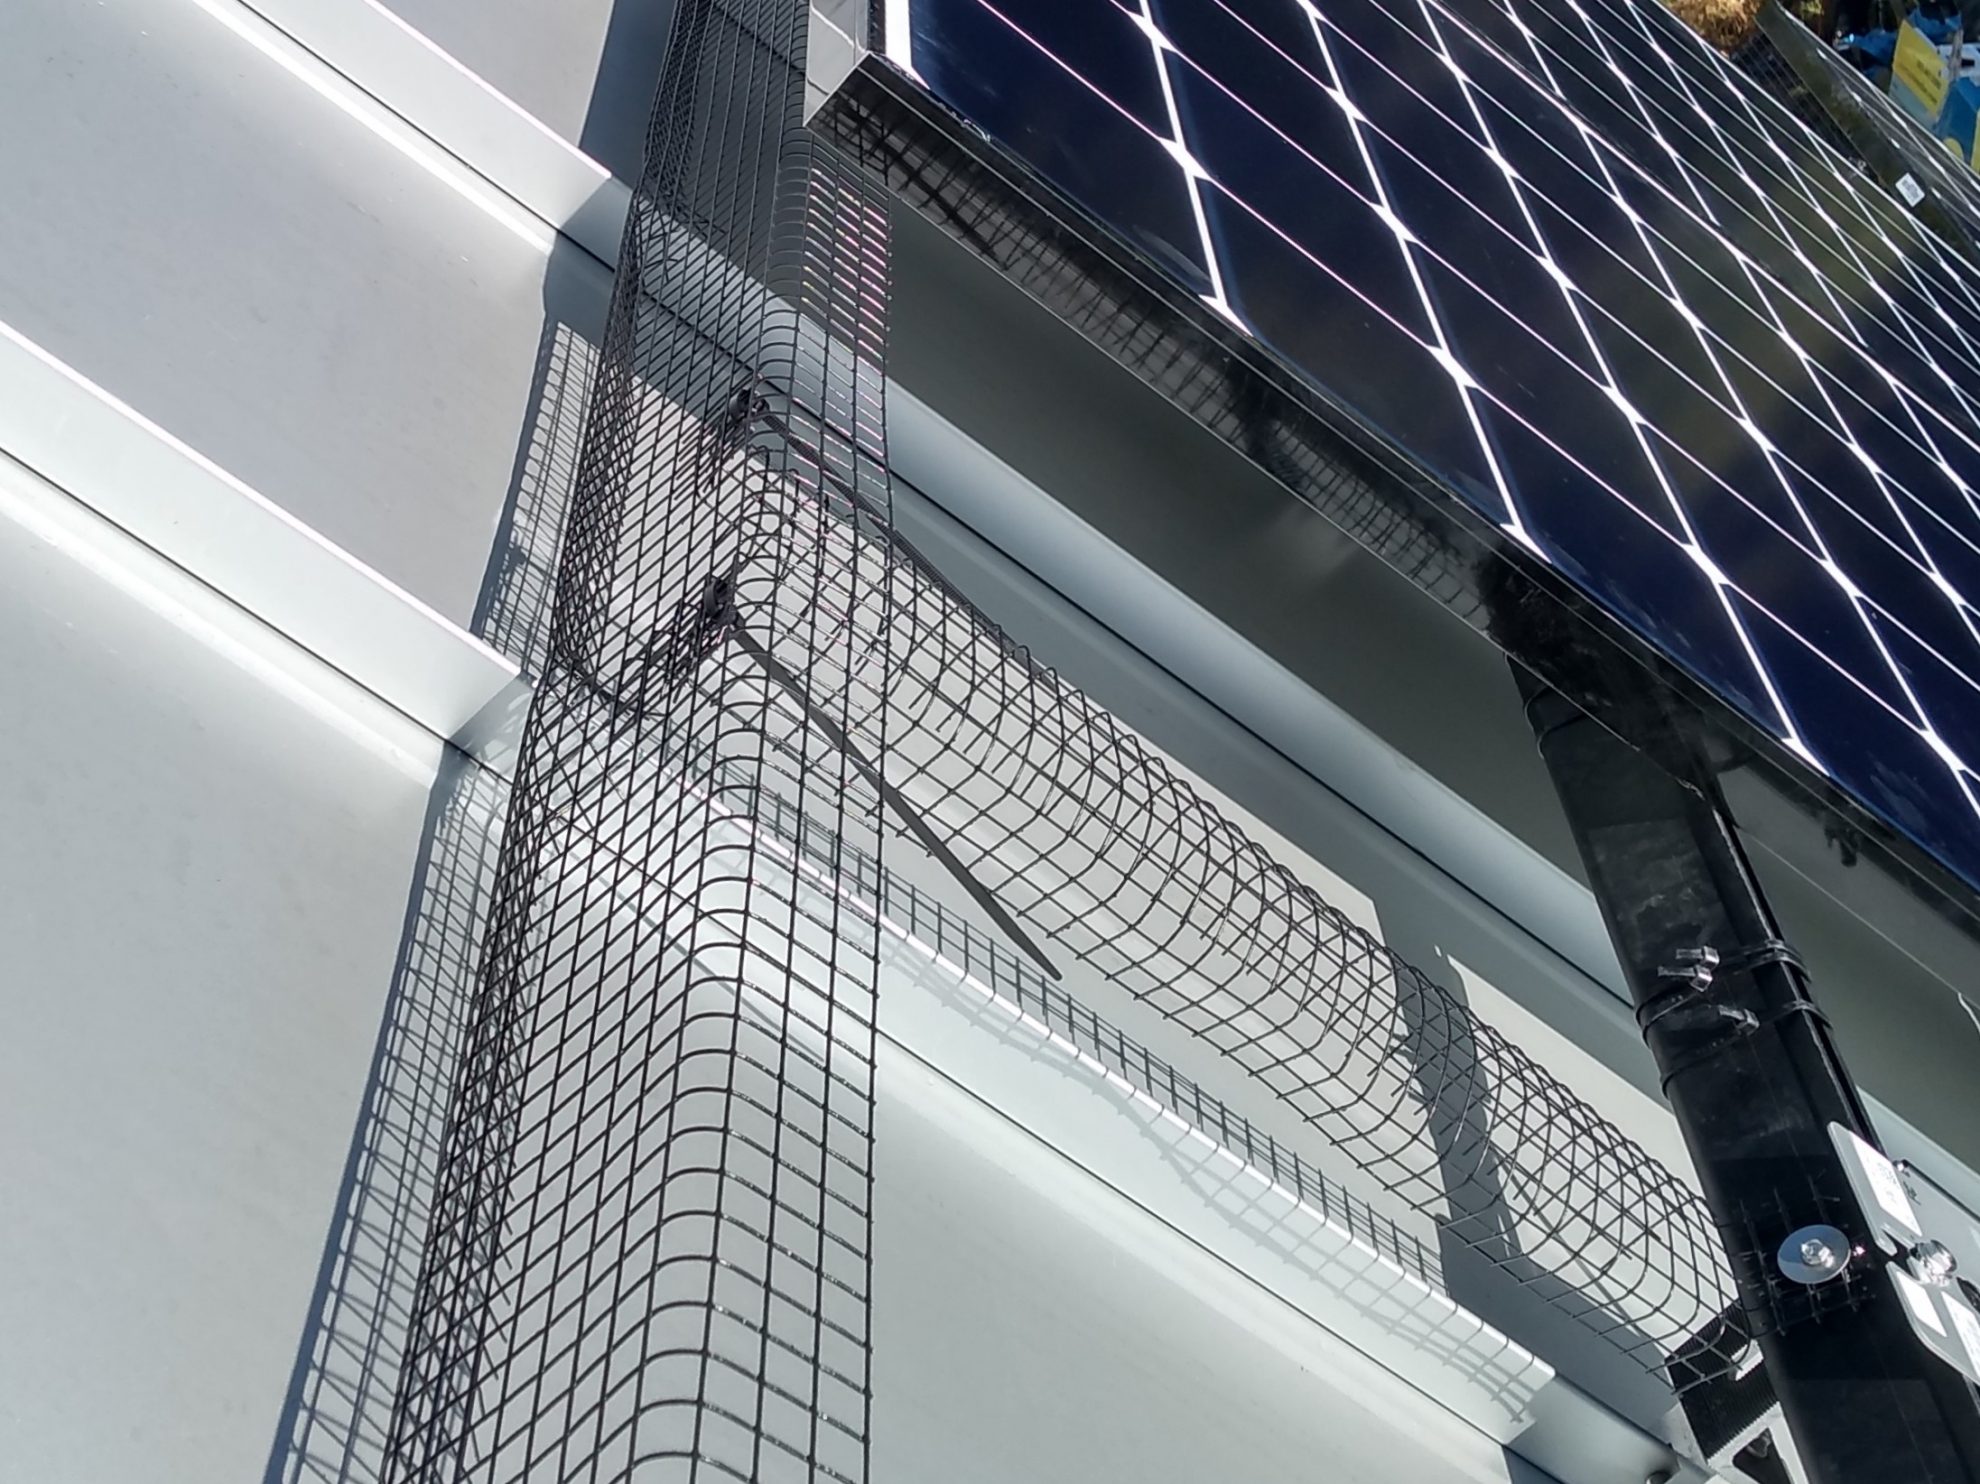
100% of the wire mesh is formed into rigid C-shaped “channels.” This makes it harder for animals and the elements to mess with the mesh, and allows the mesh to run further between attachment points – saving installation time.
It’s got impenetrable corners.
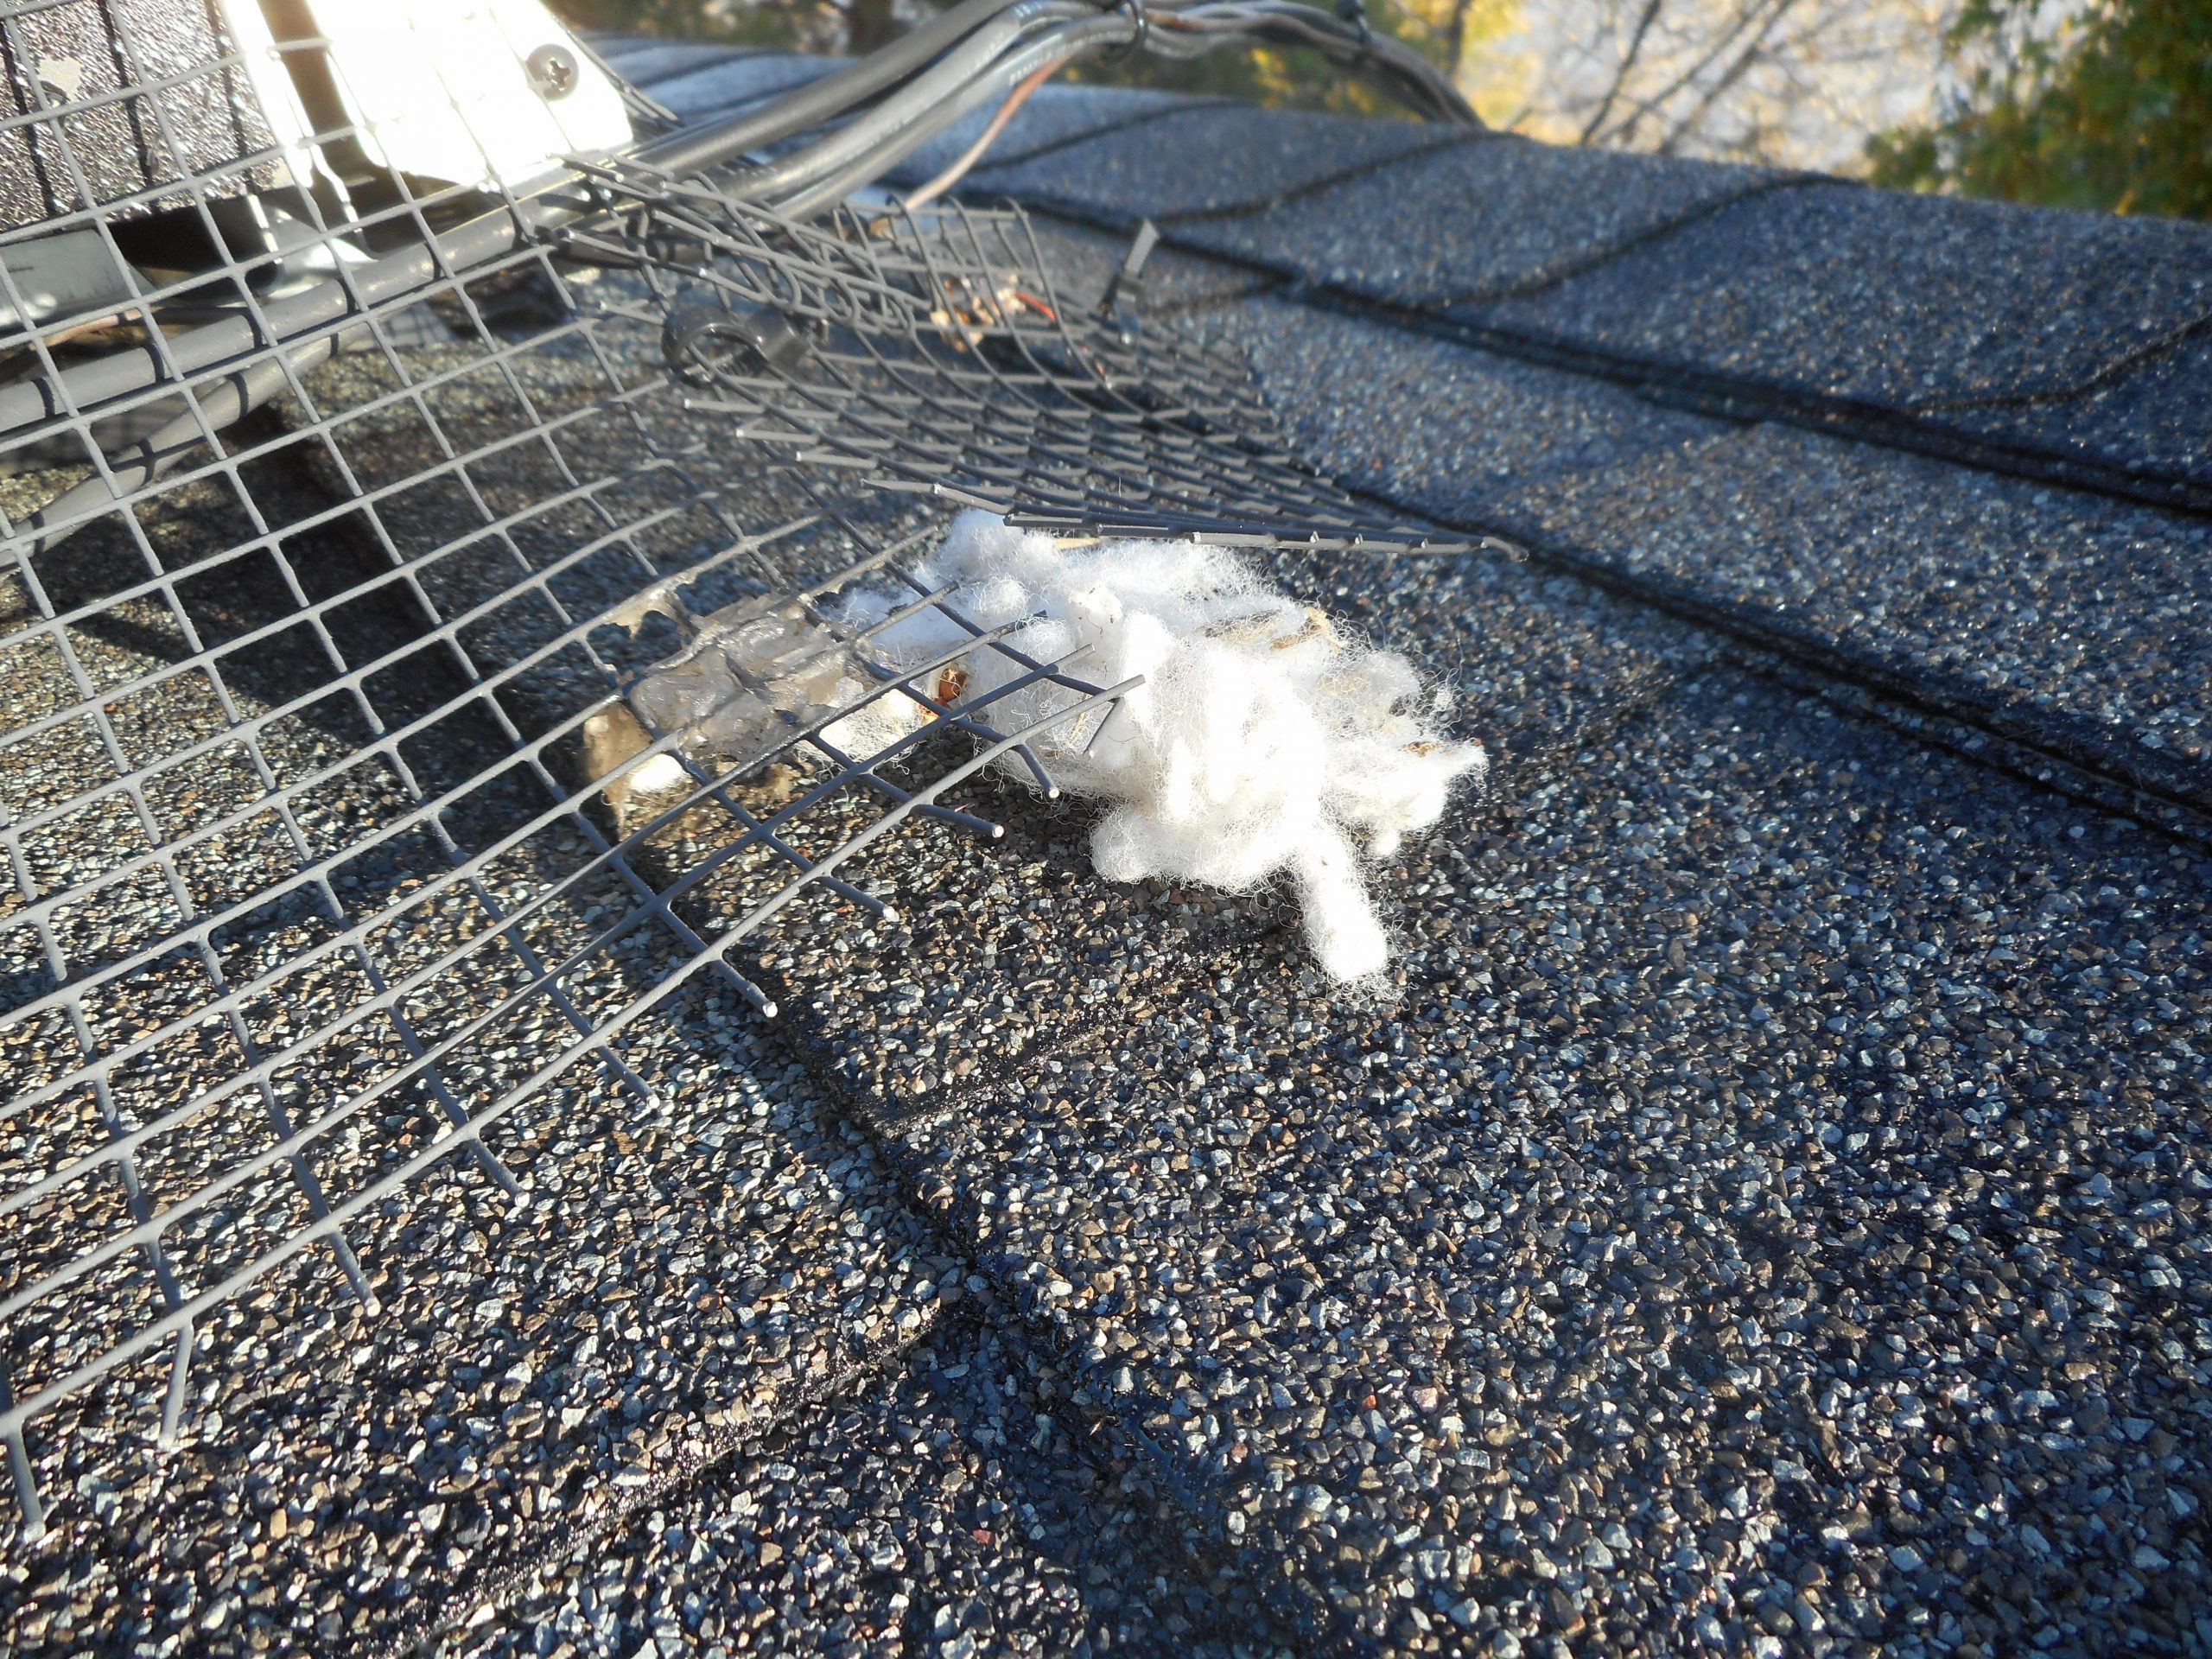
Inside and outside corners of the array are made from continuous wire mesh spanning the entire roof-to-array gap. We prefer this to other methods, such as those that require the wire mesh to splay out from the array and need to be cut and patched at every corner.
It can be pre-installed.
When installing a new PV array and animal guard concurrently, the rail-mount method can eliminate ladder work and dangerous scrambling across a finished array, saving installers time and reducing the risk of a fall. That’s because the wire mesh can be installed along dangerous roof edges before the PV modules are laid down. This trick allows well-trained installers to add animal guard to a new PV system in a fraction of the time it takes to retrofit onto an existing system. See our separate video explaining wire mesh pre-installation.
It doesn’t interfere with PV service.
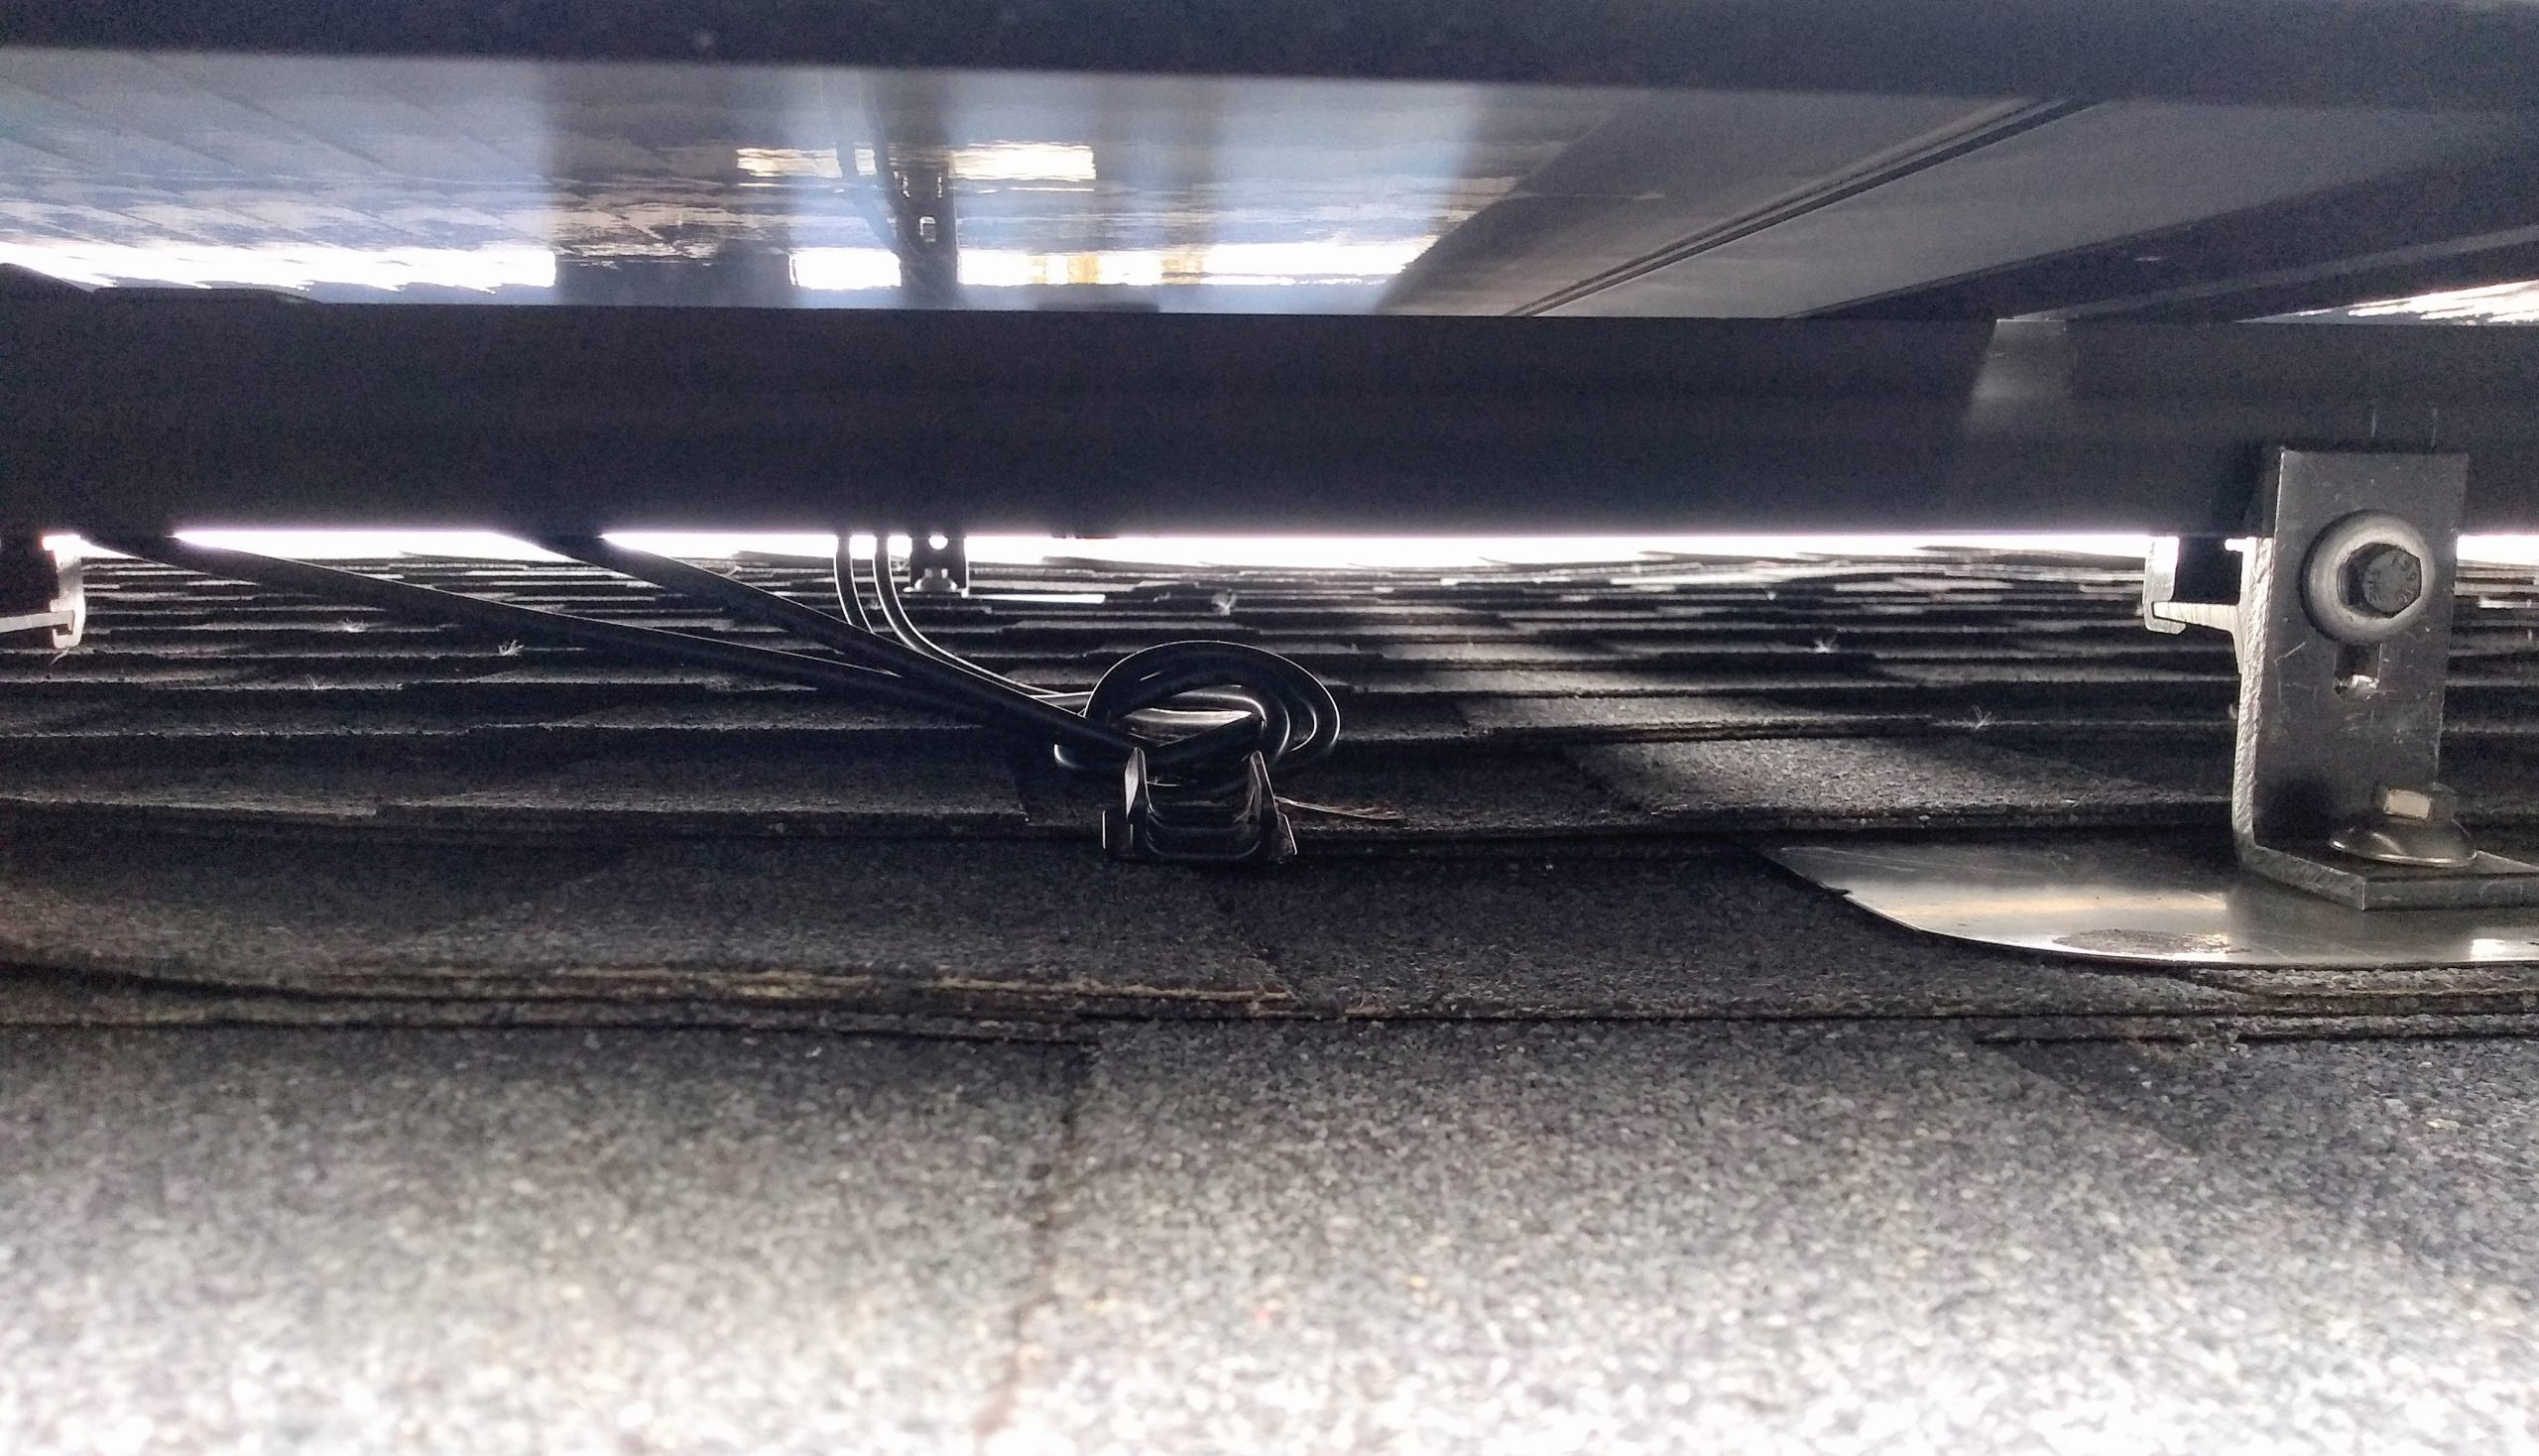
Spot a loose wire under the array? PV arrays protected using the Rail Mount Method can be easily accessed for service and repairs down the road. The wire mesh is not attached to the solar panels themselves, so panels may be removed for access without messing with the mesh.
It looks dang good!
Mesh is tucked neatly underneath and flush with the outer edge of the array. With no visible fasteners and no waviness, it looks discrete, professional and polished.
The Rail Mount Method may NOT be a great solution when:
- There are no rails to attach to.
- The roof is made of a material which cannot have wire mesh touching it. This can be the case with painted metal roofs (which will scratch easily) and TPO or EPDM rubber roofs (which wire ends could penetrate, potentially causing leaks). There are creative workarounds which make the Rail Mount Method possible on these roofs, but we won’t cover them here.
2 replies on “The Rail Mount Method for Solar Animal Guard”
My solar is 10”+ above the roof any high mesh?
Hi Andi, yes it is possible to fill a 10″ gap with a wire mesh C-channel and the Rail Mount Method. In fact the Rail Mount Method is well suited to this scenario because:
Here’s a photo of a job I did over a TPU roof. This was probably a 10″ or larger gap. The method used is vanilla Rail Mount Method, with the addition of a rubbery mat between the C-channel and TPU roof as an extra layer of protection to prevent the TPU getting punctured or abraded by the mesh.

That said, there are two obstacles to doing these large C-channels:
Hope that helps!