So you’re a solar installer or homeowner who’s decided to add animal guard (AKA critter guard) to your PV array. Nice move! You’ve taken the first step to prevent costly pest damage to your PV system. If you’re a professional installer, you’re on your way to building a reputation for premium quality work. But before you pat yourself on the back, consider the three crucial elements to a successful animal guard install:
- Good quality materials
- The right tools for the job
- Excellent installer training and technique
Get all three right, and you (or your customers) will be as happy on year 25 as you were on day 1. Skimp on any element, and you risk doing more harm than good. In this series of blog posts, we’ll explain the most common mistakes made during animal guard installation.
Are you a professional installer or solar business owner? Share this series with new installers to set them up for success!
Also, go check out our Forge program to share any tool ideas you have and sign up for our Field Tester program.
Posts in This Series
-
Cutting Corners – How NOT to Install Solar Animal Guard
Learn why animal guard often fails at the corners of a PV array, and what to do about it!
-
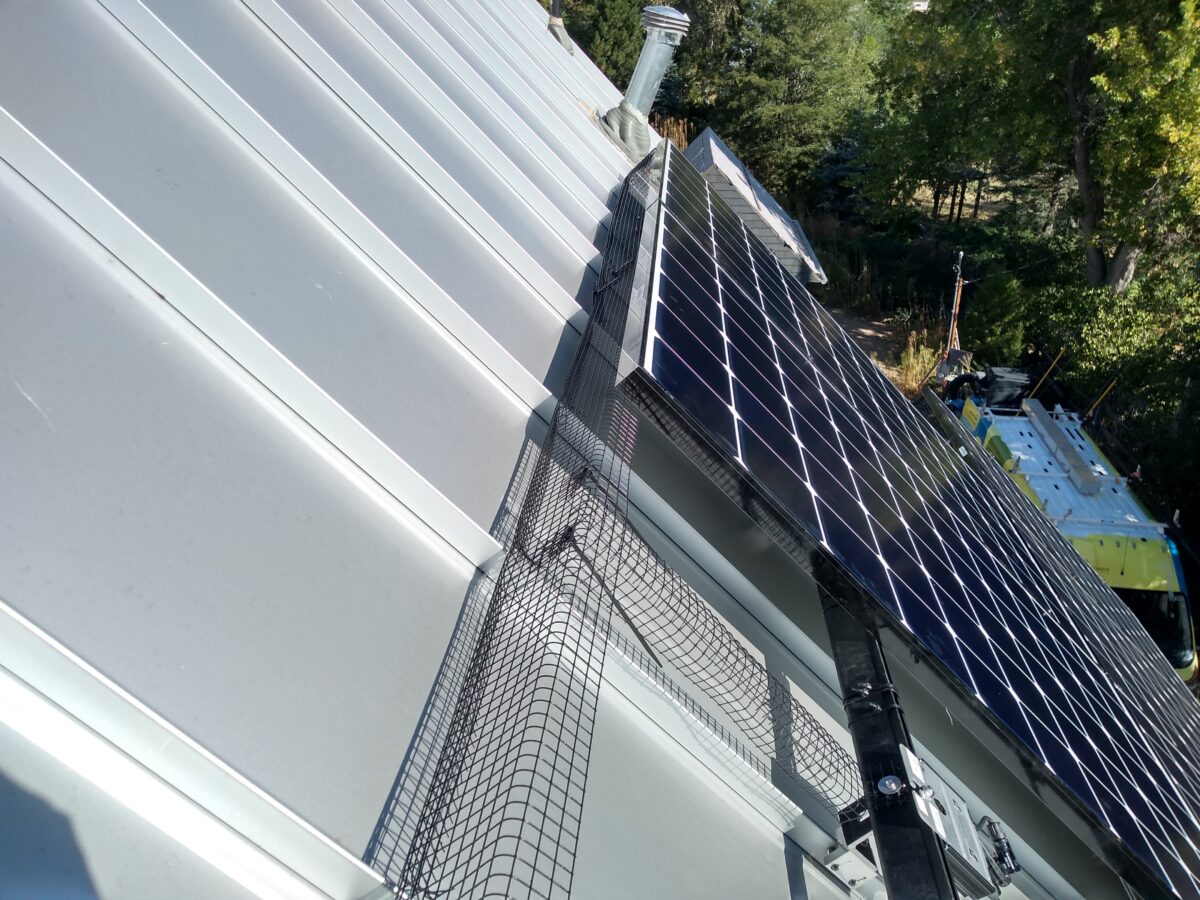
Installing Solar Critter Guard over Standing-Seam Metal Roofs
Protecting your solar installation from birds and other pests is essential, even on standing-seam metal roofs where critter problems might seem less common. Here are some tips we’ve learned from our own experience as well as that of our professional installer customers. Key Considerations for Critter Guard Installation on Metal Roofs Avoid Direct Metal Contact…
-
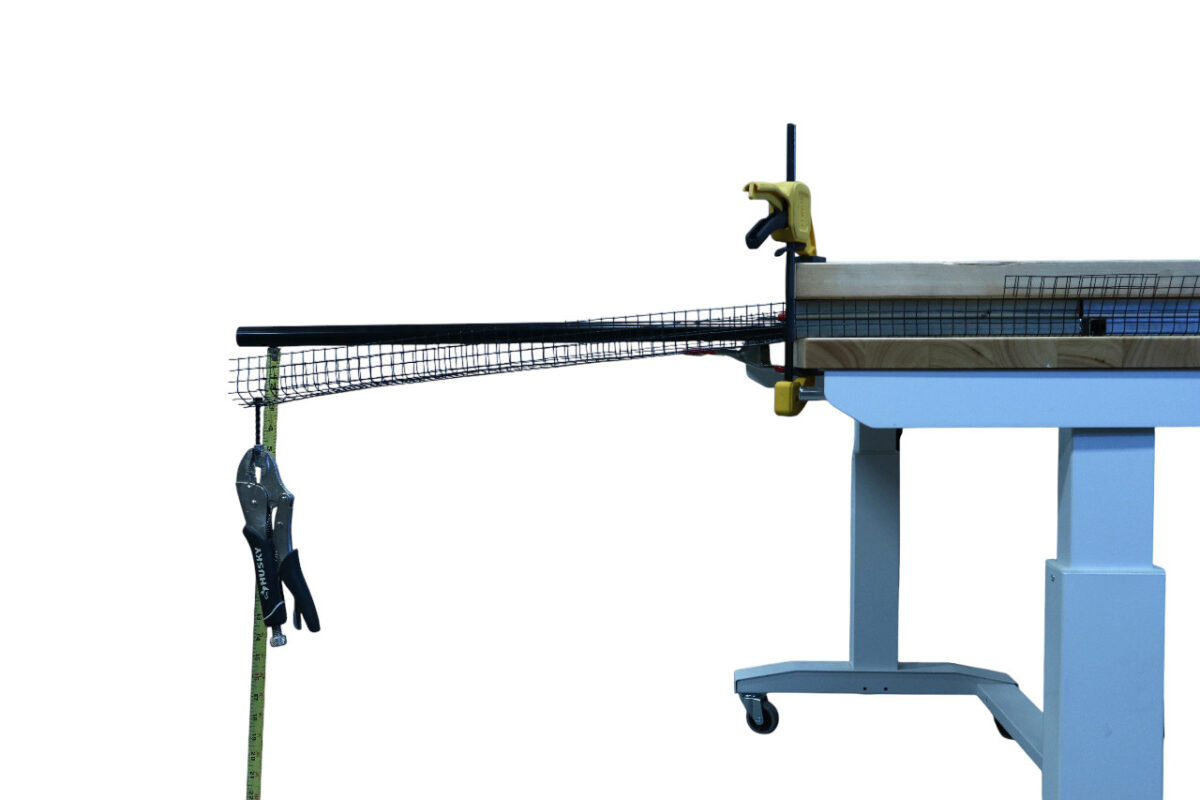
Testing the Strength & Stiffness of Ultra-Cheap Solar Critter Guard from Home Depot & Amazon
We compared low-cost and premium wire meshes to see if you get what you pay for.

