Page Contents
The Spindle Hook Reinforcement can be used to repair an AG Bender Spindle Support plate which was damaged, or to reinforce the plate to prevent damage.
Before you begin
- The reinforcement kit comes with enough parts to reinforce/repair both sides of a Bender. You can reinforce or repair one side or both.
- The images below contain colored markup corresponding to the colored bullet points in the text.
- Click any image for a close-up view.
- If you have suggestions to make these instructions more useful, please add them to the Comments at the bottom of the page!
Required tools and equipment
- AG Bender. The kit is compatible with R6 and R7 Benders. Learn how to identify your Bender model.
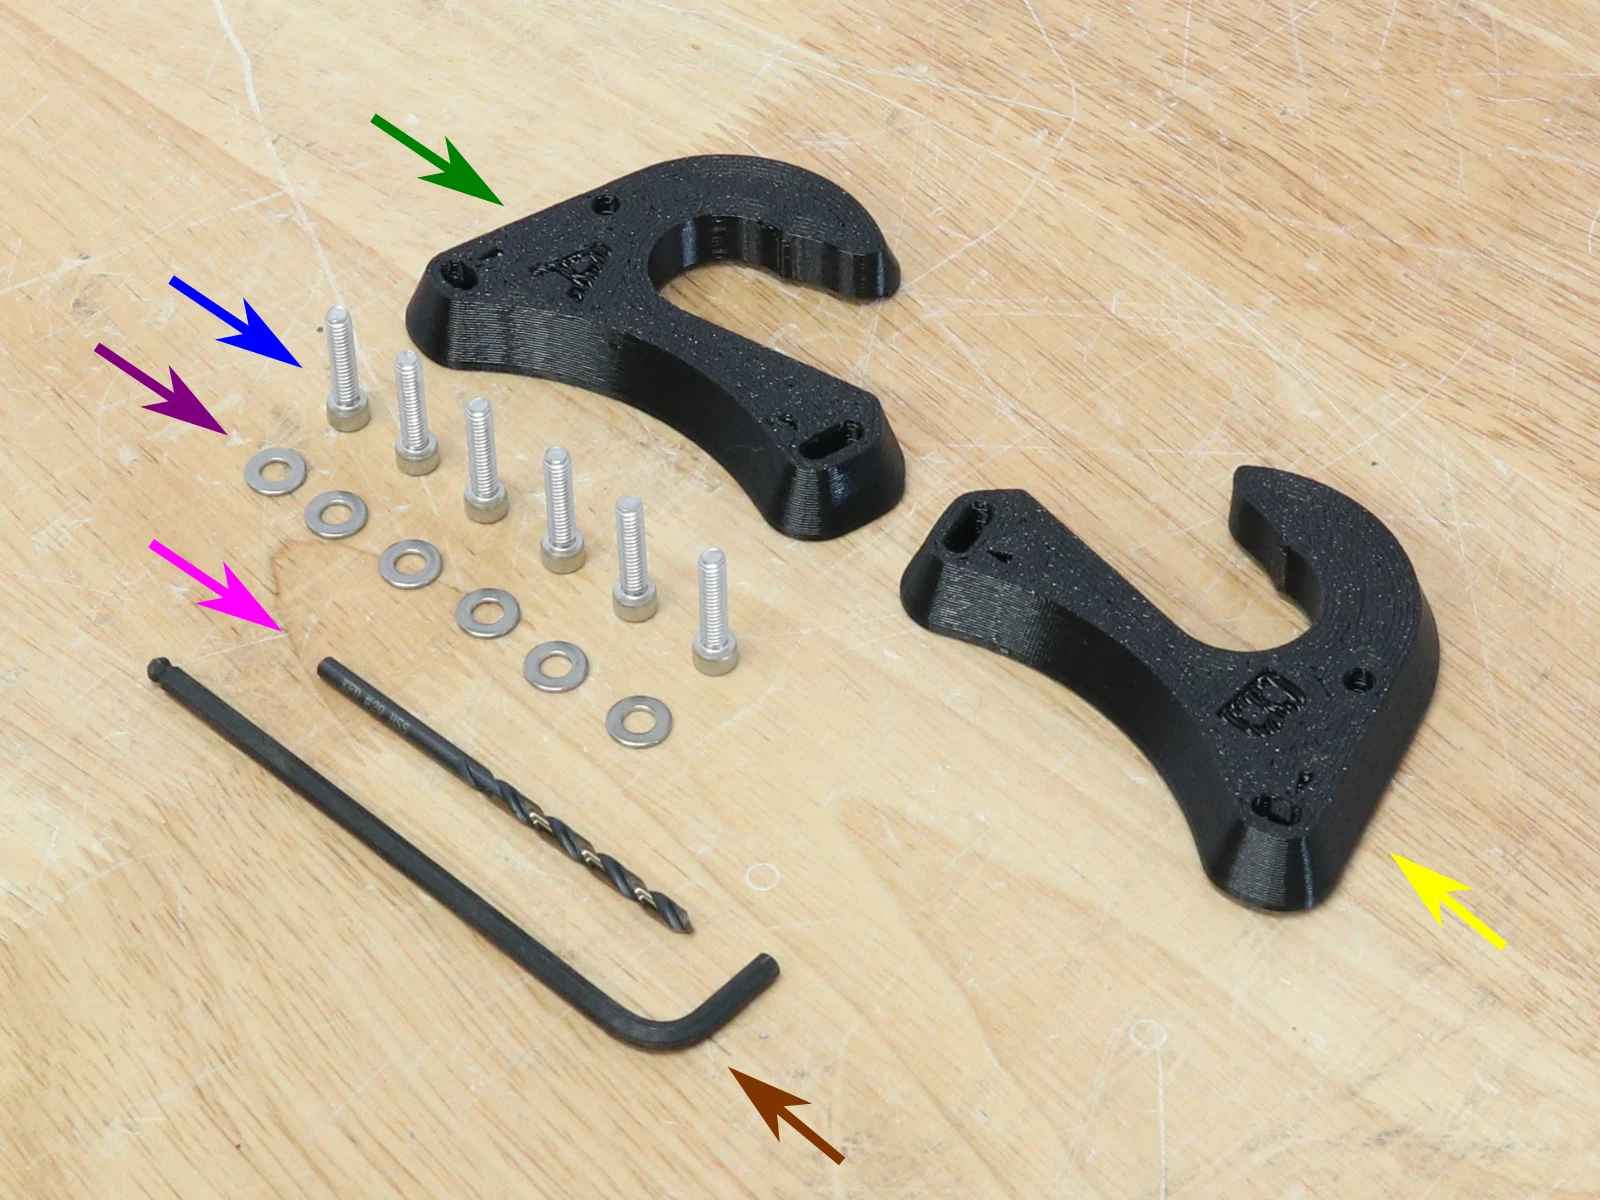
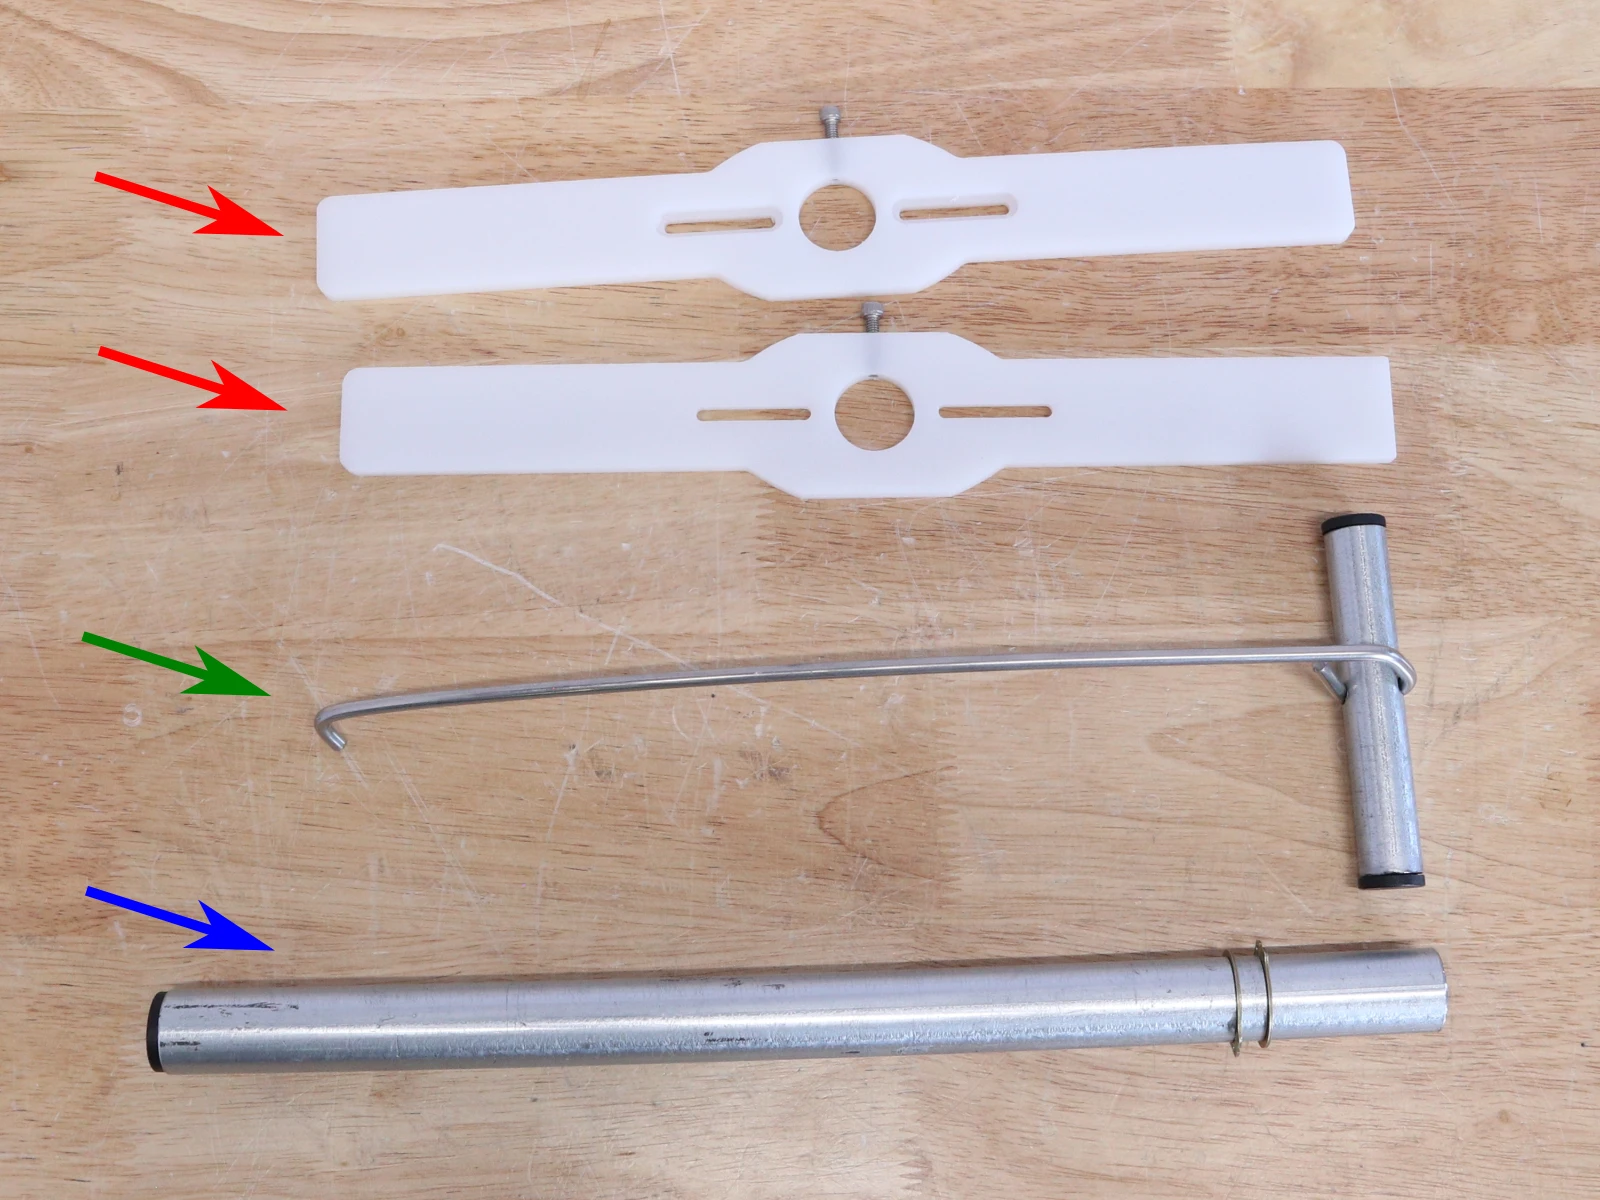
- Hook reinforcement kit:
- Hook reinforcement side A
- Hook reinforcement side B
- #8-32×3/4″ socket cap screw (x6)
- #8 washer (x6)
- 9/64 hex key
- #29 drill bit
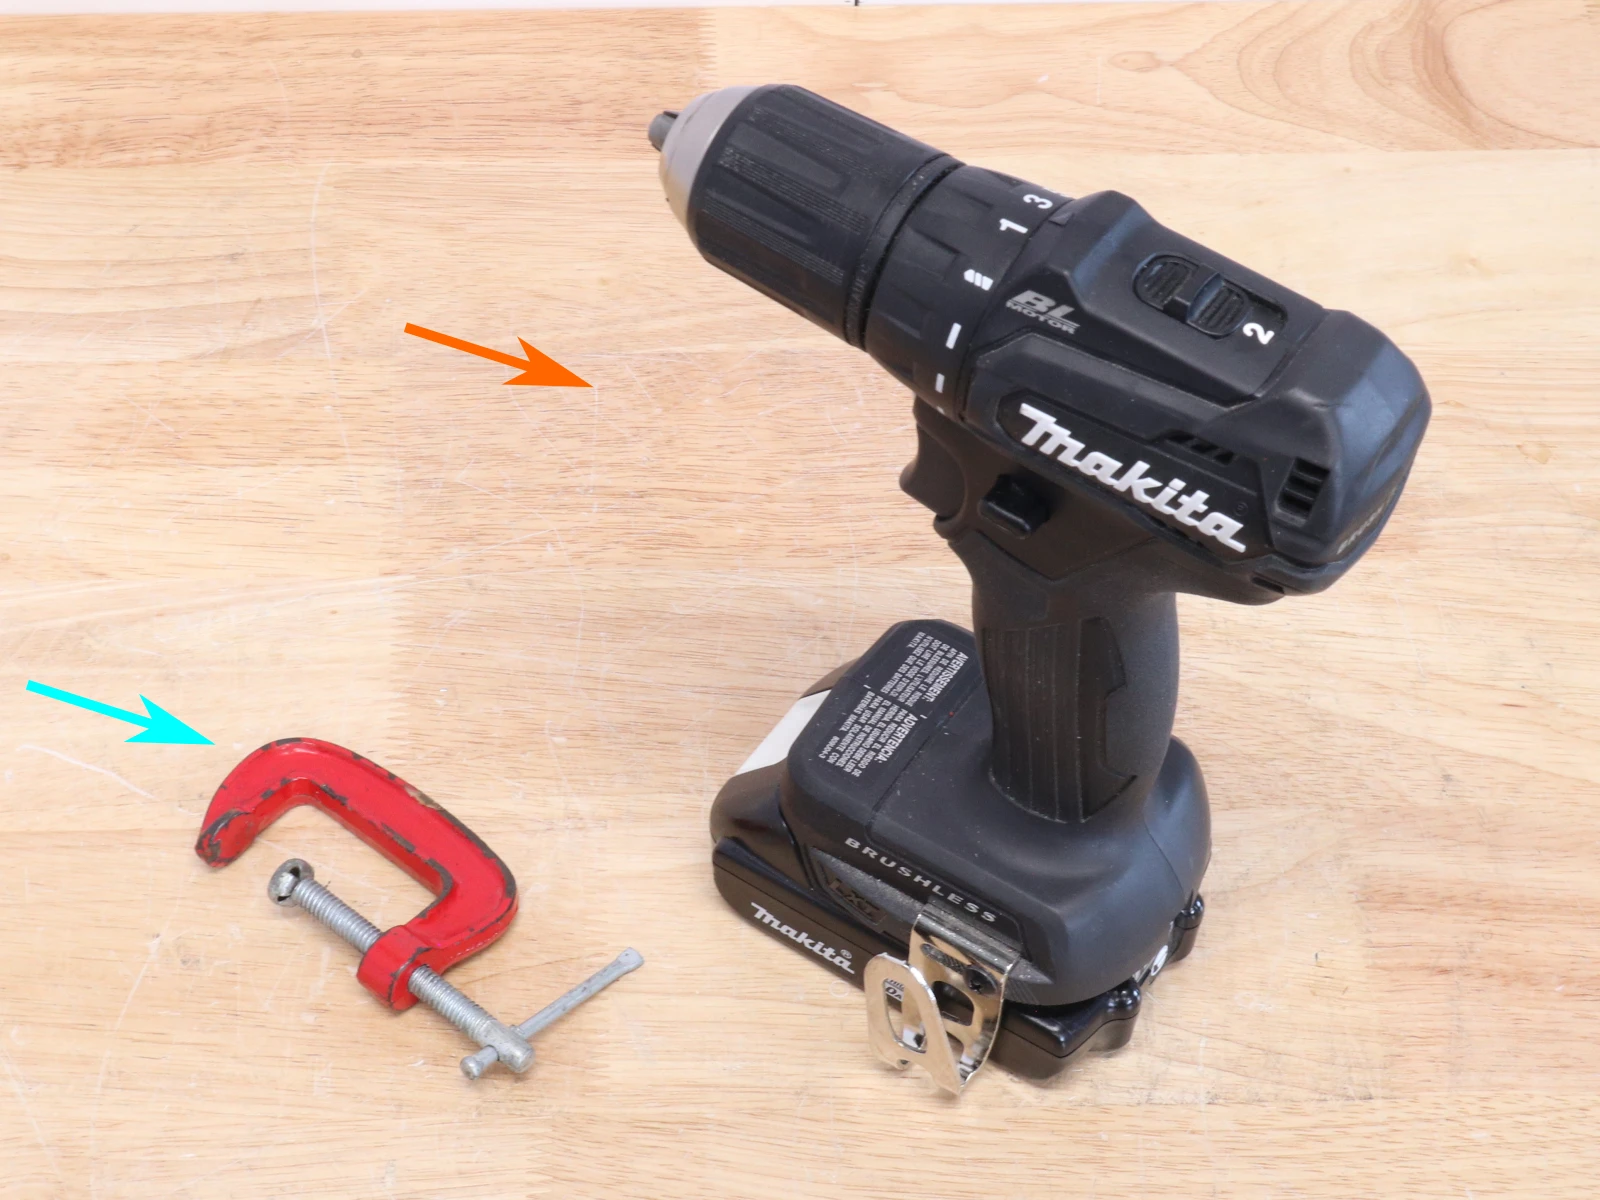
- Drill
- Clamp (we are using a C-clamp, but a spring or other type clamp would also work)
Prepare AG Bender
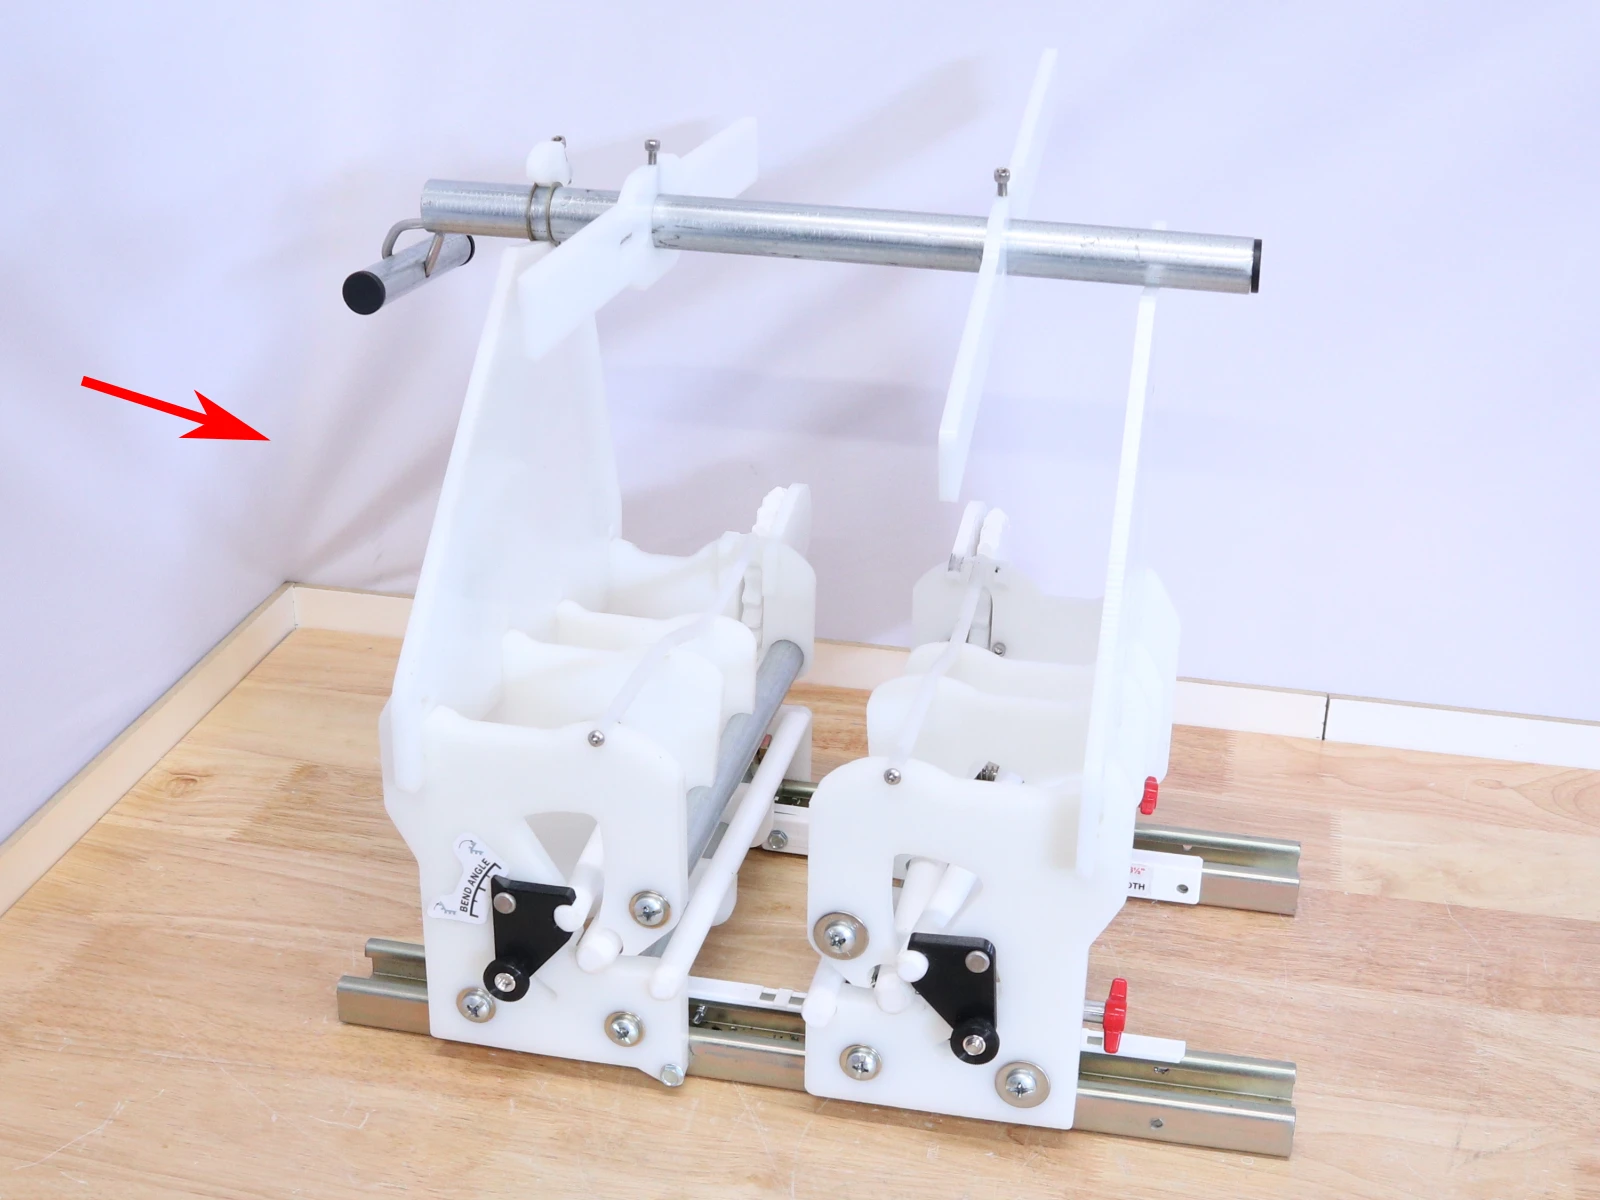
- Place Bender on a solid surface.
- Remove the Spindle from the Bender.
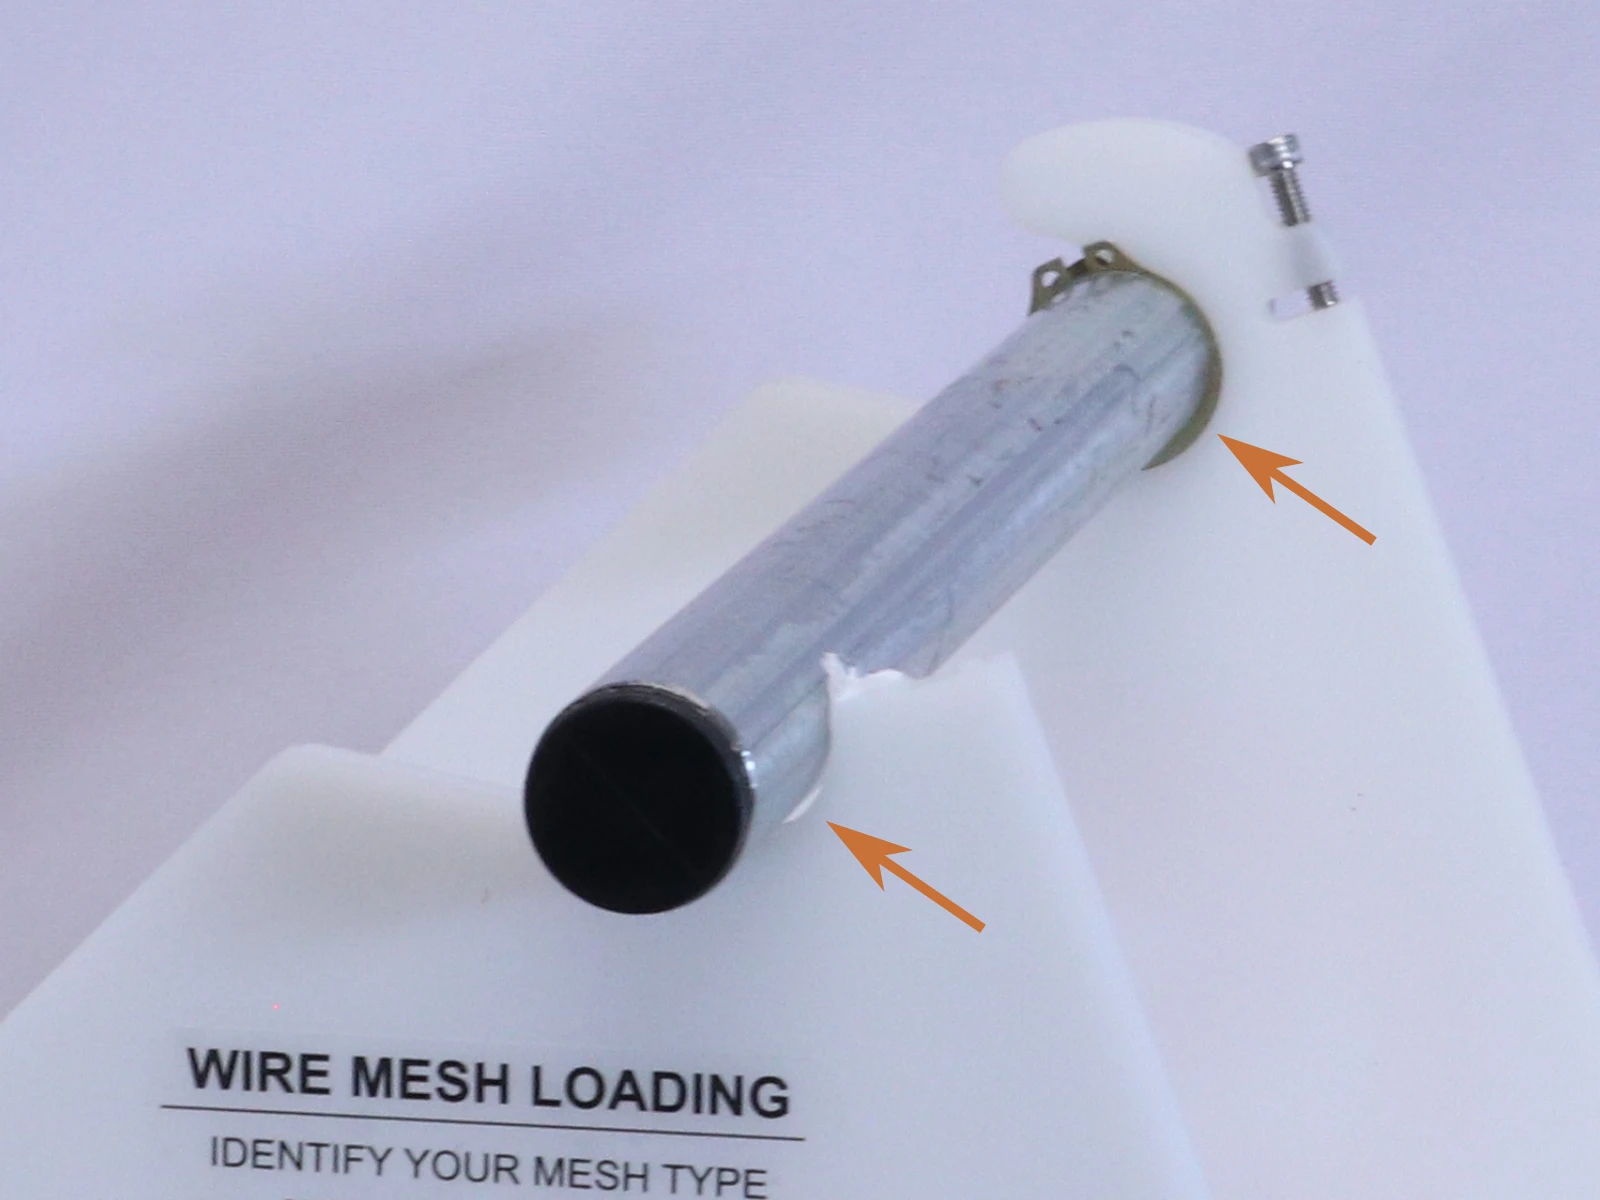
- Remove the Hook from the spindle and set it aside.
- Remove the Spindle Adapters from the Spindle and set them aside.
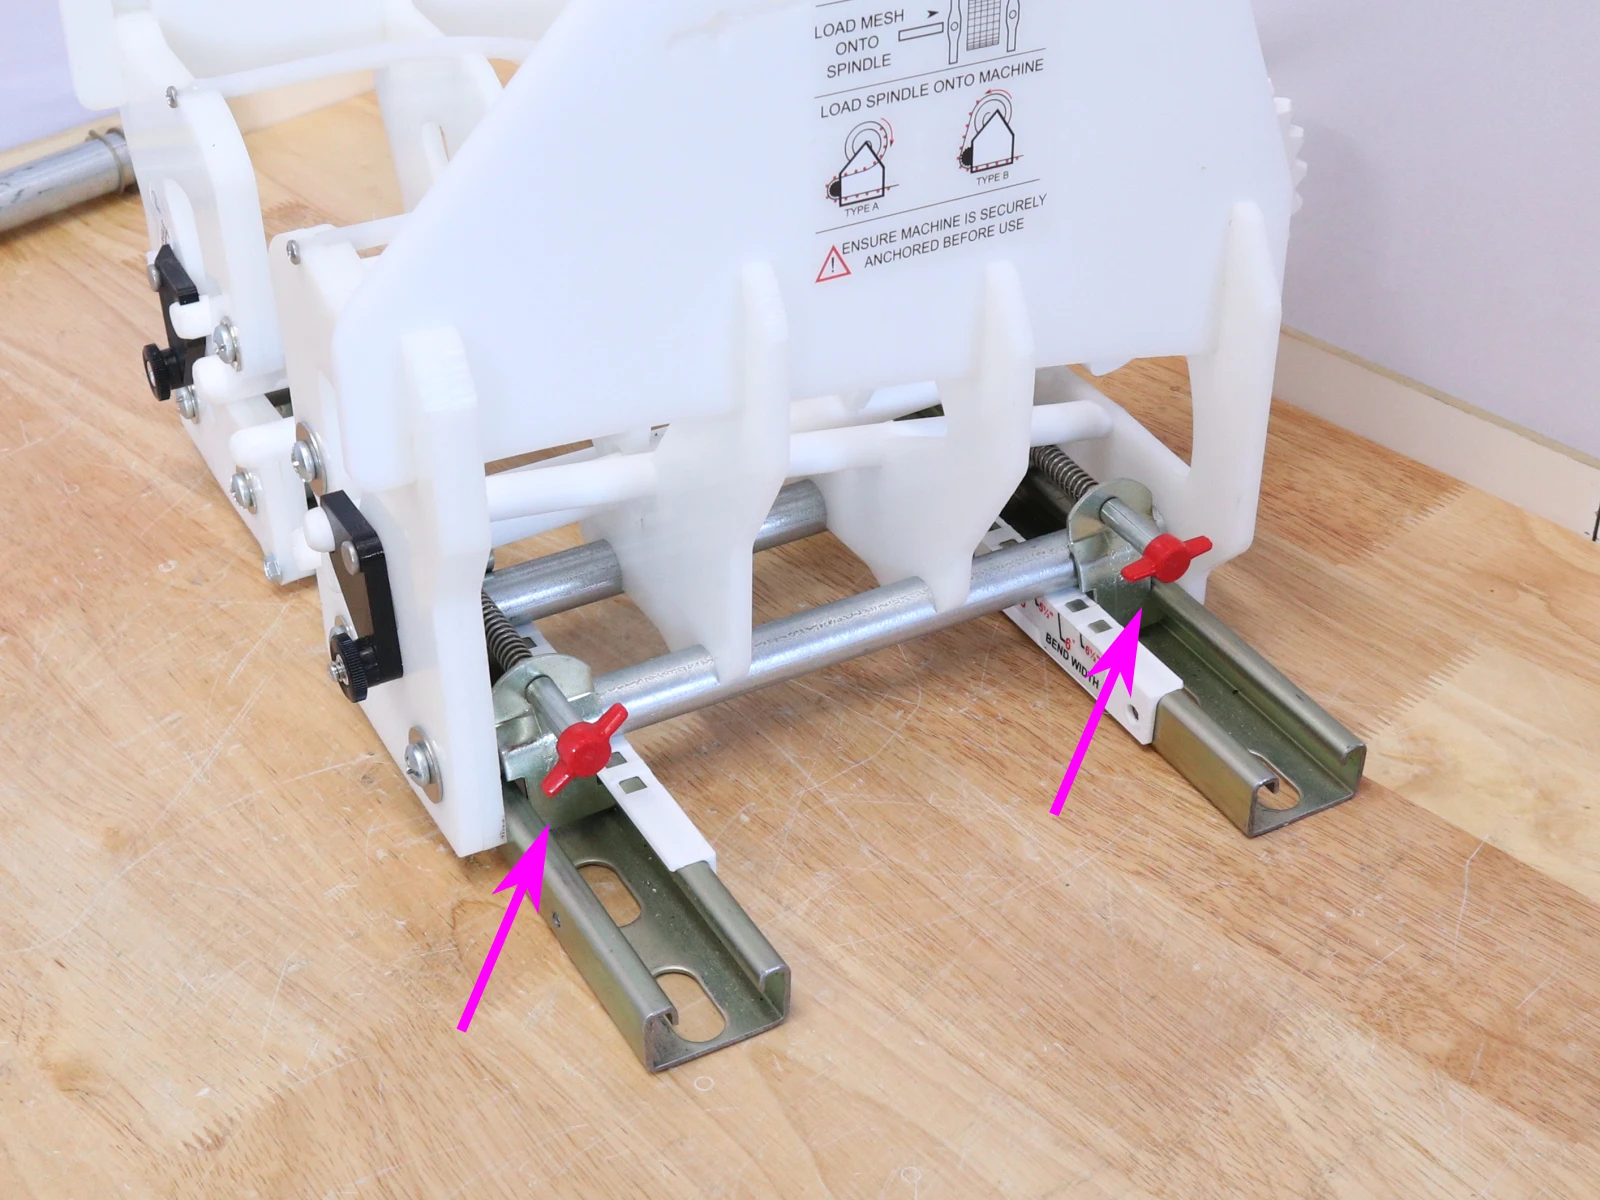
- Lock the Bend Width by tightening the red knobs (the exact width doesn’t matter).
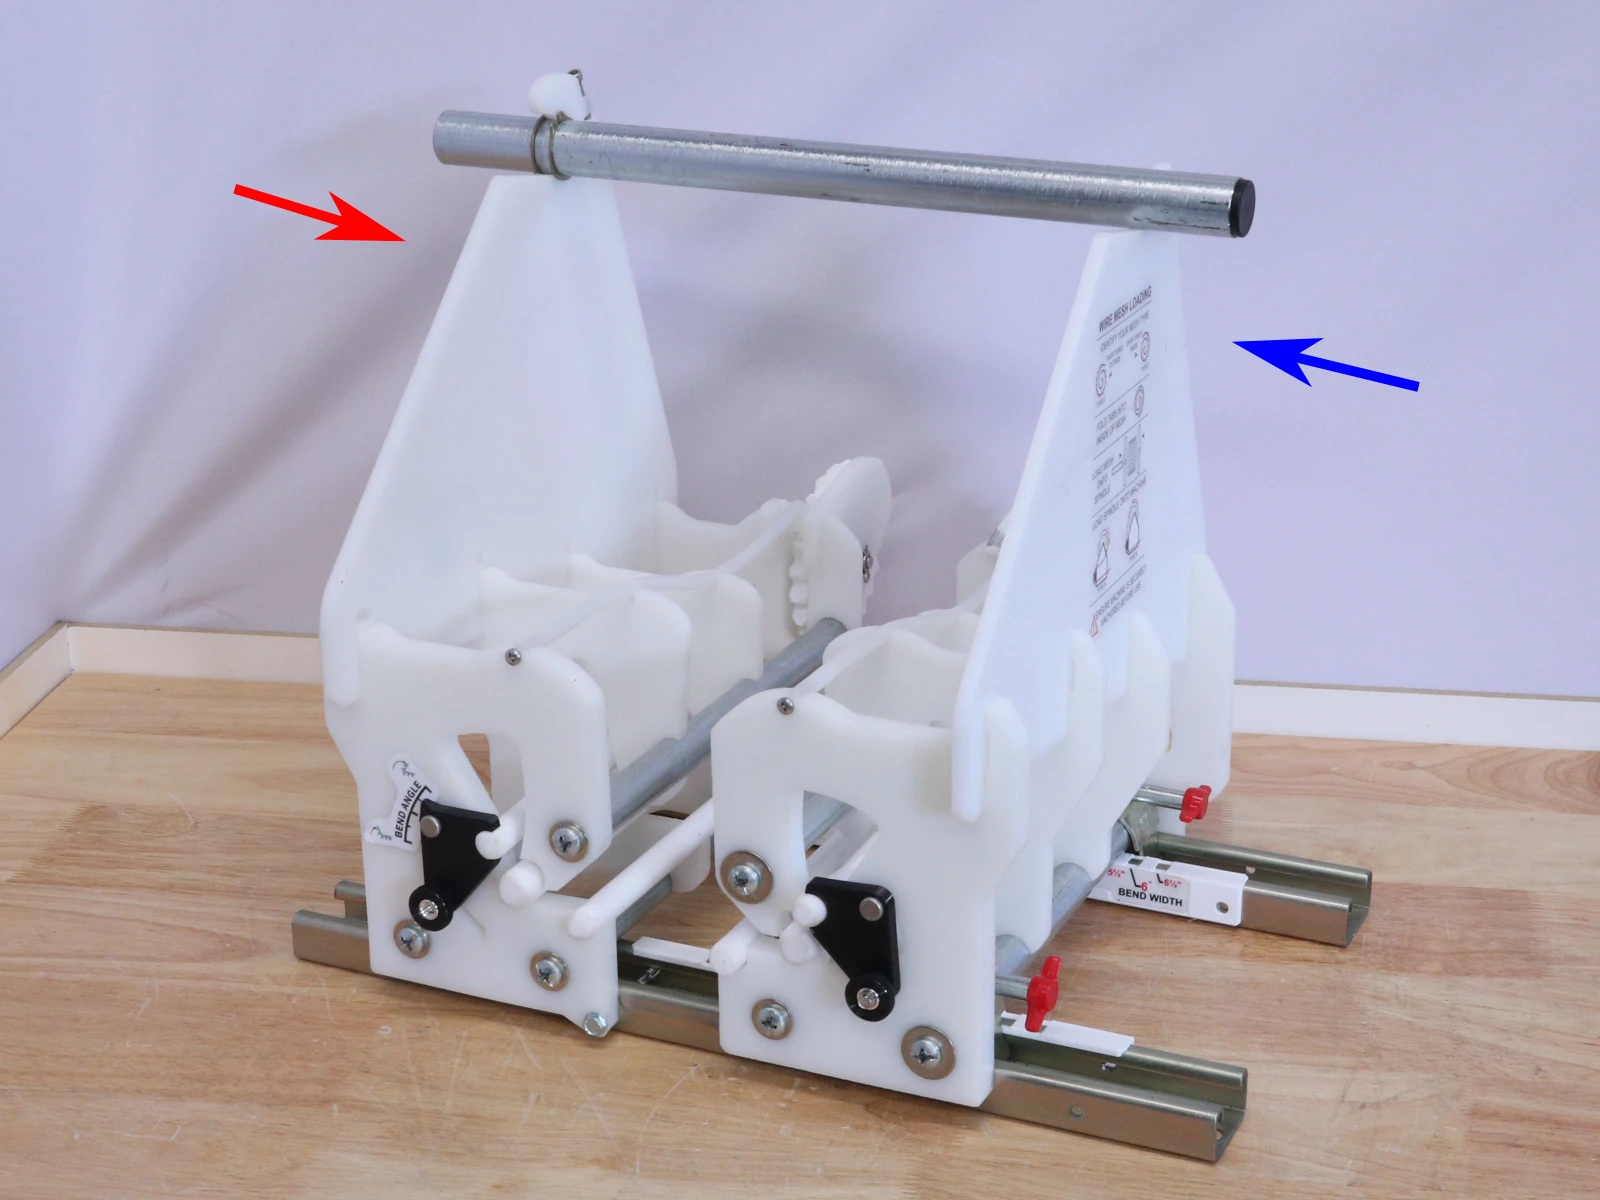
- Pop the spindle back into the machine. Make sure it is seated in the “pockets” of the spindle support plates.
Hook identification
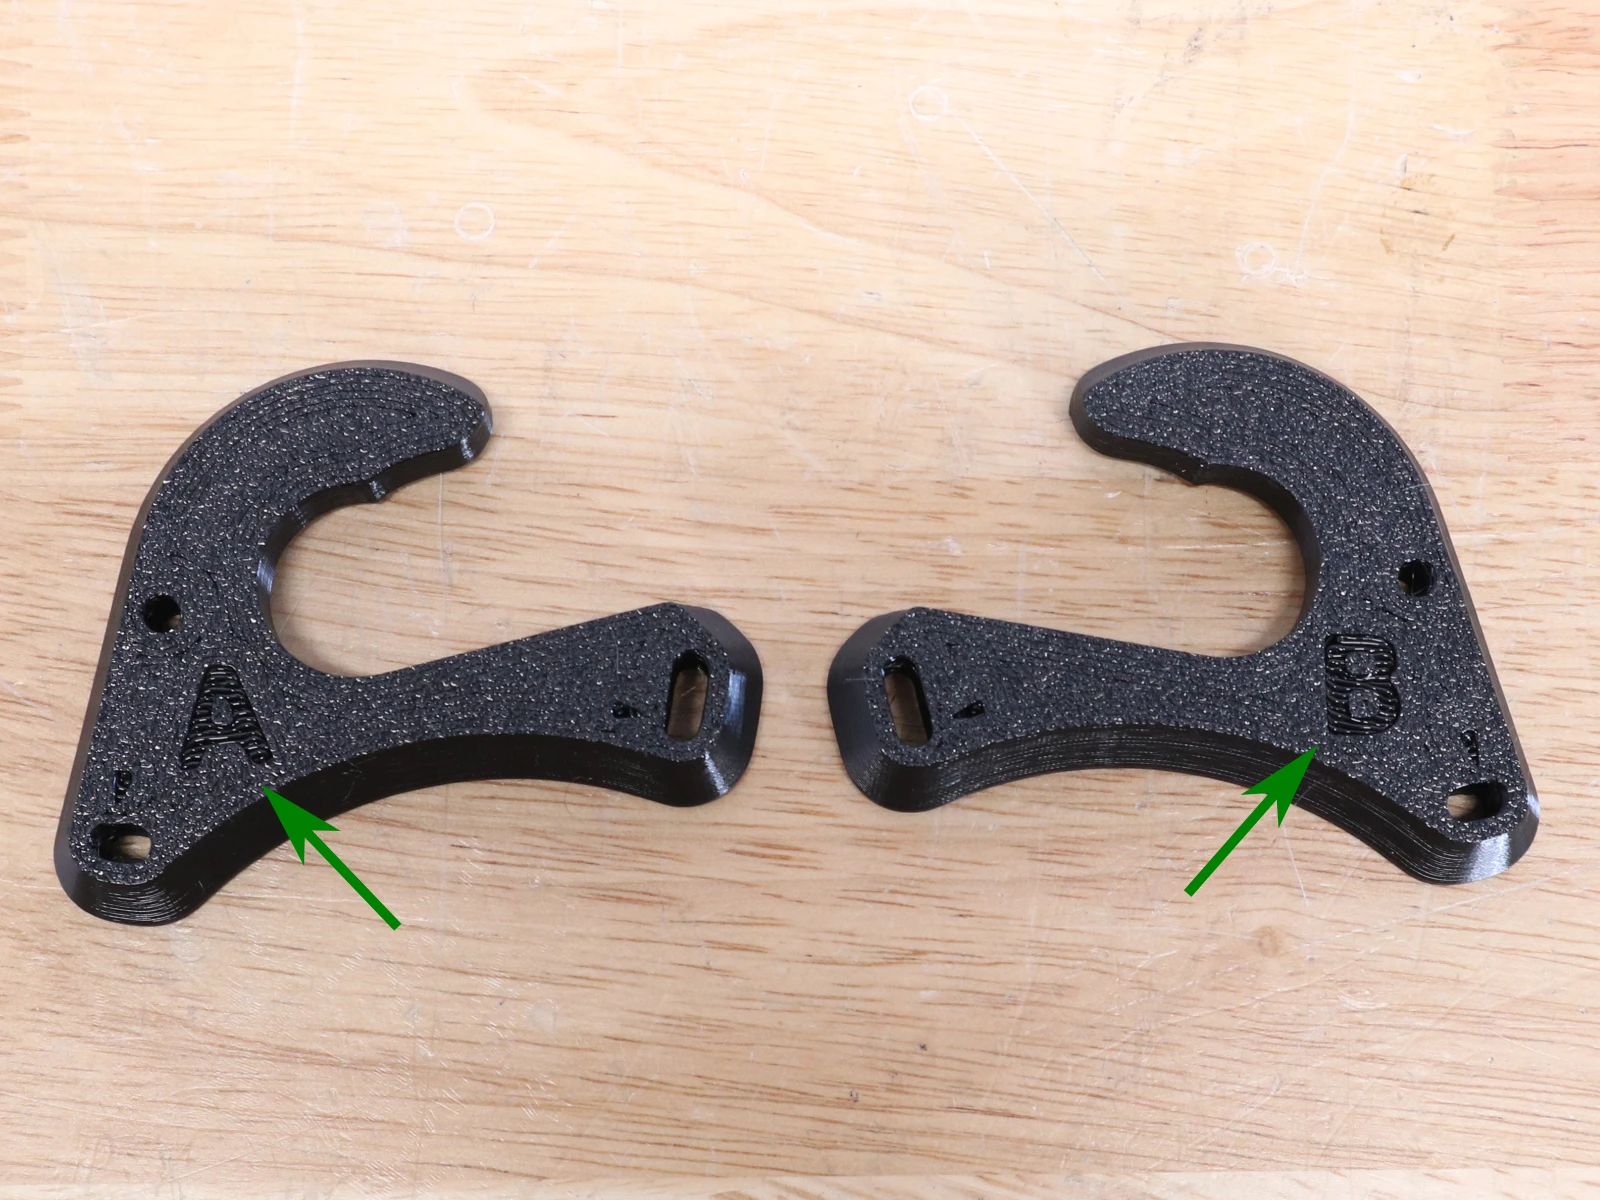
- Identify which side of the machine you’ll be adding the reinforcement to.
- Side A does NOT have red width adjustment knobs. It is fixed to the strut channel.
- Side B DOES have red width adjustment knobs. In the photos, we’ve got a broken hook on side B and will be reinforcing this side.
- The reinforcement hooks are labeled A and B. Pick the appropriate one.
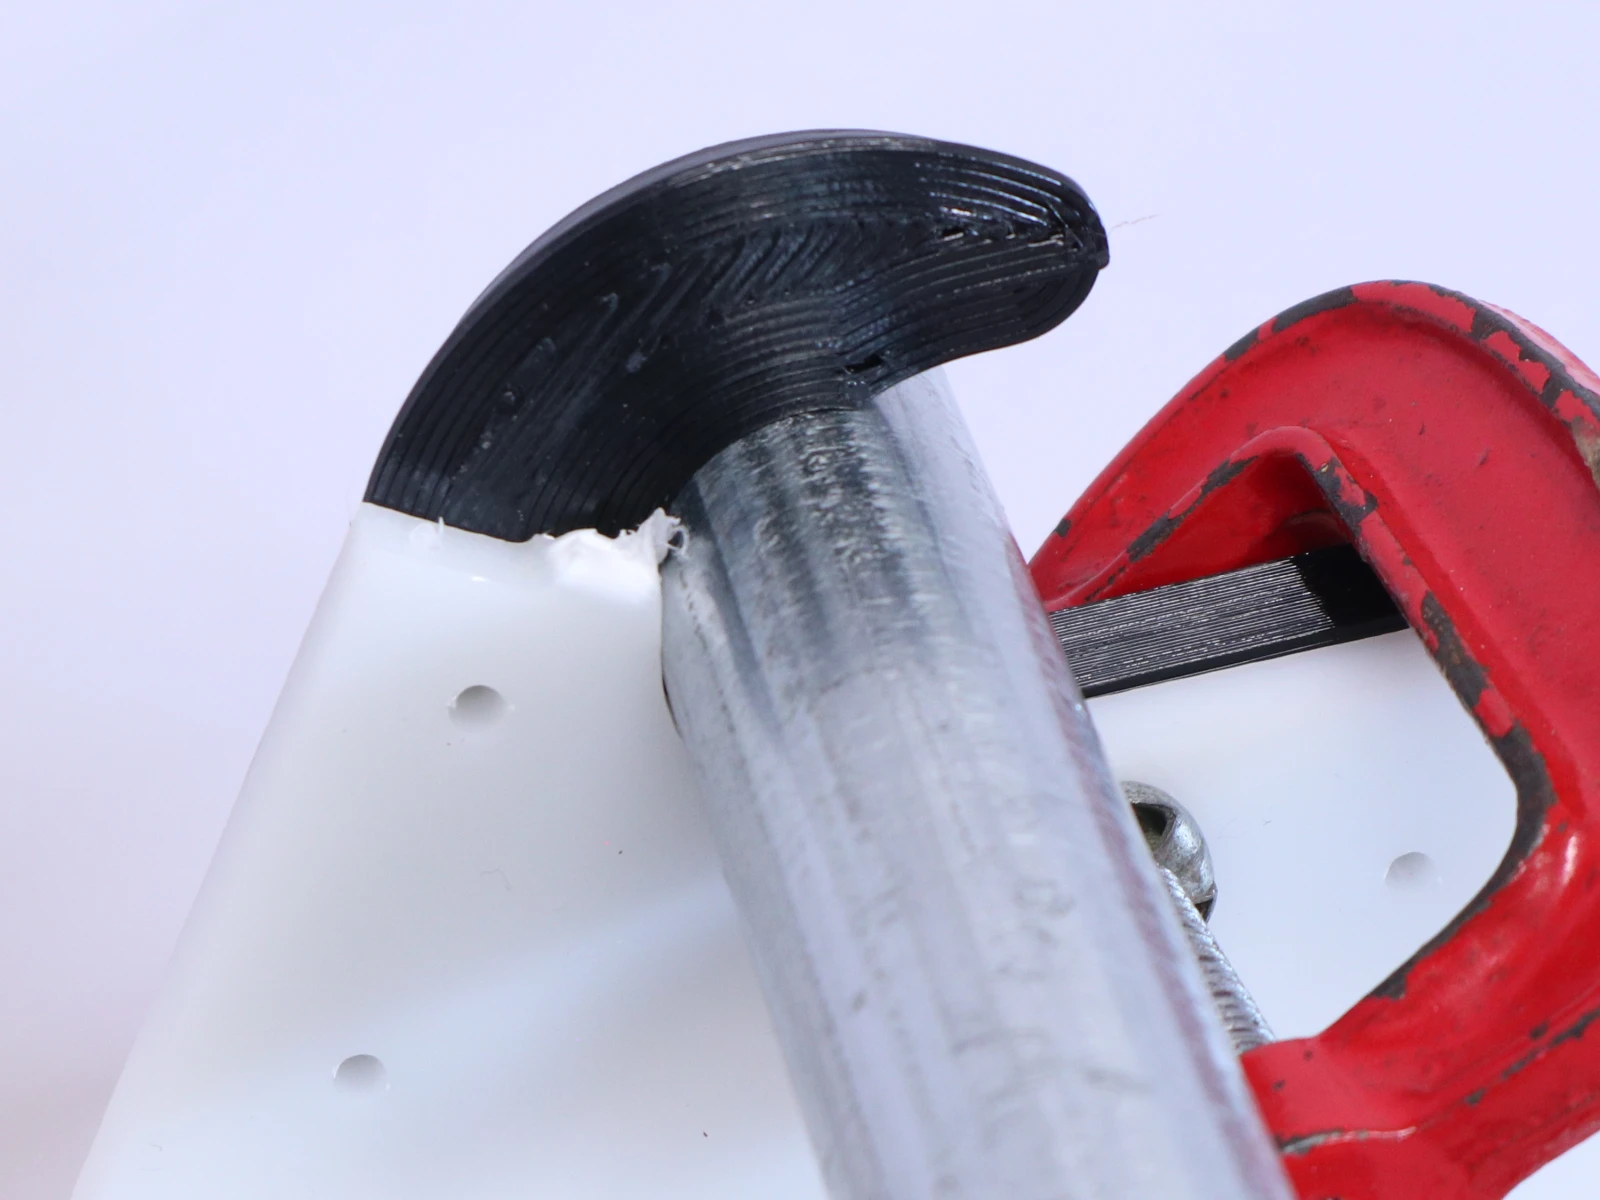
Position the hook
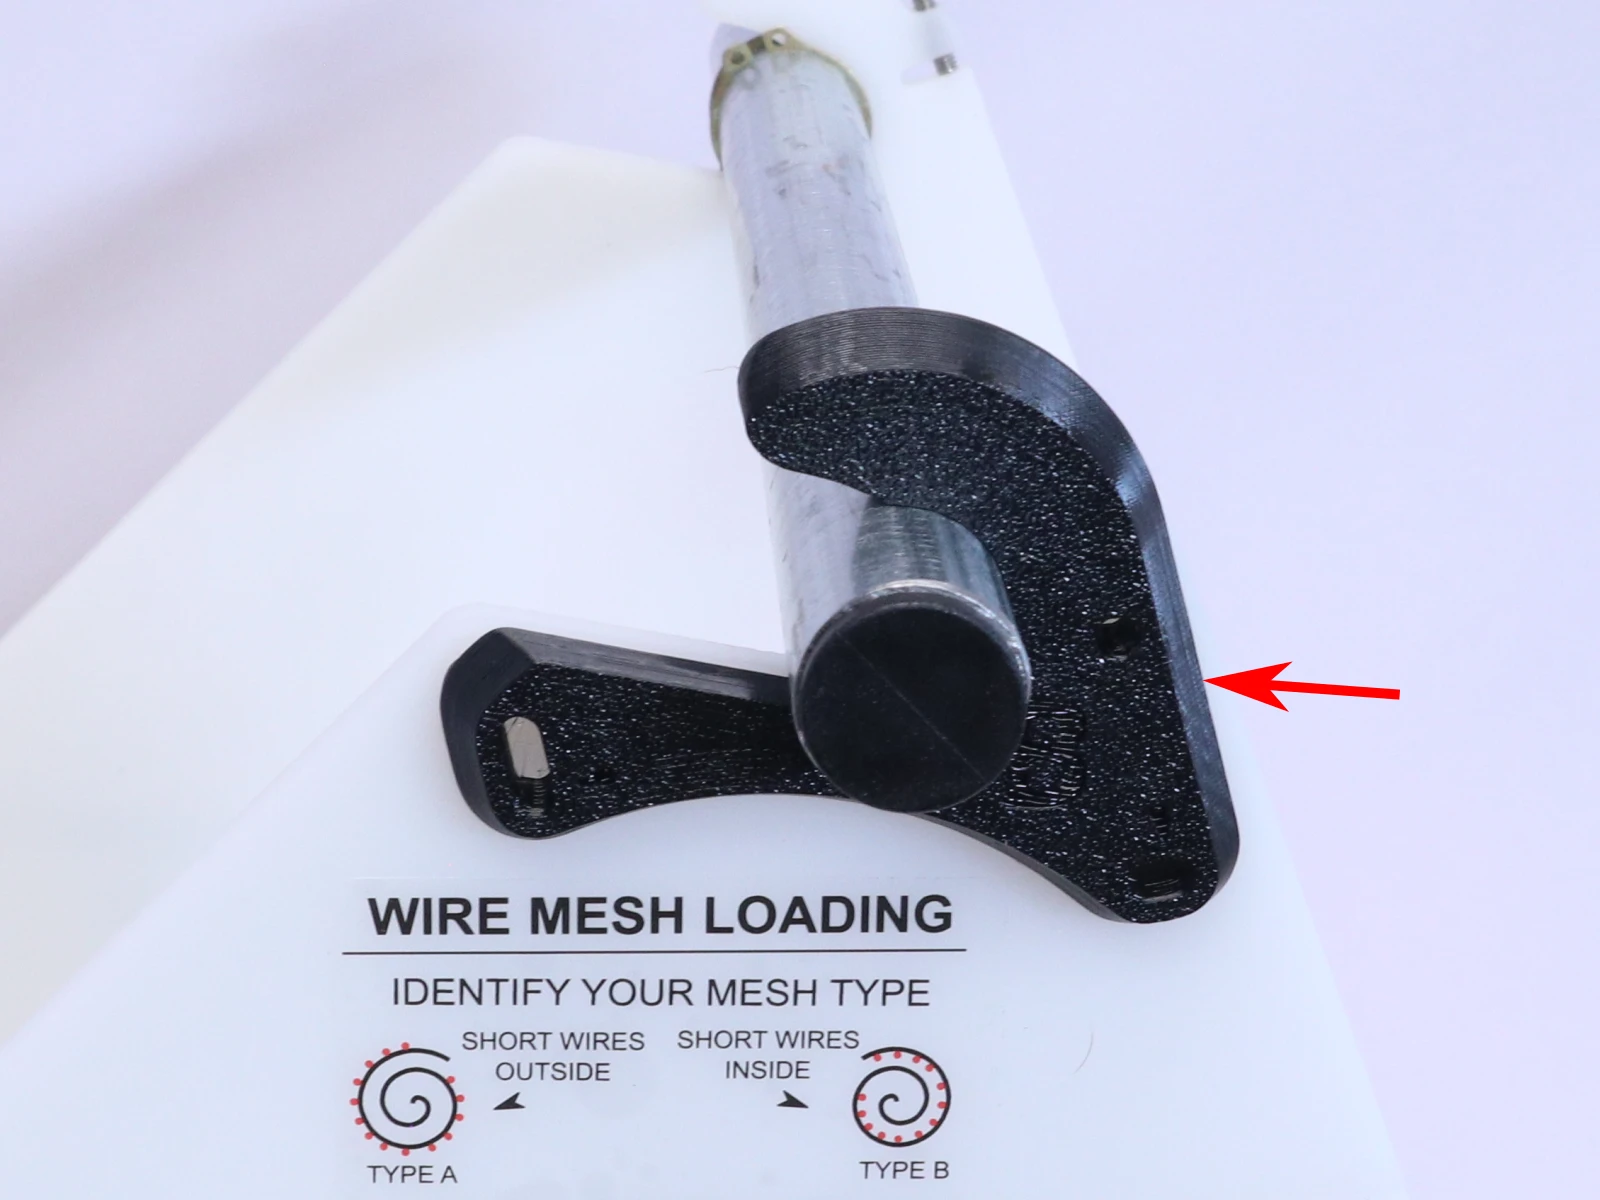
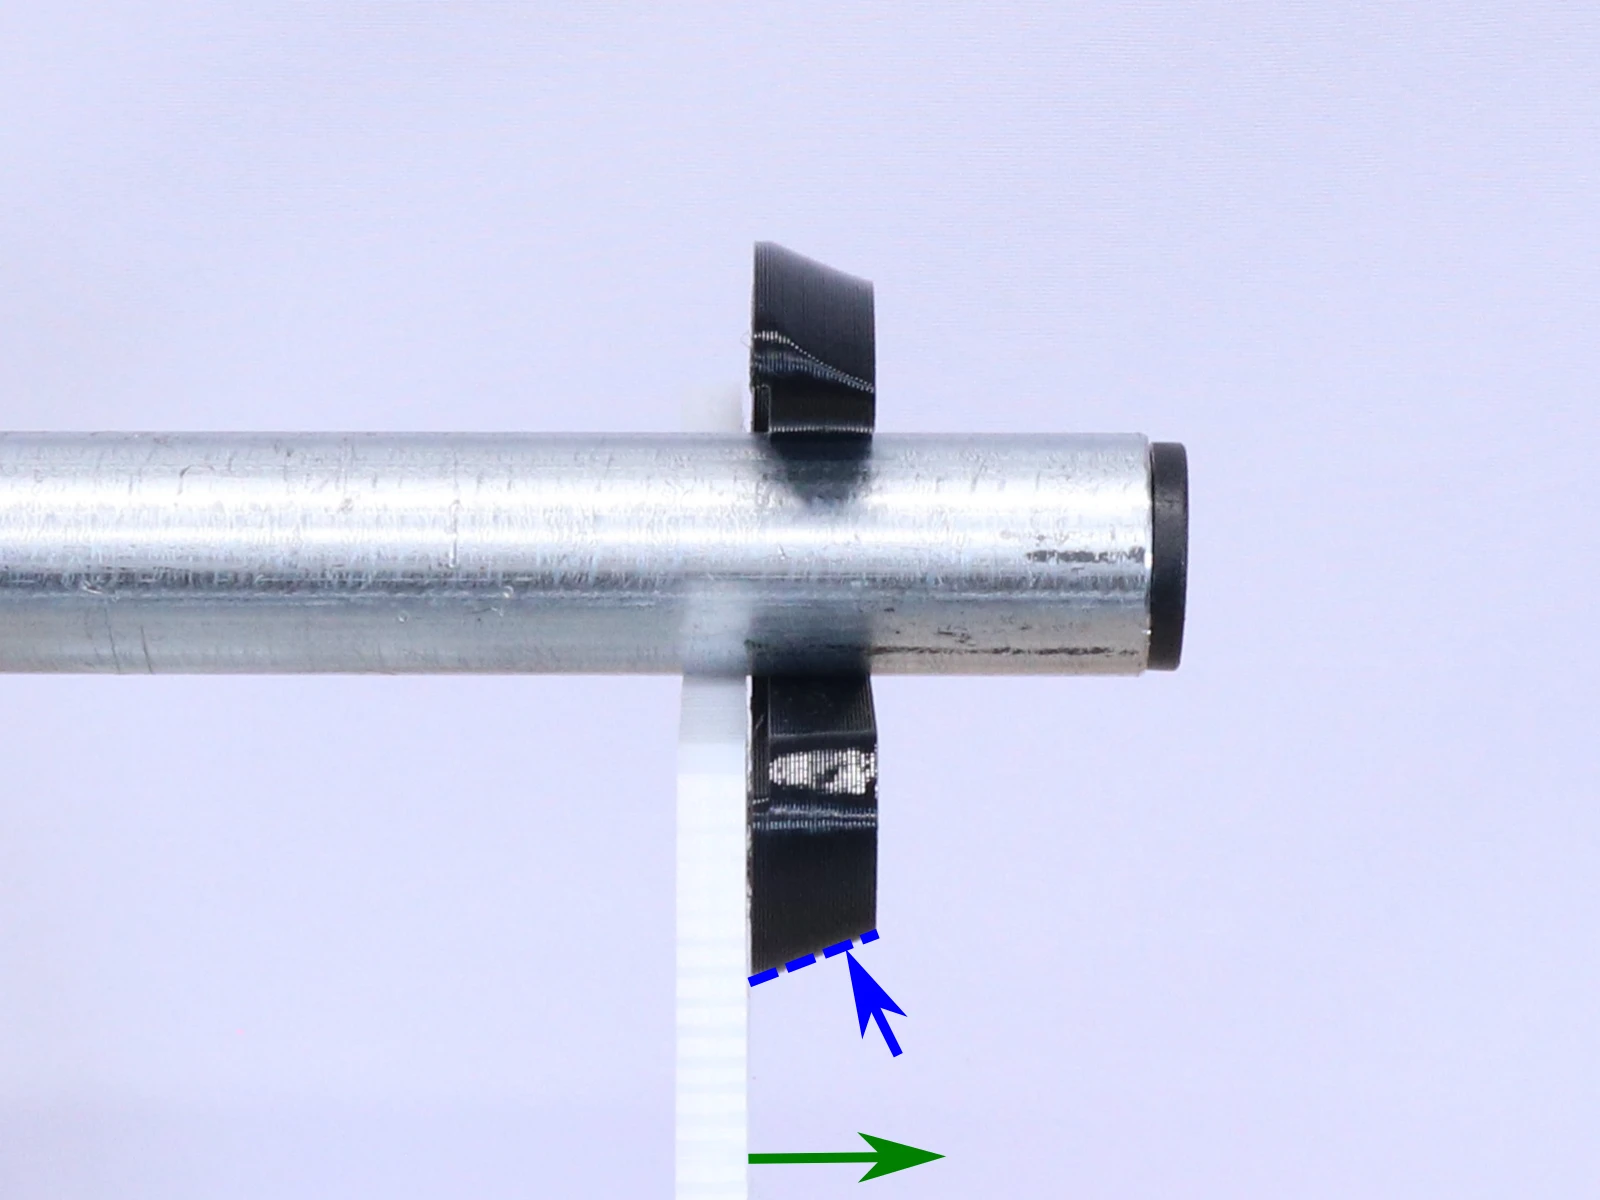
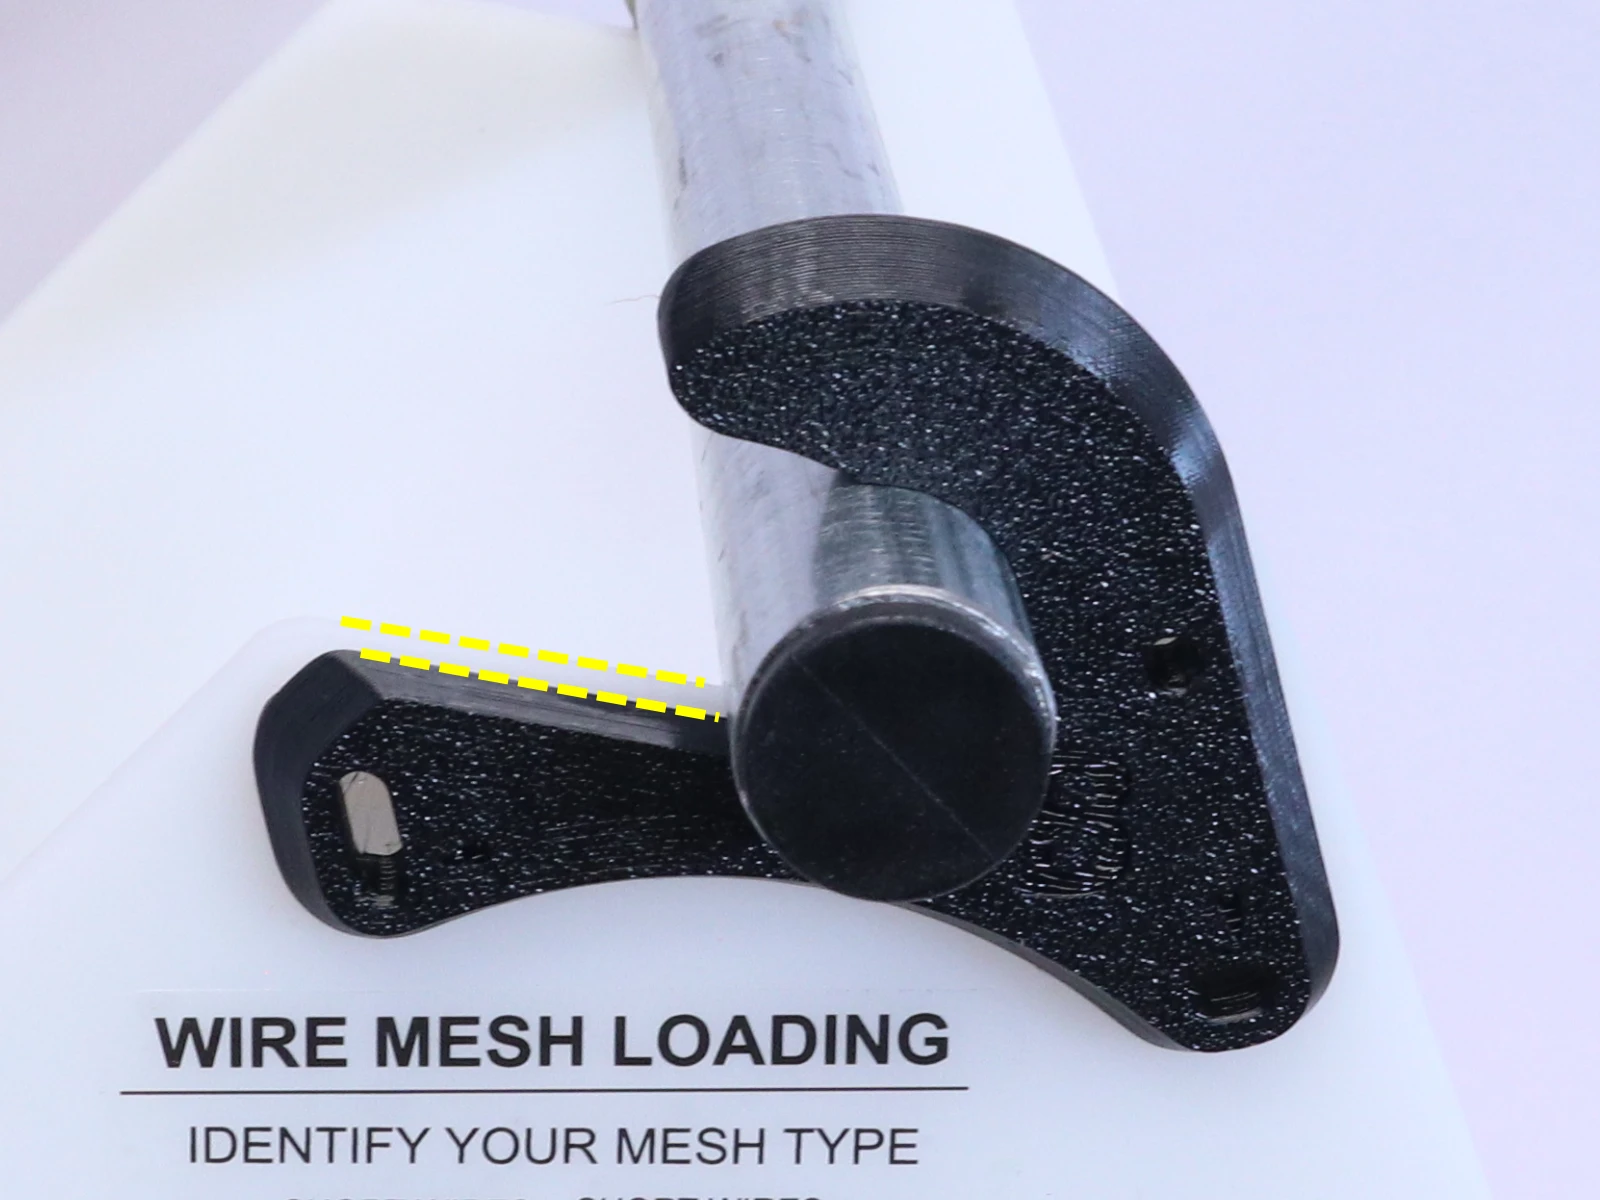
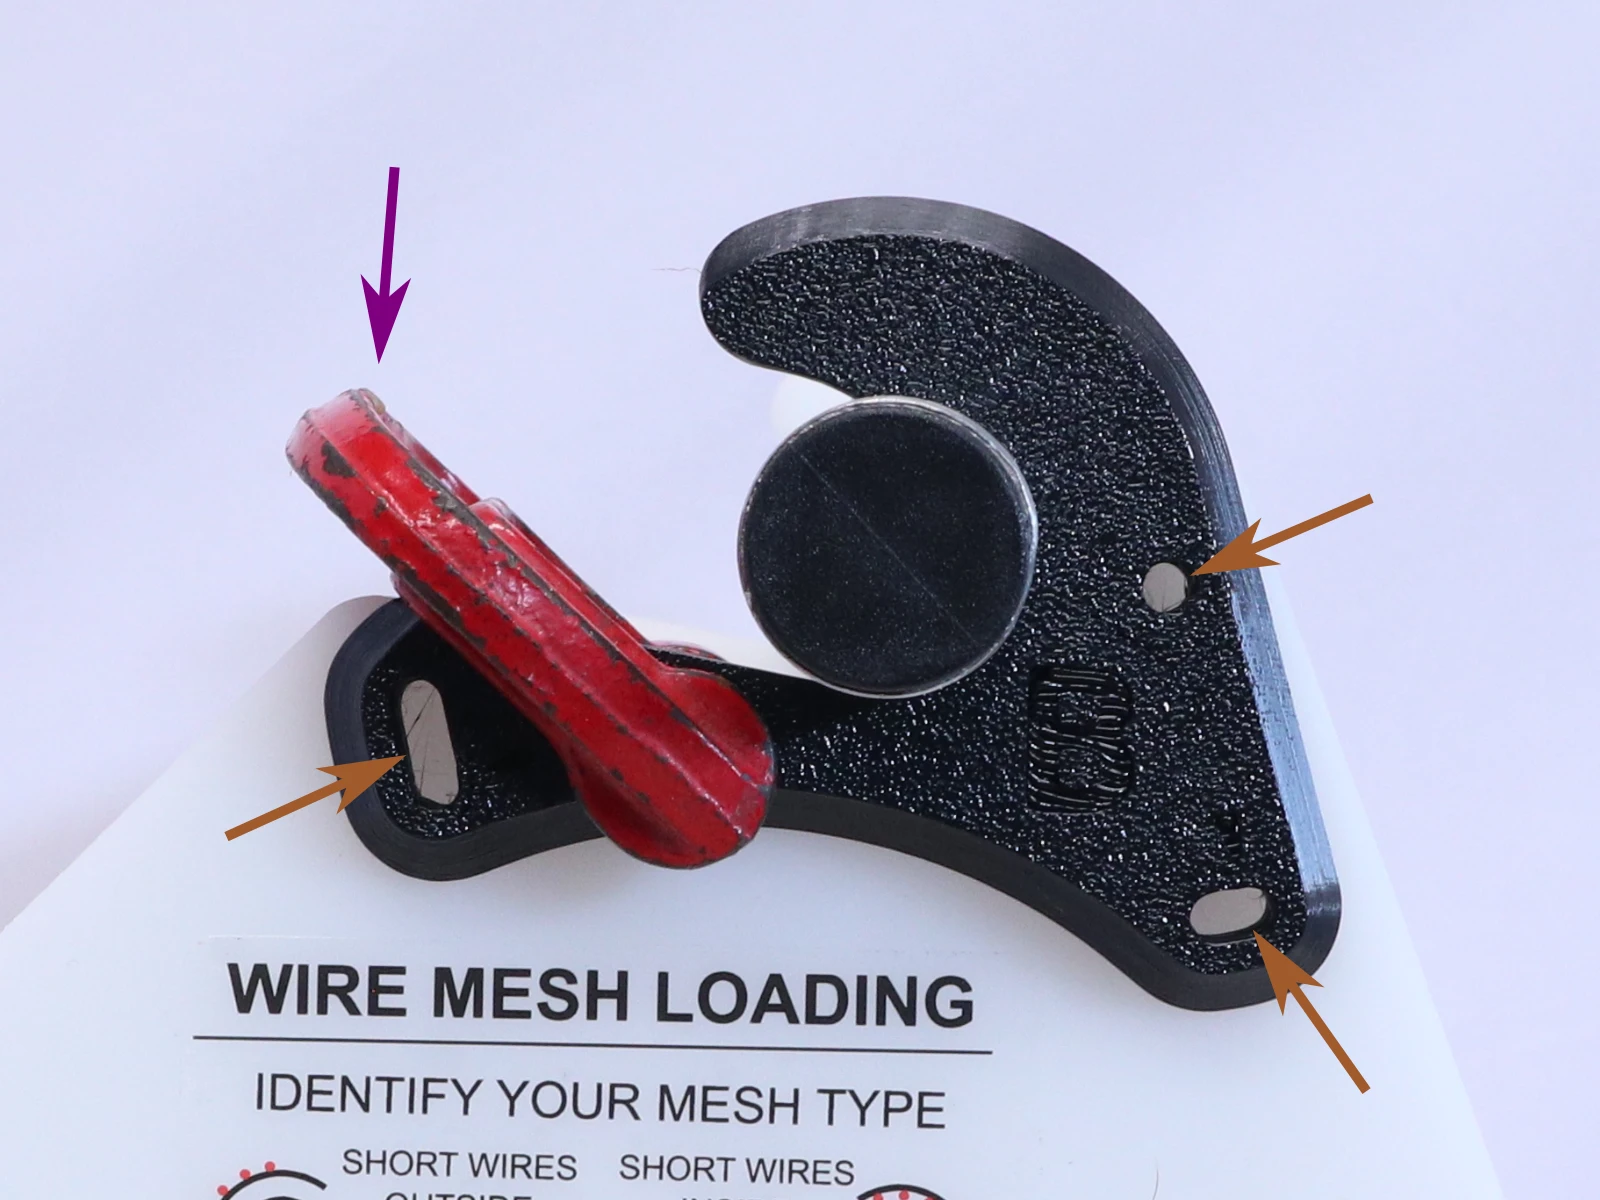
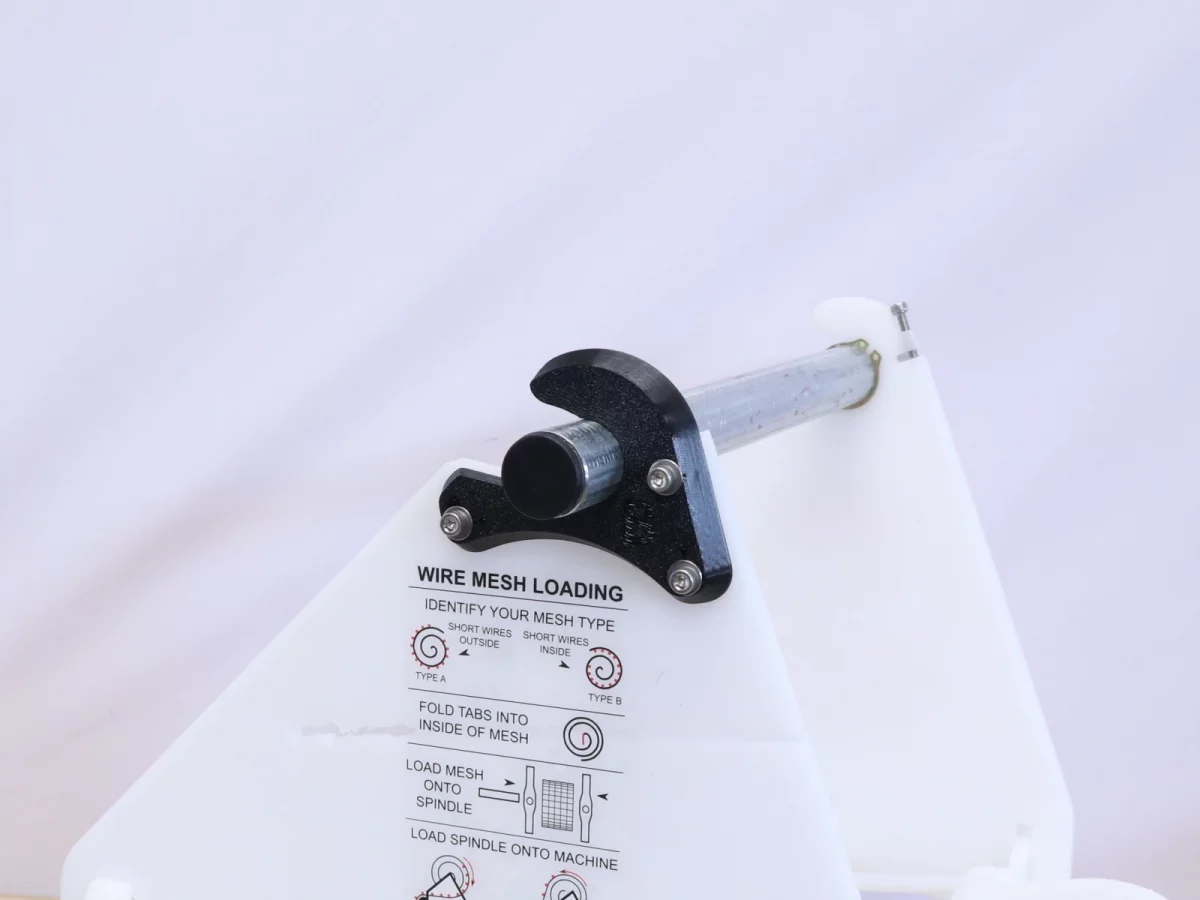
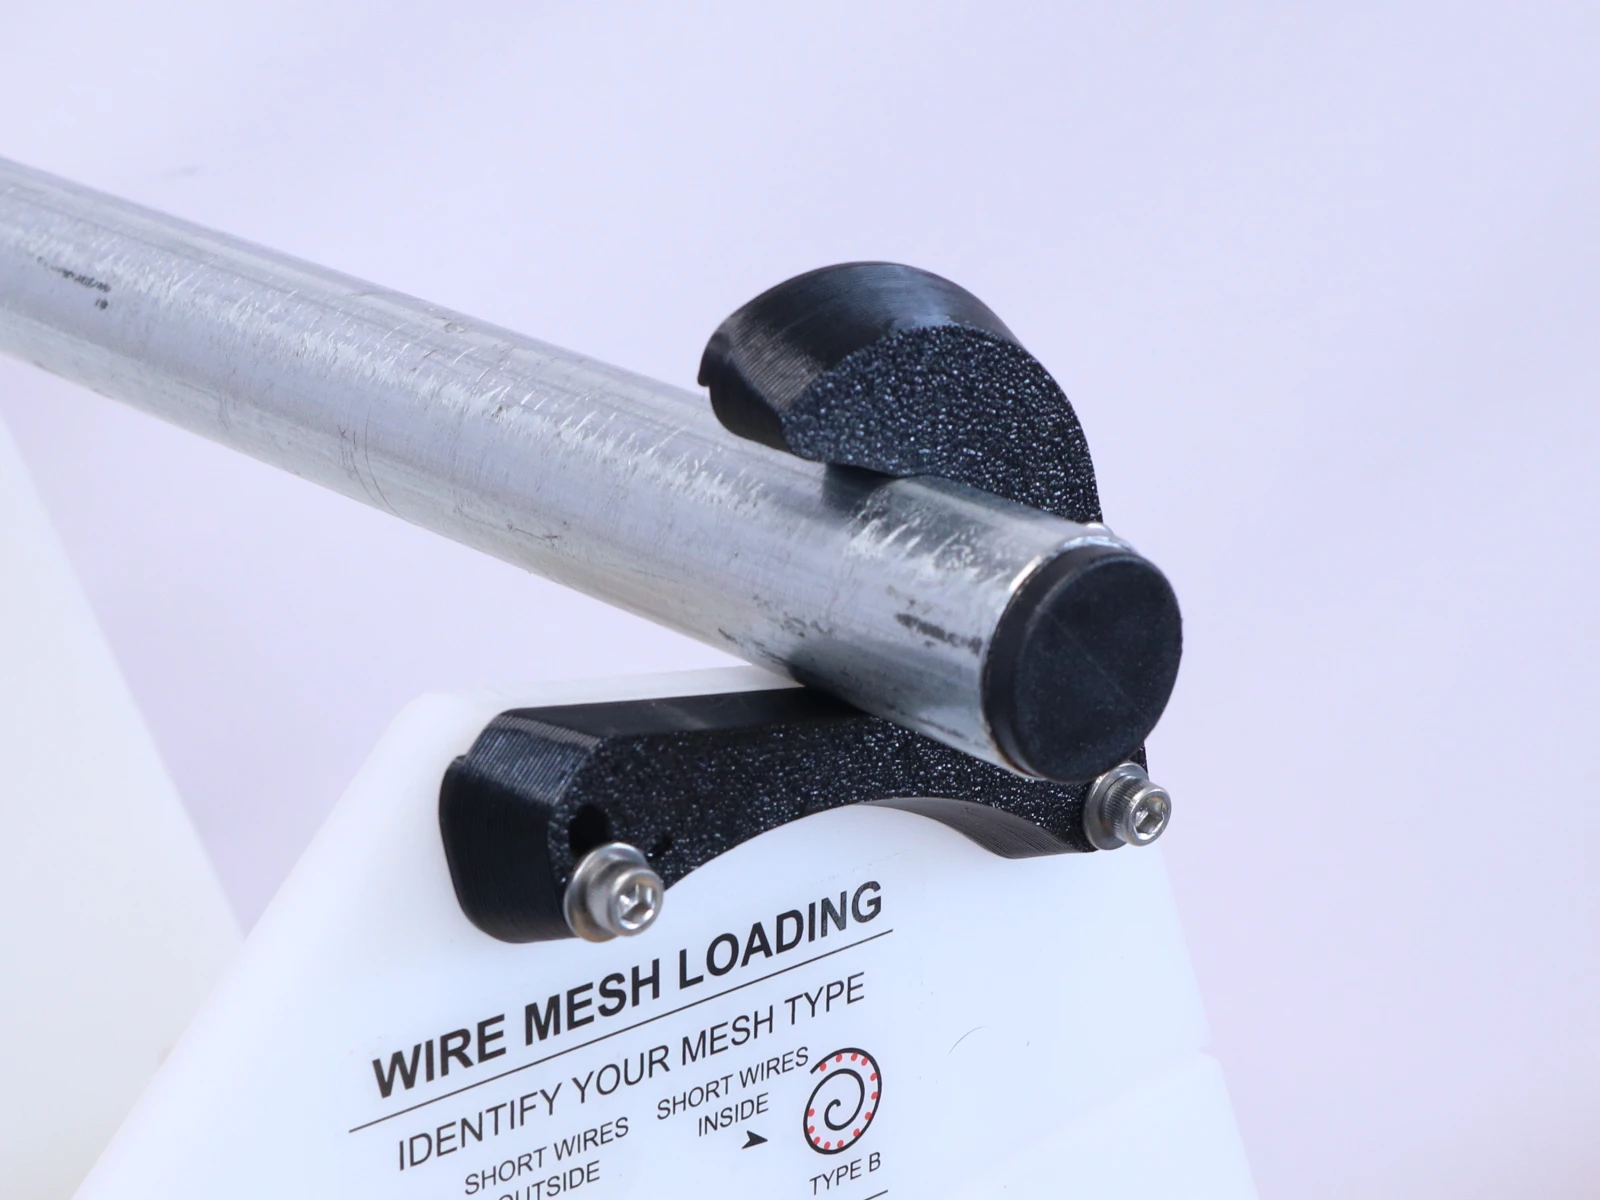
- Pop the hook reinforcement onto the spindle next to the spindle support plate you are going to reinforce.
- The hook goes on the OUTSIDE of the spindle support plate.
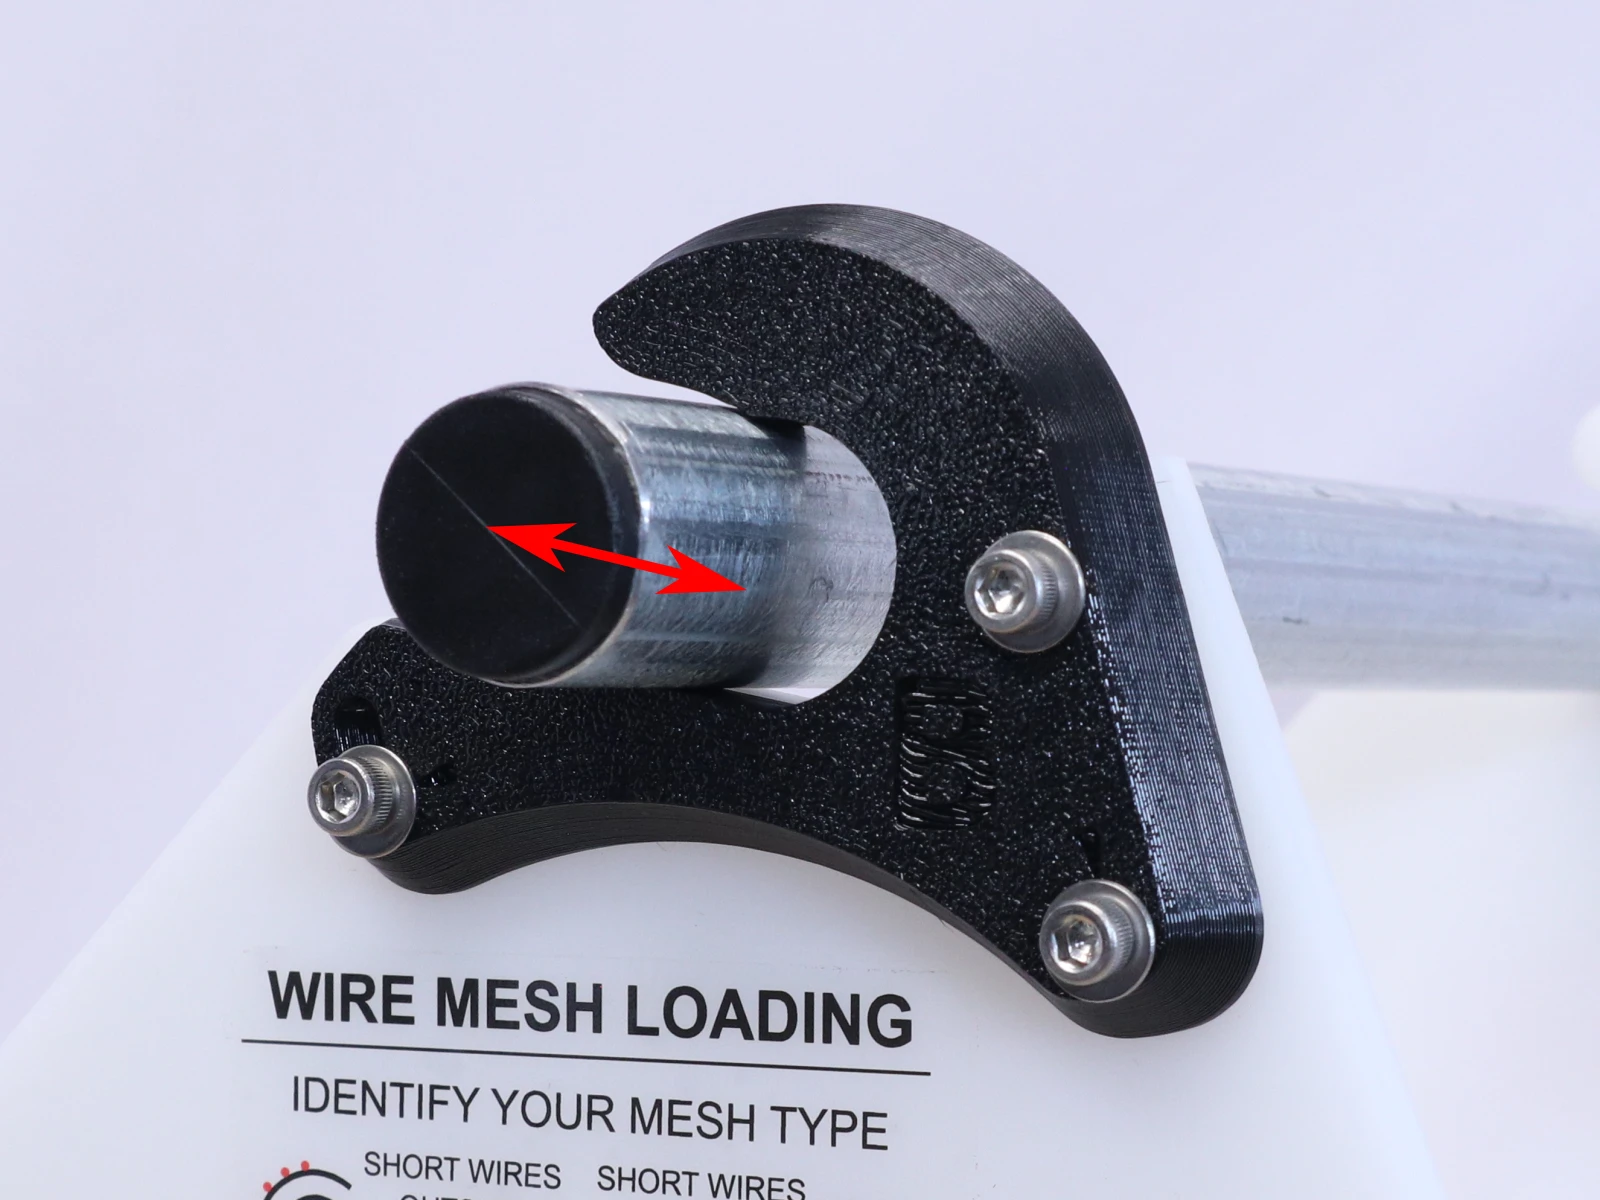
- Note how the reinforcement tapers larger toward the support plate.
- Rotate the reinforcement hook until the two edges shown are aligned with each other.
- Clamp the reinforcement to the spindle support plate. DO NOT OVERTIGHTEN THE CLAMP or you may break the parts.
- Do not block any of the 3 holes with your clamp.
Drill holes
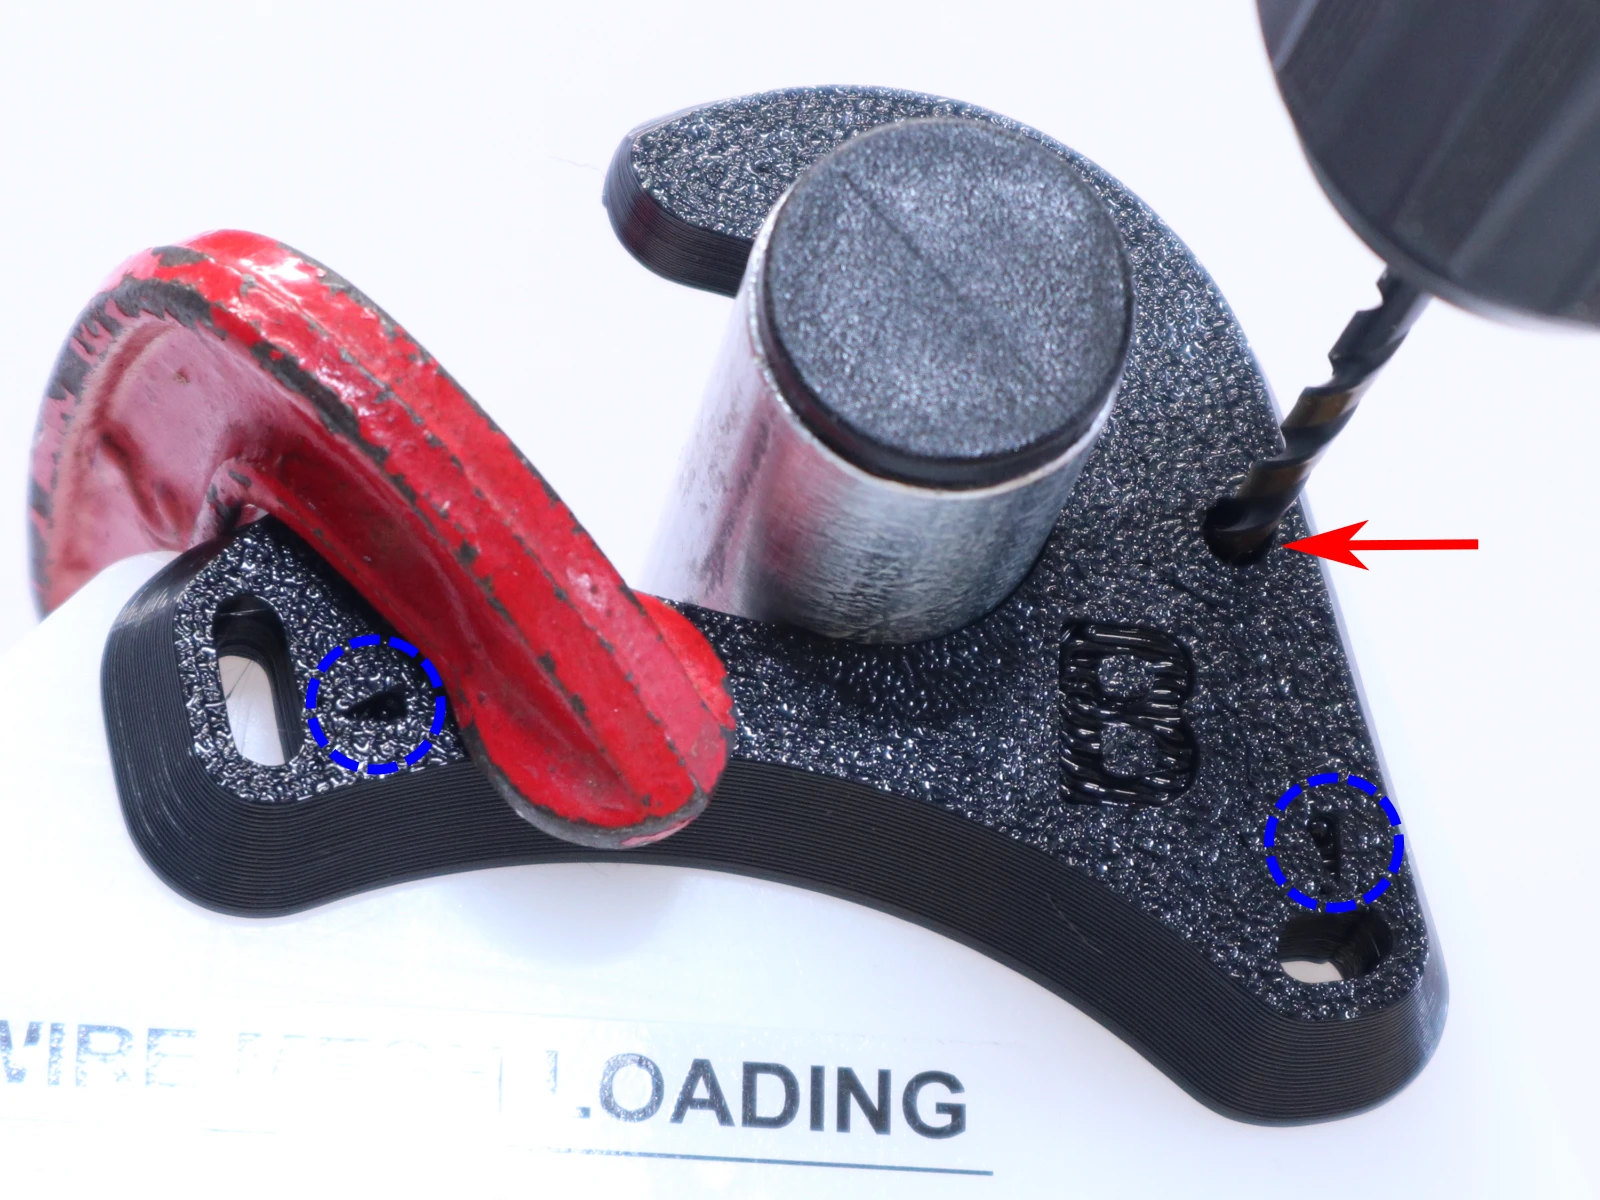
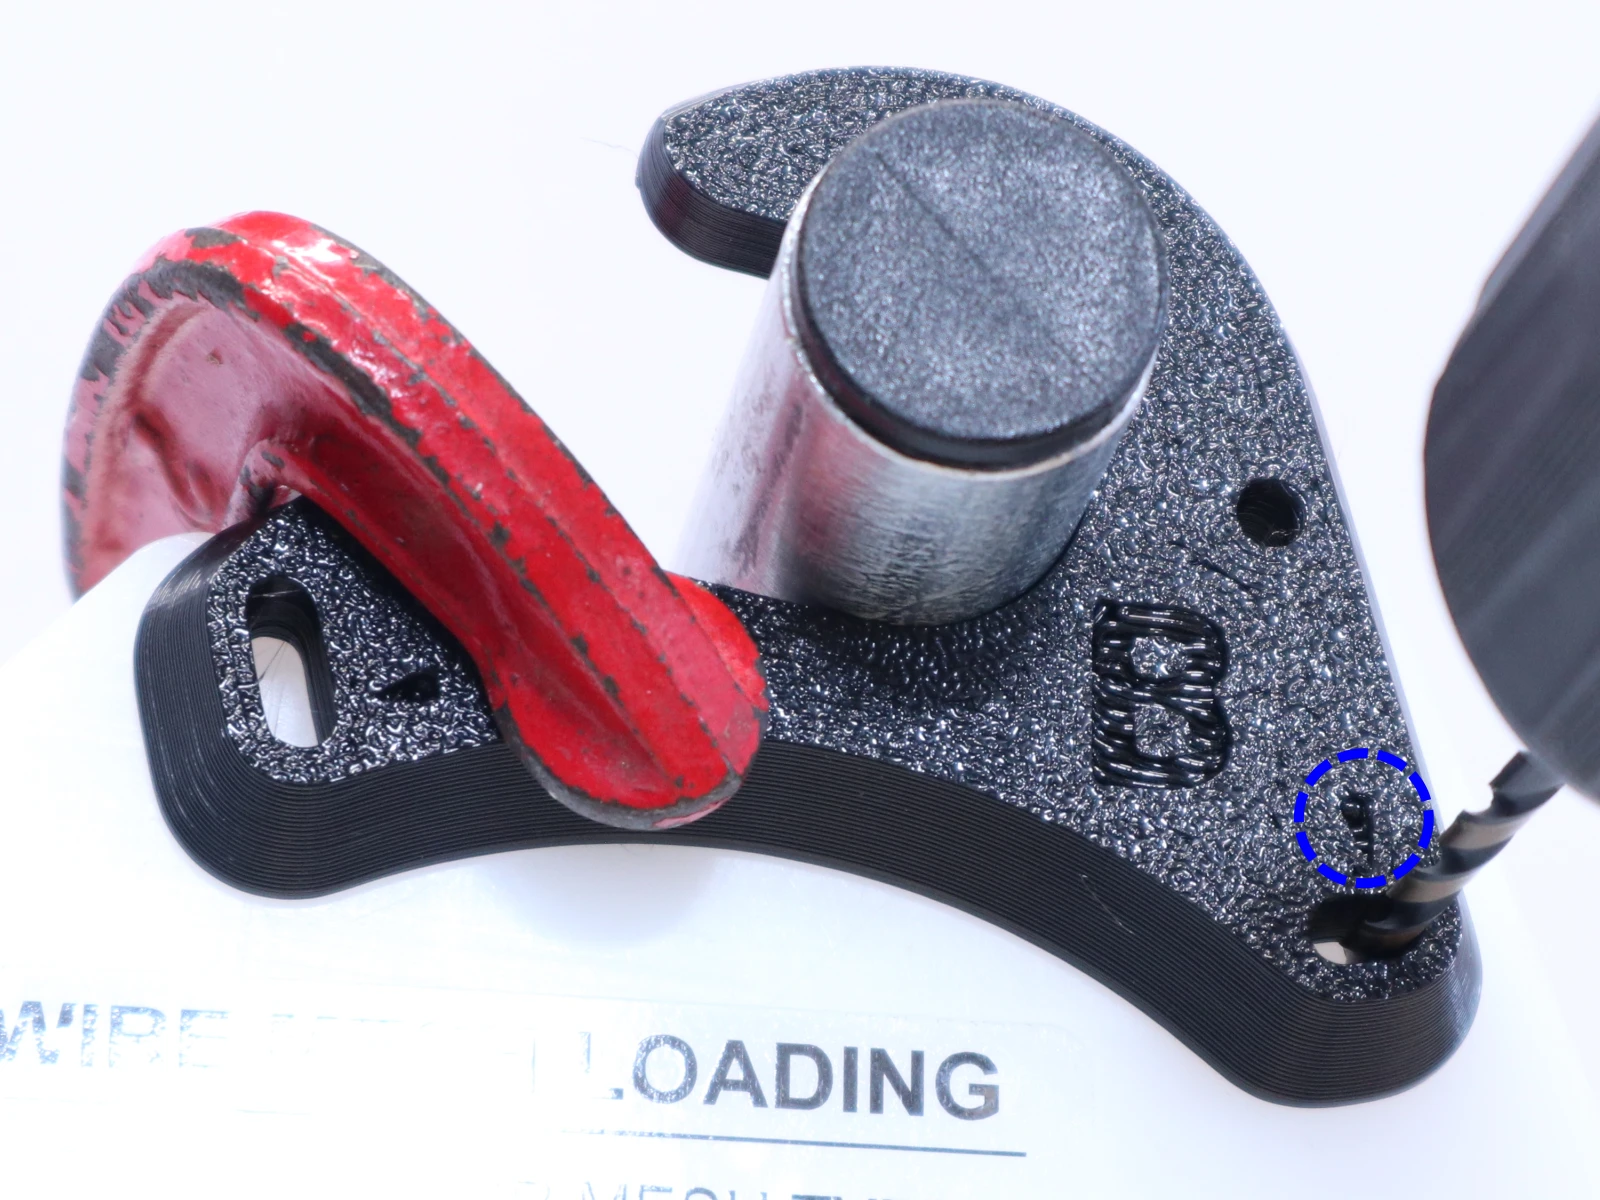
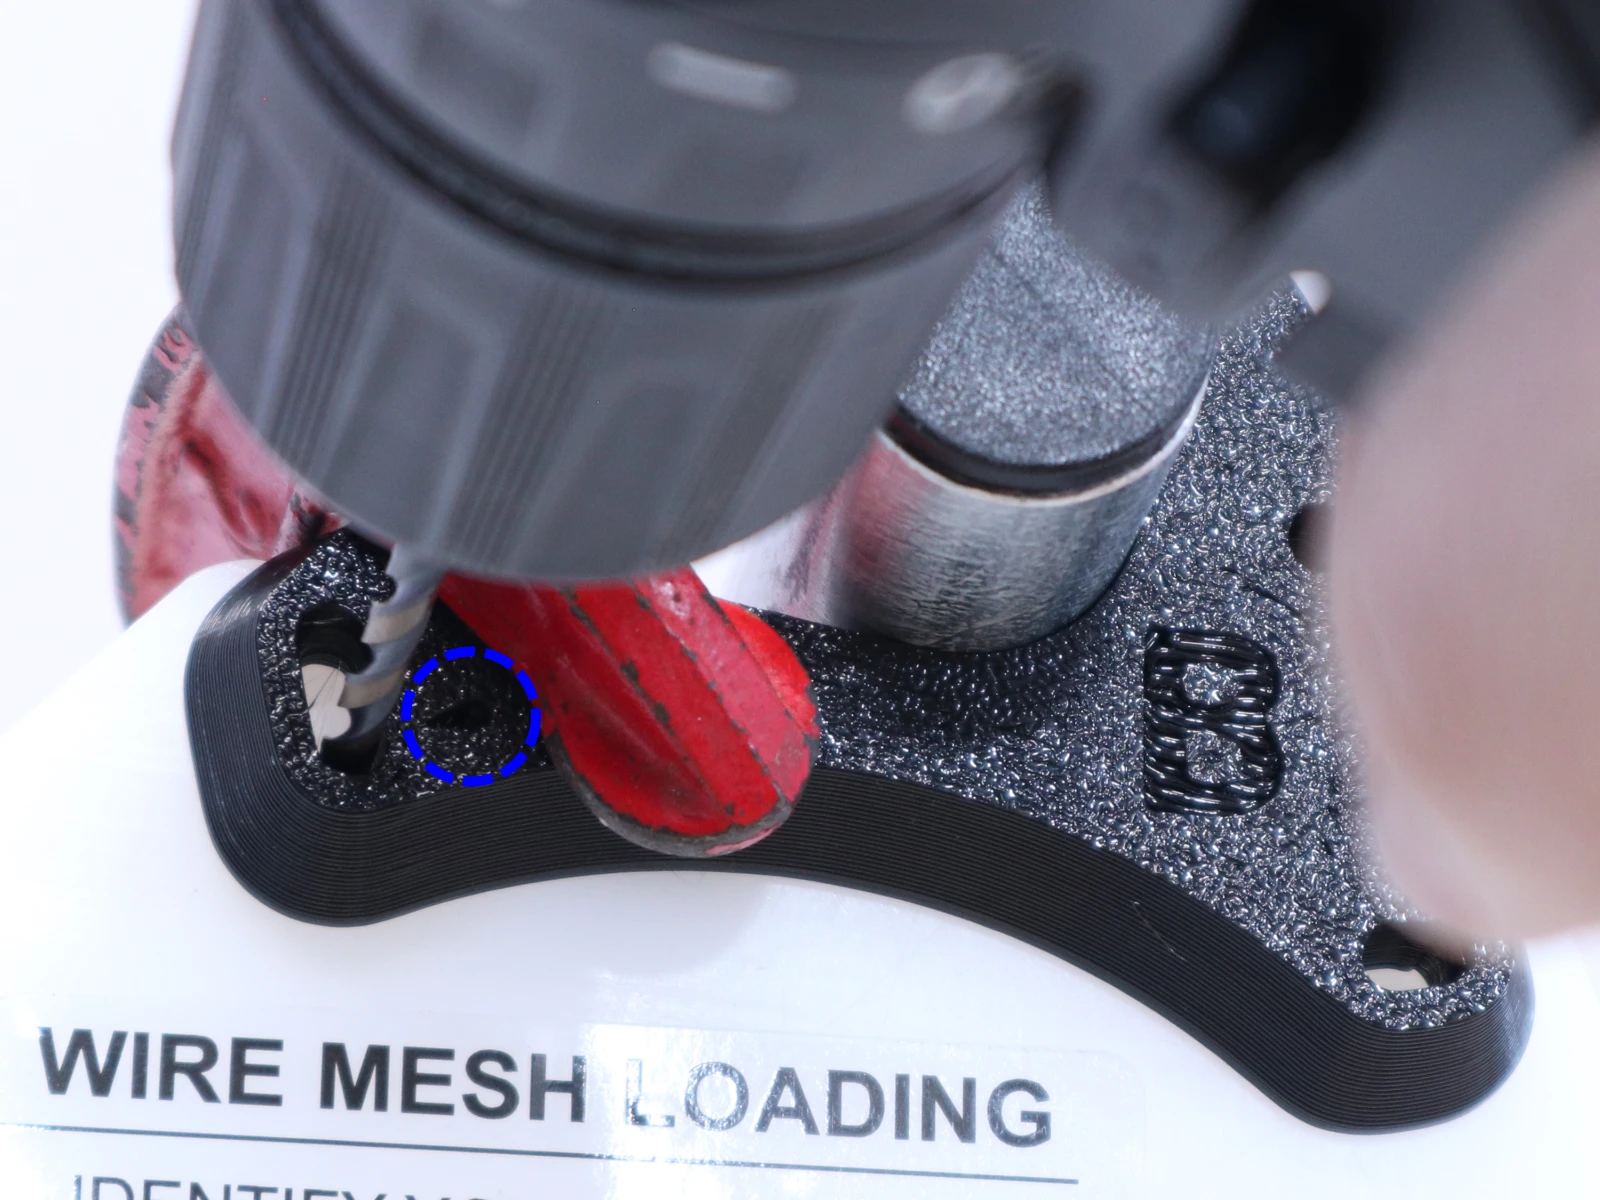
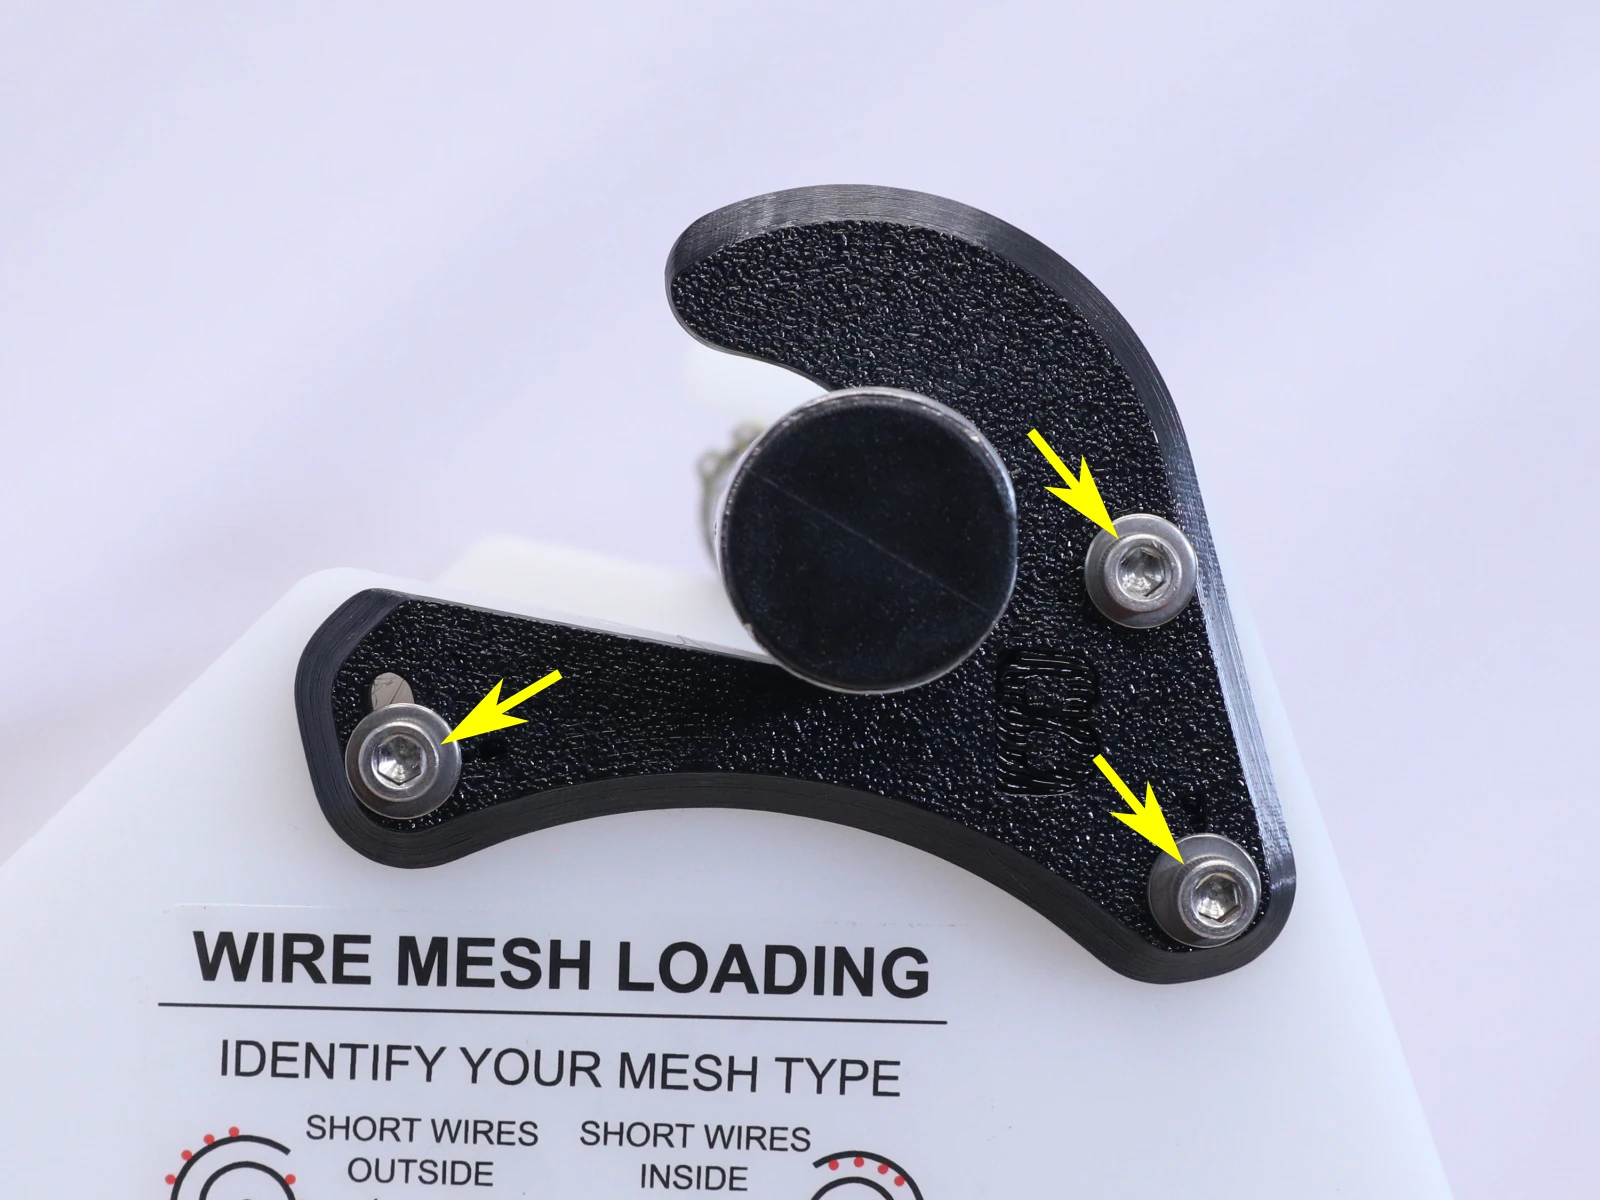
- Using the #29 drill bit, drill 3 holes through the spindle support plate, using the reinforcement hook as a guide. NOTE:
- Upper hole: Drill straight through the hole in the reinforcement plate.
- Lower 2 holes: The reinforcement plate has slots. One end of each slot is marked by an arrow. Drill the holes at the locations marked by the arrows.
Install screws
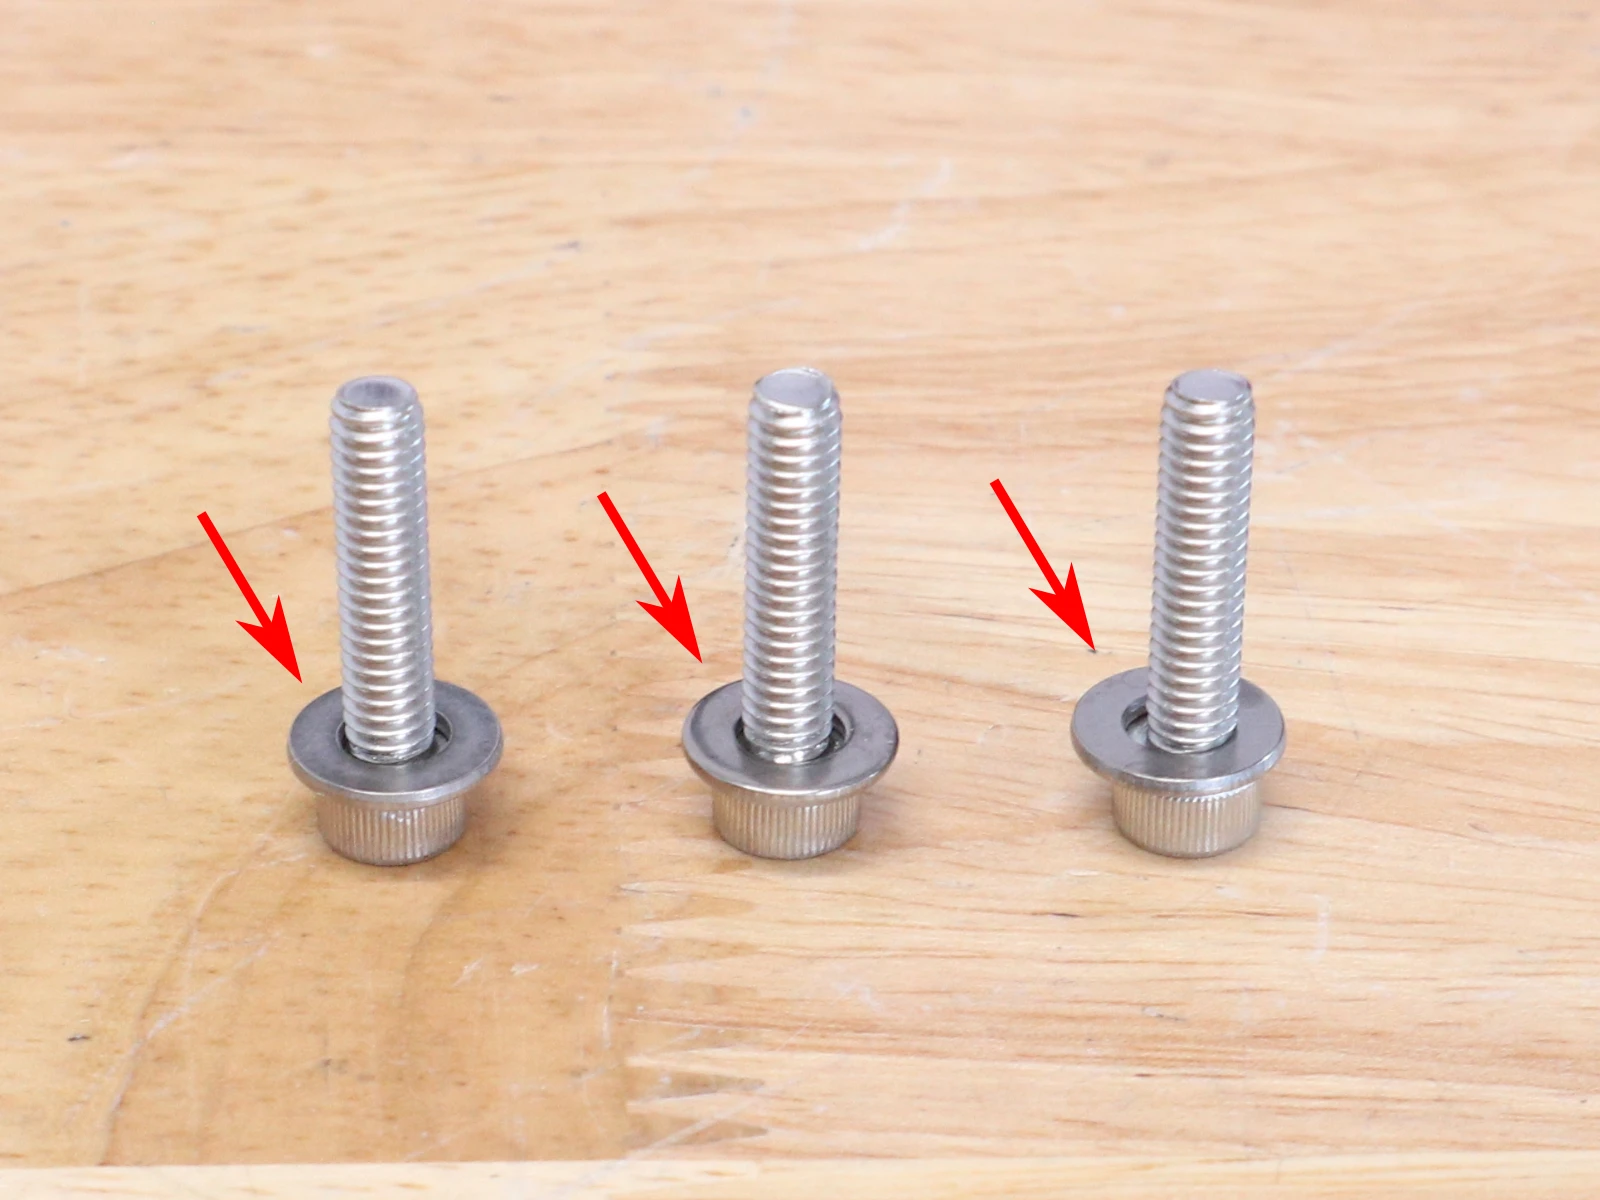
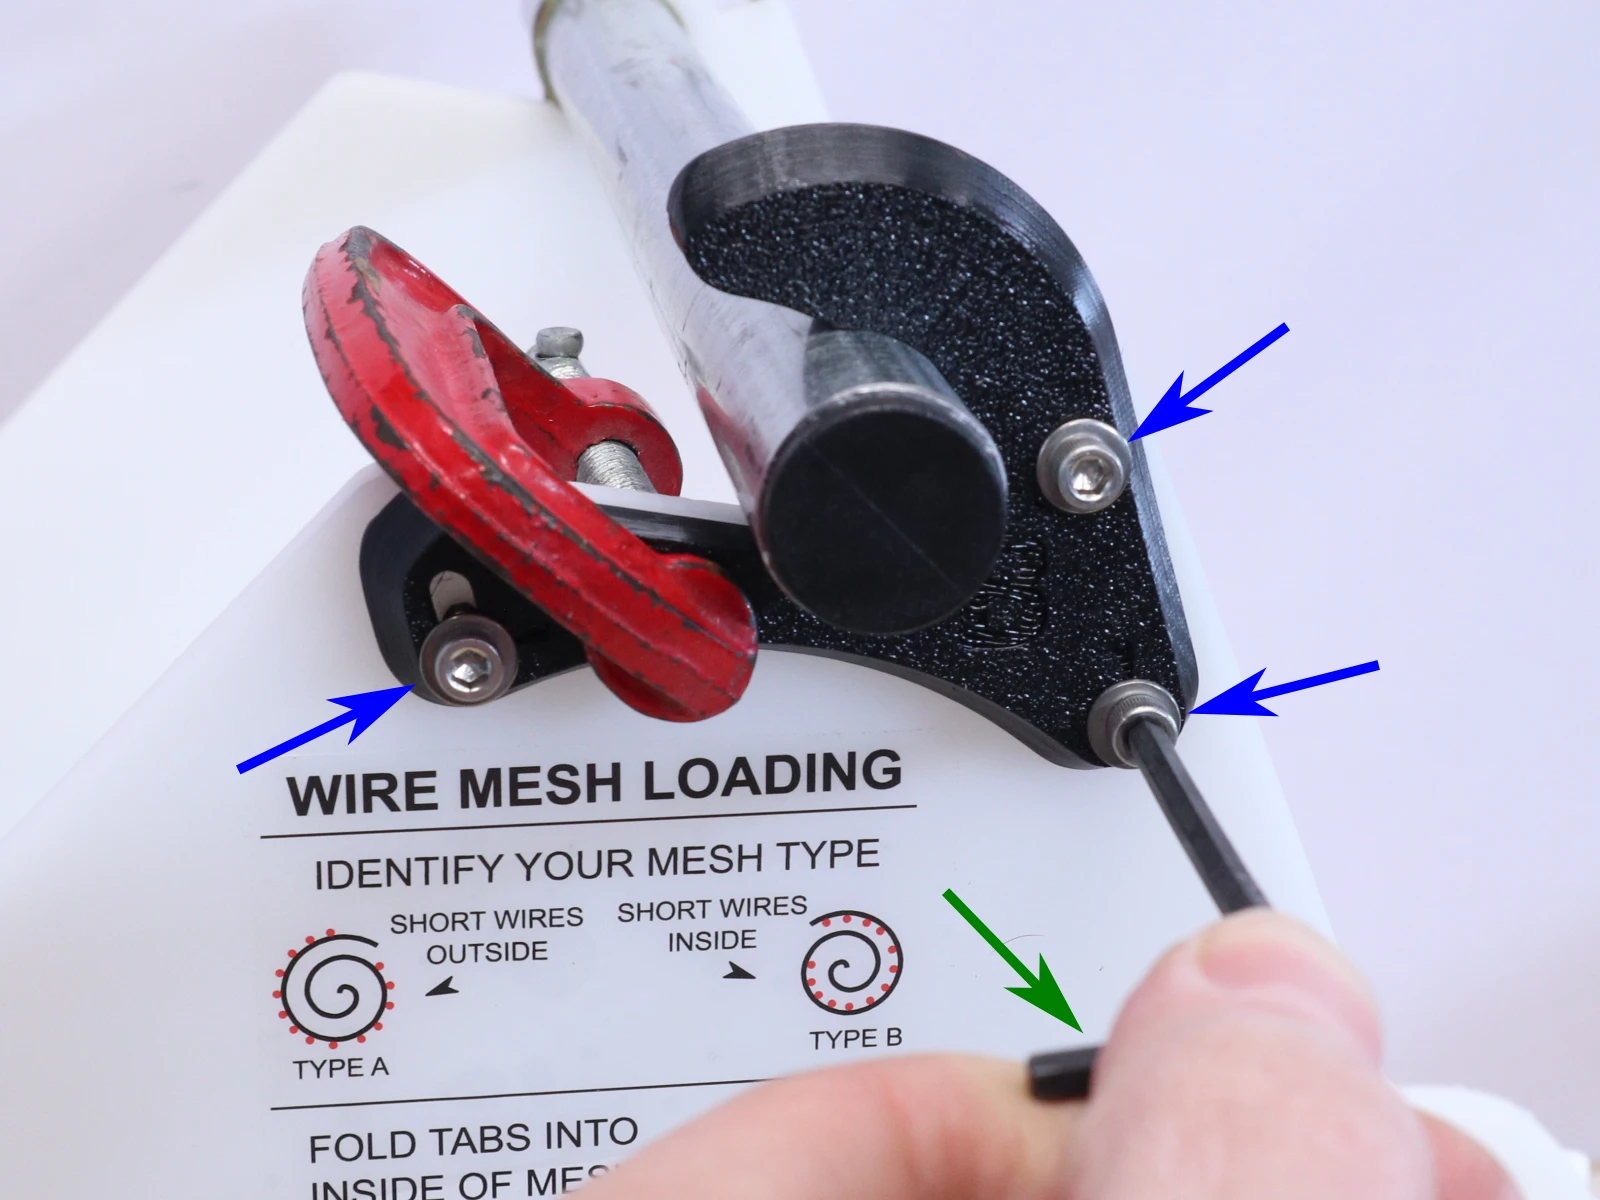
- Take 3 of the screws included with the kit and assemble 1 washer onto each screw.
- Using the 9/64 hex key included with the kit, screw the screws through the reinforcement plate into each hole you just drilled. You will need to push into the plate to get the threads started; then keep turning until the screws bottom out.
- DO NOT OVERTIGHTEN, AS YOU MAY STRIP THE HOLES YOU JUST DRILLED. We recommend holding the short leg of the hex key, not the long leg.
- Remove the clamps.
Adjust clamping force

- Pop the spindle in and out of the reinforcement hook. It should require some effort to pop in and out. You also may want to create some friction between the spindle and support brackets/hooks to prevent unwanted wire mesh uncoiling (see AG Bender 7 instruction video ~5:54). Follow these steps to adjust the hook tightness on the spindle:
- Slightly loosen all three screws until the hook can rotate. It can now pivot about the upper screw.
- Rotate the hook “forward” so it pinches down harder on the spindle.
- Re-tighten the 3 screws. DO NOT OVERTIGHTEN.
Finished!
- You have successfully reinforced the spindle support plate! Please treat the AG Bender with care to avoid further breakage:
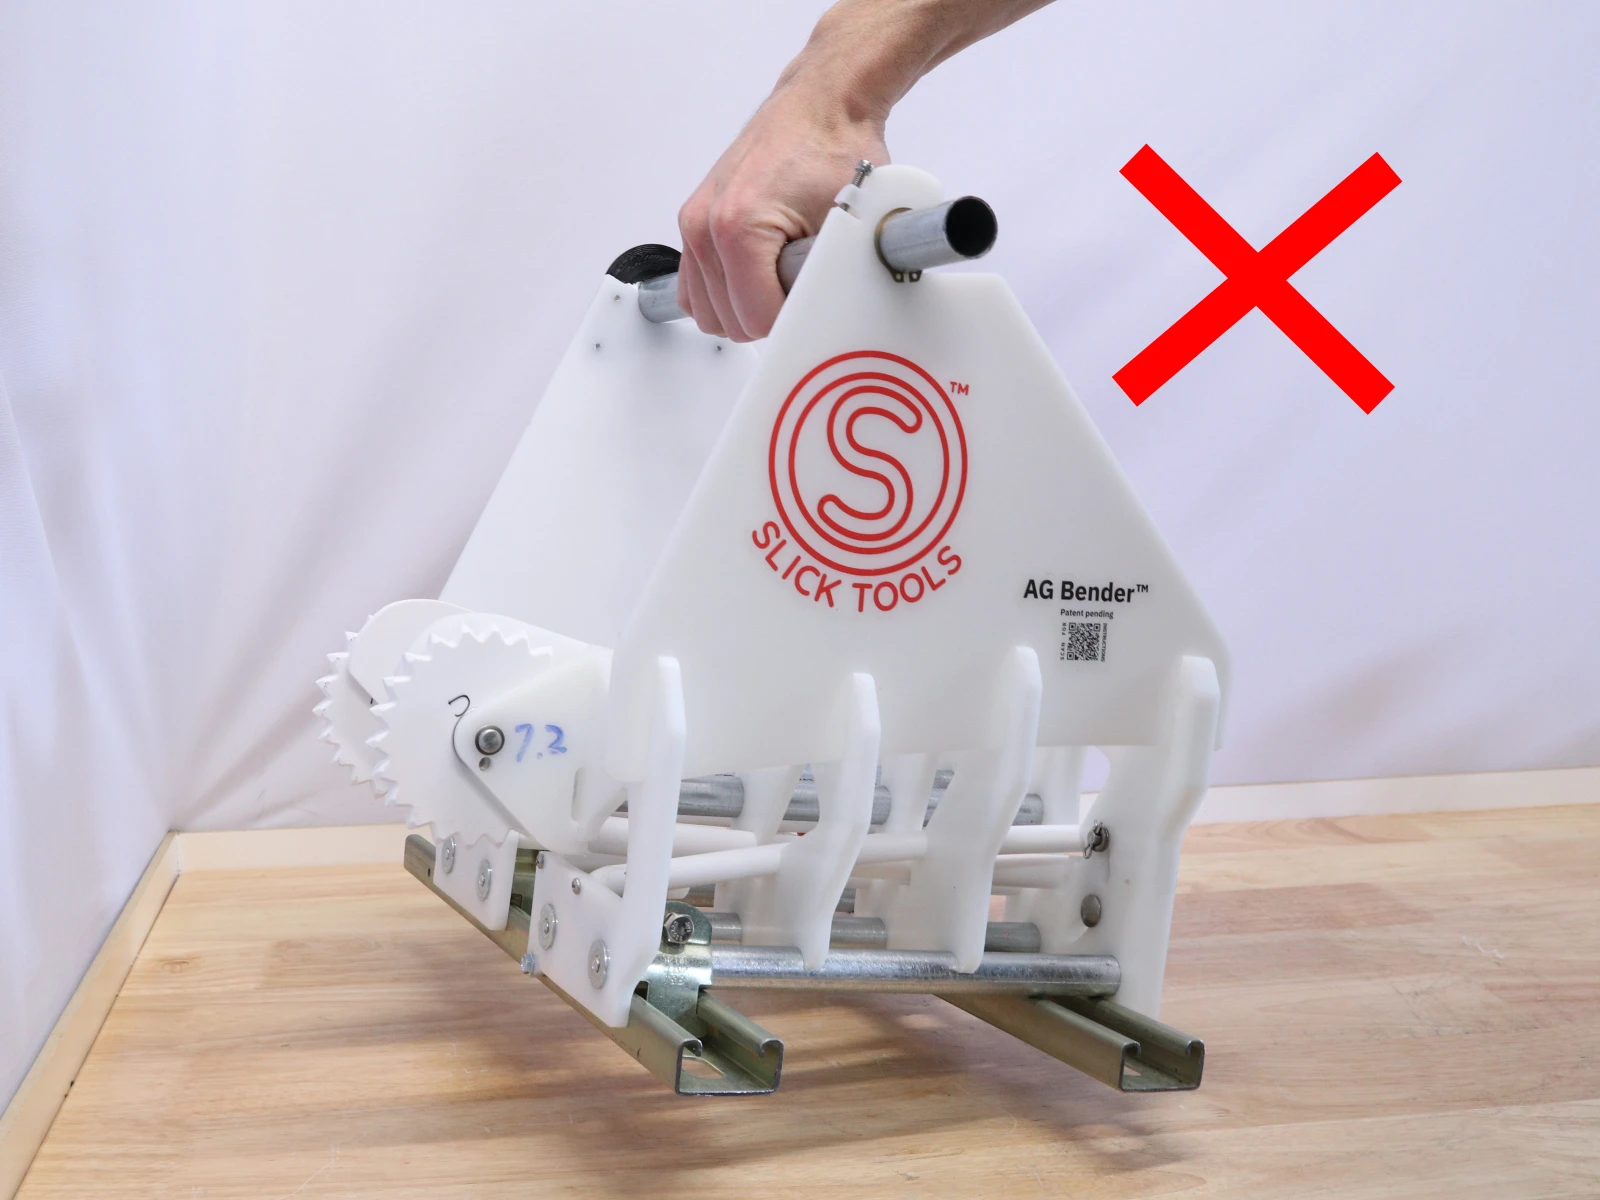
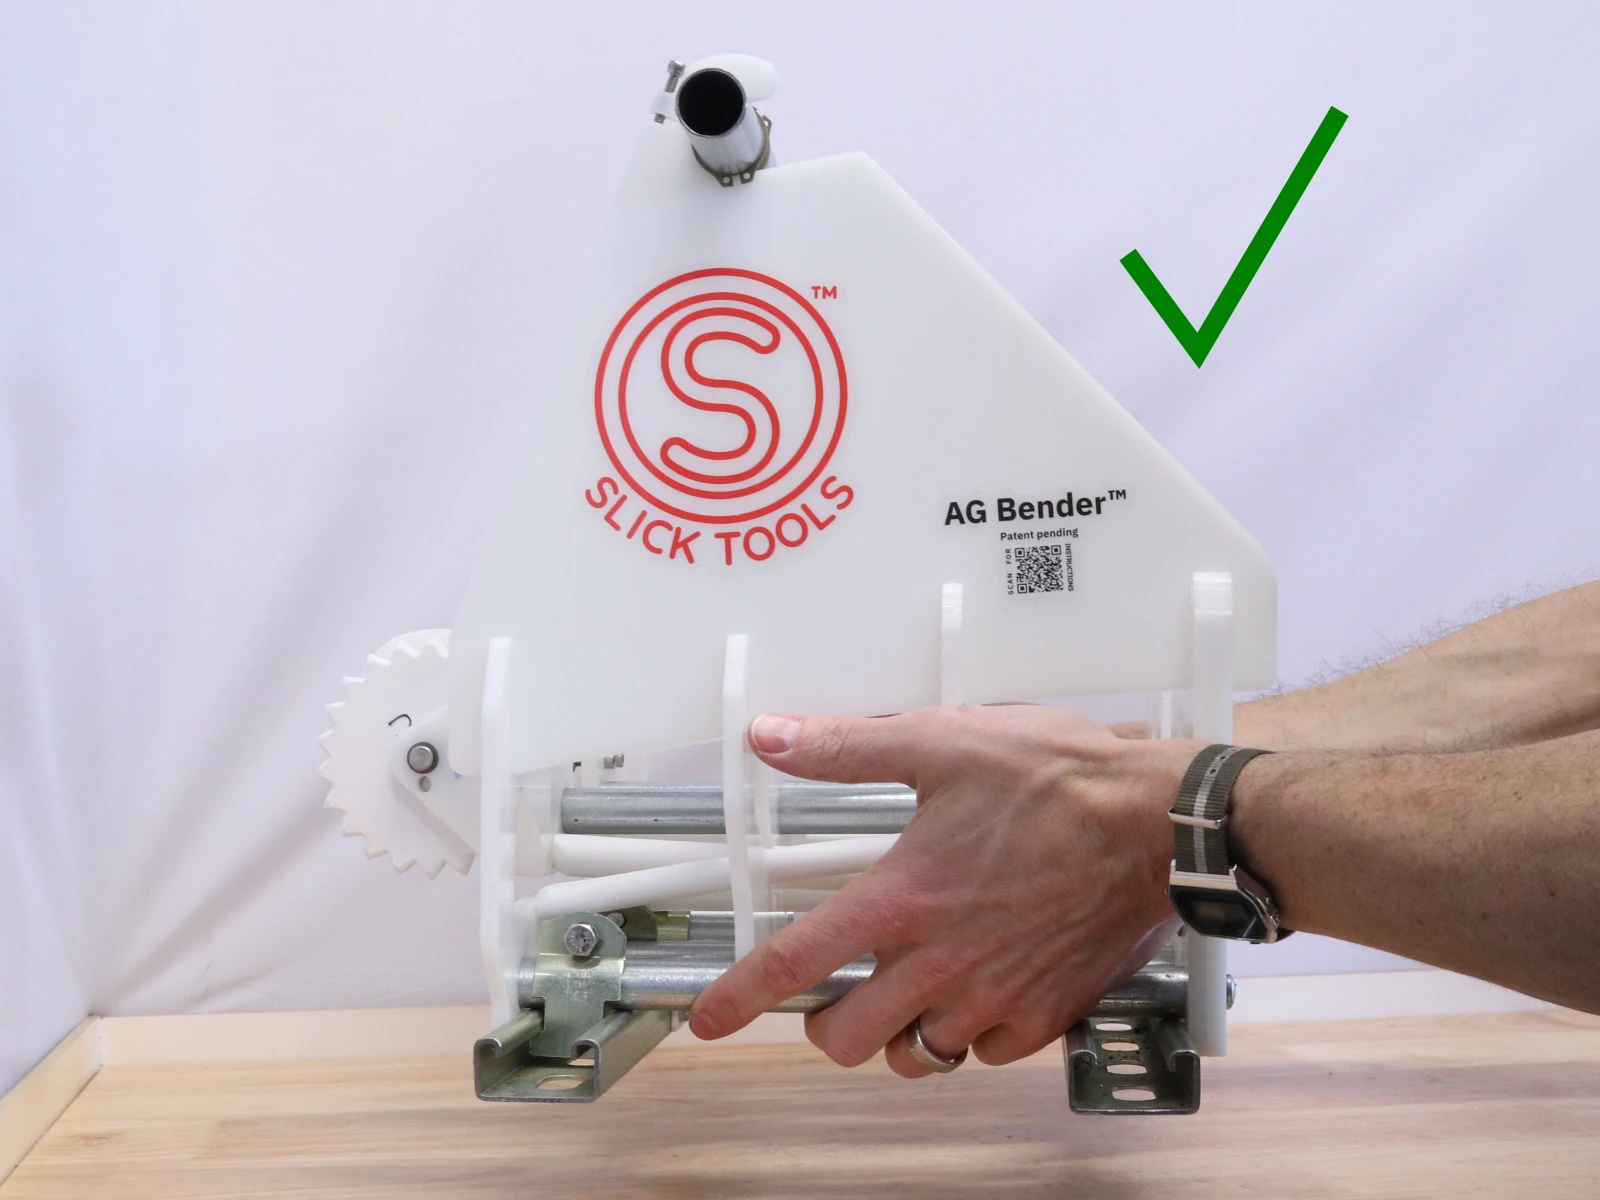
- Do not carry the Bender by the spindle, as the spindle could pop out from one side causing the other hook to break.
- Secure the Bender so it does not slide around a vehicle during transport.
- Don’t drop the Bender!
- A final note– we are working on an upgrade to the Bender that should prevent breakage of the hooks, as well as make loading, unloading and dispensing wire mesh easier. We’ll make an announcement to all AG Bender customers once this new product is ready. Thanks for your patience and support!