When I started designing and manufacturing tools for the solar industry, it quickly became clear that making great tools would only be a small part of the job. The real work would be to educate installers and operations managers around best practices to drive demand for these tools. It’s a roundabout form of marketing that requires a big up-front investment from Slick Tools, but I hope that educational materials like the video below will boost installer pride, profitability and willingness to invest in best-in-class equipment. And hey– if no one buys our tools, at least we’ll have made a few installers’ lives easier and accelerated the growth of clean energy!
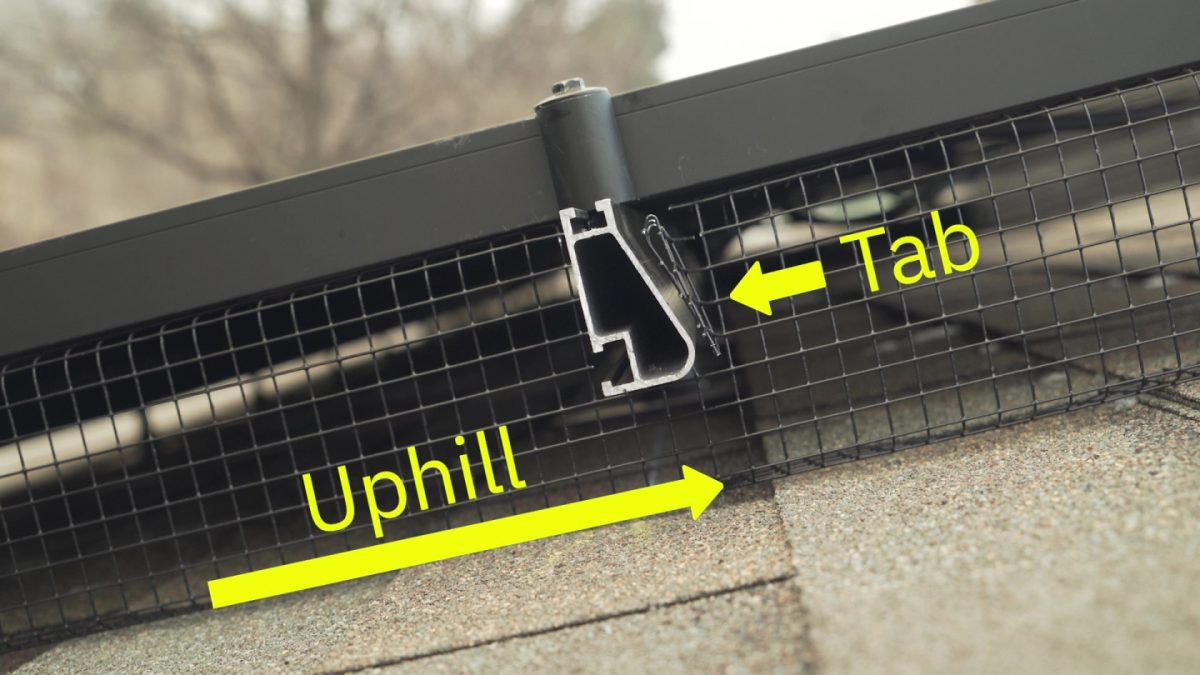
On that note, I am thrilled to share the fruit of what has been a months-long effort to build a high quality, technically detailed instruction video on installing solar PV animal guard. The video demonstrates what I call the Rail Mount Method, which I learned at Namaste Solar Electric during my time as an installer there. I was surprised to find that very few other installers around the country are using technique. After studying every animal guard product and installation method on the market and speaking with a number of industry veterans, I feel this is simply the best method to install long-lasting animal guard for most situations.
A wide range of neighbors, friends, family and former coworkers helped make this video possible – from lending a leaf blower to clear unexpected snow off the array on shoot day, to providing dozens of hours of editing time at a “buddy” rate. In particular, thanks to Mark who allowed us to film on his roof; David and Tage from My Storyline, who filmed the video; and Joe Sherman who edited the footage!
Watch the video below and learn more about the Rail Mount Method at its dedicated web page.

